An iCloud feature will allow you to set up a network of Mac computers that you can access remotely. So that's the Access my Mac feature ..

Using this stinging feature, you can do the following:
- Share files: Find files stored on a remote Mac and move them to your local Mac computer.
- Share Screen: You will be able to use your local computer's mouse and keyboard to open documents on your remote Mac.
How to set up Access to My Mac from iCloud
But first, you'll need to set up the Access My Mac feature on all the Mac computers you want to use.
Step 1. Select “System Preferences” from the Apple menu, and then click “iCloud” ..
Note: If you are not yet signed in to your iCloud account, please sign in with your account.
Step 2. Choose “Access my Mac” . Then follow the setup instructions..
Step 3. Configure the security options.
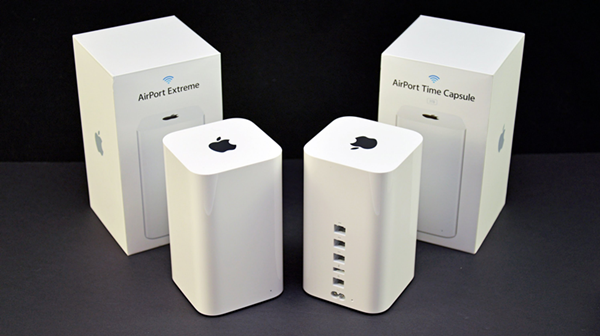
Mac connected to AirPort Extreme or AirPort Time Capsule
So, if you want to access files stored on a hard drive connected to AirPort Extreme or AirPort Time Capsule , follow the steps to set up the Access My Mac feature.

Note: First, make sure you are on the same local area network (LAN) as the base station to be configured.
Step 1. Select “Go”> “Utilities” from the menu bar. Then double click on “AirPort Utility” .
Step 2. Go to choose the AirPort base station you want to use, and then click “Change” .
Note: If the access point in question does not appear, click on “Other Wi-Fi devices” to display the list of available access points. Probably you had to choose a different network interface from the pop-up menu.
Step 3. Enter the base station password.
Note: This password is different from your iCloud password.
Step 4. You are taken to the Access my Mac section. Click the + button and sign in with your Apple account. You should see a green status light that indicates the Access My Mac feature is enabled.
Step 5. Click “Update” to save all your changes.
So, go set up the Access my Mac feature now!