Three big reasons to compress video:
- Raw video files, especially HD video, can run several gigabytes in size. It can take a long time to download these “giants” from YouTube, Vimeo, or other websites.
- If you want to watch the movies on your media player, smartphone or tablet, you definitely need to reduce the size of large videos, for data storage is usually quite limited.
- Moreover, you might also need to compress videos when preparing them to send emails. You might be capturing important moments such as the start of your child's graduation or a product demo for a client. But their large sizes make them bulky and take a long time to email. You should reduce and then decrease first.
Usually, to reduce the size of the videos, you can change the video resolution, trim the video, or convert them to other formats which account for a relatively small size. Fortunately, FonePaw Video Converter Studio can do all of this for you. It can help you convert HD videos to SD files easily. It can also convert large MTS, VOB, MKV and AVI files to MP4, FLV, WMV and other more formats. Besides, you are allowed to change video resolution and bit rate with one click. Even better, its editor feature gives you the choice of splitting the large file into several smaller clips. No matter which way you are going to use to shrink your videos, FonePaw Video Converter Studio has it ready for you..
Download the trial version of this software for free and follow the tutorial below to try it out.
Free TrialFree Trial
Recommended methods to reduce size video files
Method 1: Compress Video with Built-in Video Compressor
FonePaw Video Converter provides built-in functionality to compress your video. Follow the steps below to compress your clip size..
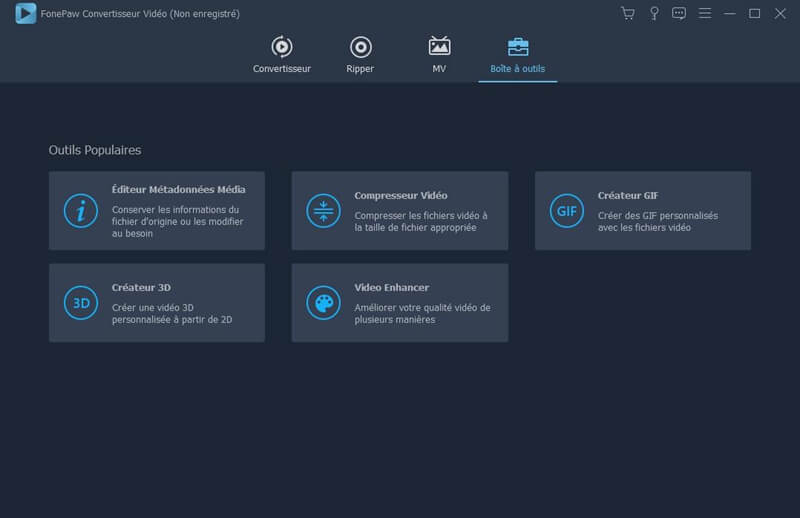
Step 1. Launch Video Compressor in FonePaw Video Converter Box
First of all, you need to download, install and run FonePaw Video Converter Studio on your computer. Click “ Toolbox ” on the software interface, then click “ Video Compressor ”. In the pop-up window, add the video file you want to compress.
Note : This Video Compressor tool is only available on Windows version at the moment..
Step 2. Choose format and adjust output size
You can then choose the desired format, and adjust the size, duration, resolution, bitrate according to your need. After finishing the setting, click “ Preview ” to preview the quality of compressed video. If you are not satisfied with the compressed video, you can adjust the compression settings again.

Step 3. Compress the video
Click the menu next to "Output" at the bottom of the window to choose an output folder for this video. When everything is ready, press the " Compress " button at the bottom right of the window to save the compressed video.
Method 2: Compress large files to FLV, WMV, MP4, etc.
Usually, MTS, AVI, MKV, VOB and other HD video files have large file size. You may notice that FLV, WMV, and MP4 provide relatively small size. Hence, if you want to compress video size, it is advised to convert your videos to WMV, FLV or MP4 using professional video converter. Follow the steps below to convert videos to FLV, WMV, or MP4.
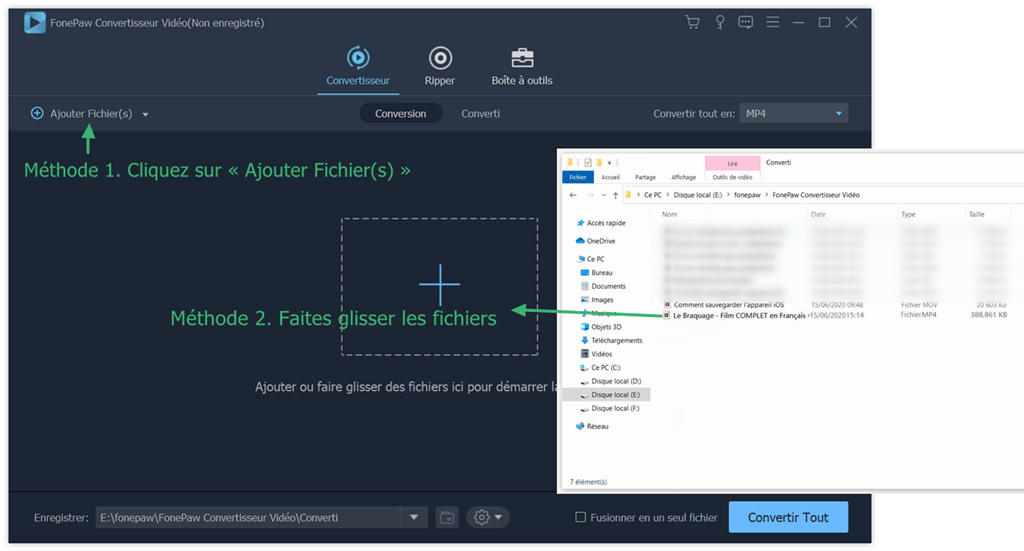
Step 1. Add a file to the program
Launch FonePaw Video Converter software on your PC. Click “Add File (s)” to upload your large videos to the program.
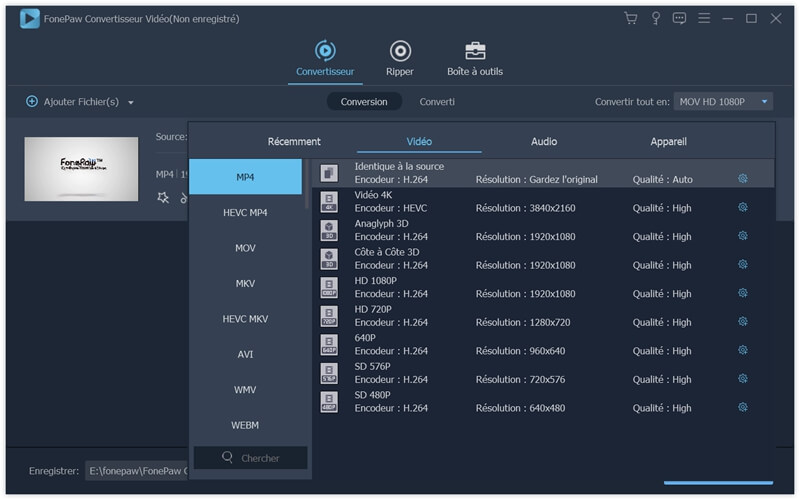
Step 2. Choose FLV, WMV or MP4 as the output format
Click on "Profile" > "All profiles" . Then select FLV or WMV as the output format.
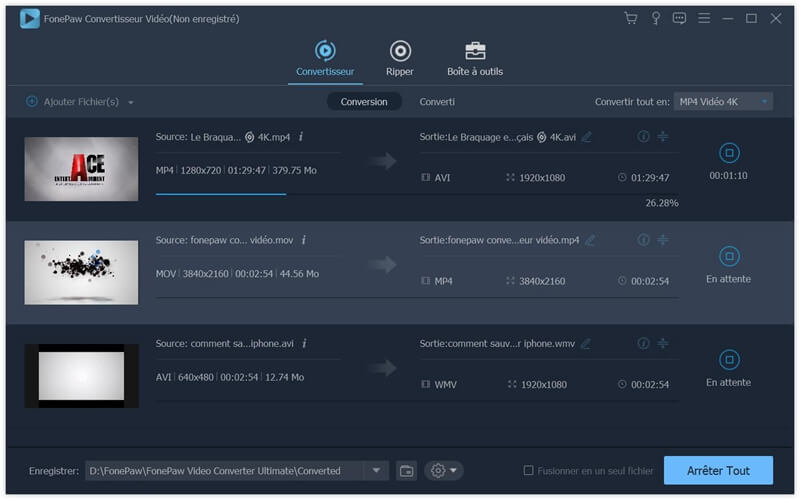
Step 3. Convert Videos
Choose the destination folder and click “Convert All” to start the conversion.
Method 3: Change the Parameters Settings: Video Resolution, Streaming Frame Rate, and Video Bitrate.
To change the settings of the video parameters, simply select the video and click on "Customize profile" next to each format. Here you can change the encoder, streaming frame rate, resolution, bit rate , etc.
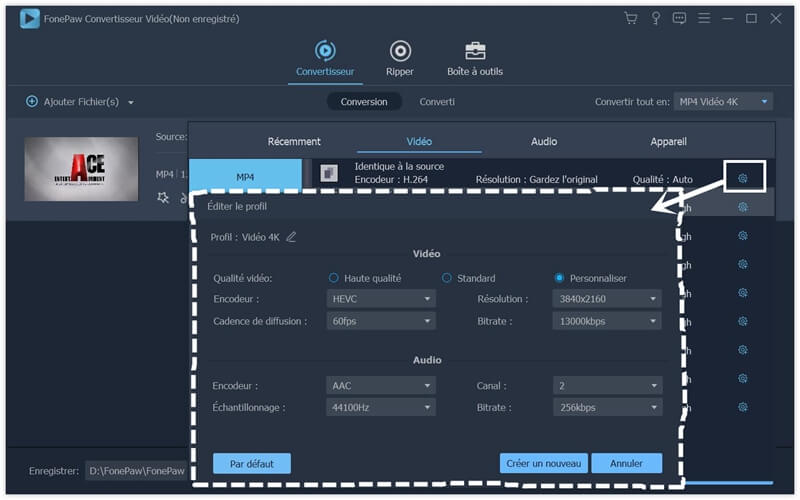
Note:
Video resolution: This is the size of the output video. It is measured in pixels, width x height. You can choose a similar size for the screen resolution of your playback device.
This is the number of images per second. Videos are typically taken at 24 or 30 frames per second. Keep the frame rate of the compressed copy the same, otherwise the playback will be affected and the audio may not synchronize properly.
This is the amount of data that each second of video uses. The video bitrate is bigger, the picture quality is better. For SD video, use a bitrate range of 2000 to 5000 kbps. 720p video should have a bit rate range of 5,000 to 10,000 kbps. 1080p video should have a bit rate of 10,000 to 20,000 kbps.
Whatever your needs, I think there is a way that's right for you. Except for doing the good job of compressing videos, FonePaw Video Converter works perfectly in converting videos and audios to the format you like. Best of all, you can own this all-in-one video converter for a fairly reasonable price. Why not download it and get a registration code now.
Free TrialFree Trial