OneNote is your digital alternative to staples, bound calendars and a mess of paper. In addition to the implementation of e-mails, websites and videos, the scope of functions also includes sketches or handwritten notes. You can save your digital notebook in the cloud or share it directly with friends or colleagues in order to work together on content. OneNote is part of the Microsoft Office software suite. The program is available as an app and can be downloaded free of charge. The full version is chargeable.
Tip: Here we explain how to set up OneNote on your computer.
Adjust page properties
Similar to the analog notebooks, you can set different default settings for the pages of your OneNote notebook, such as borders, lines or boxes and colors. So you don't have to go without lined paper for your handwritten notes. A newly created page in OneNote is basically white and has no hard and fast boundaries. This can be useful for information gathering and summaries, but it can be difficult once it comes to printing..
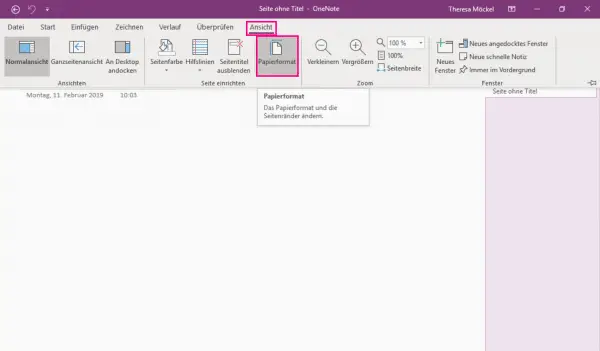
To set the paper size of your OneNote pages, select the " View " tab and then the icon titled " Paper Size ".
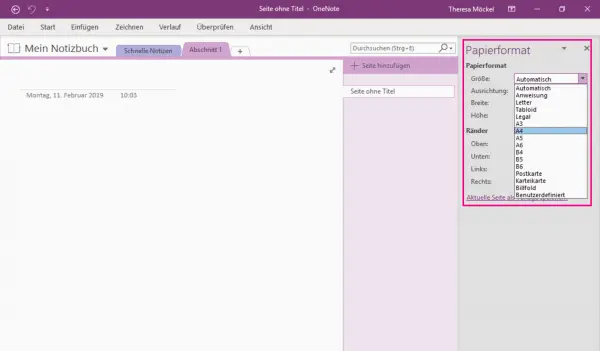
Here you can now select standard sizes such as A4 or postcard or define them yourself with " User-defined ". You can then leave the " Paper format " column open or close it with the cross symbol at the top right..
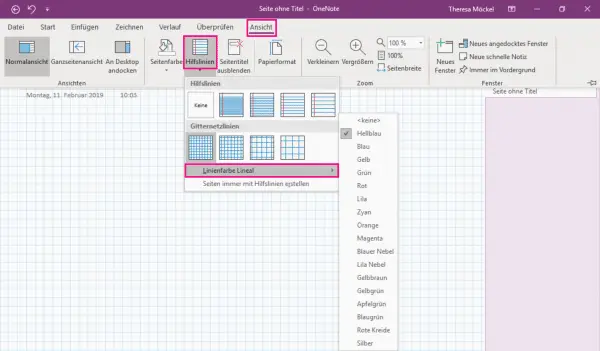
To set lines, boxes or colors for your page, stay in the " View " tab and click on the symbol labeled " Auxiliary Lines ". In addition to the lines themselves, you can also specify the color of the lines under "Line color, ruler ".
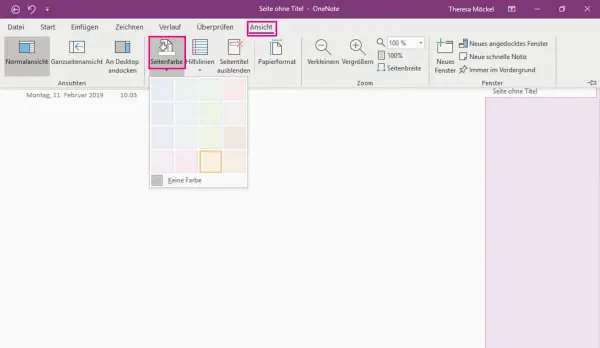
The change of the paper color is located under " View " right next to it and is labeled with " Page Color ".
Create section groups
With the help of the so-called section groups, it is possible within OneNote to map a more complex folder structure. If you've created too many sections, you can group them together to make your notebook more organized.
Follow our step-by-step instructions or take a look at the brief instructions .
1st step
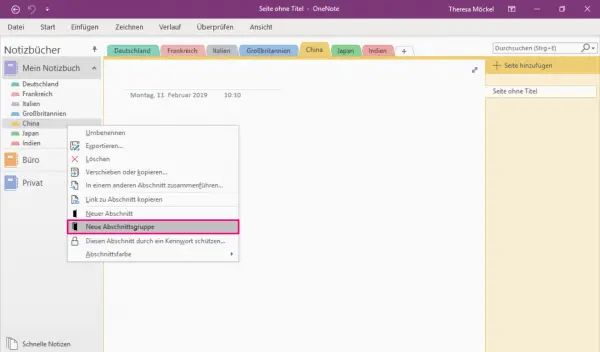 Right- click an empty space in your notebook. Under " New Section " you will find the item " New Section Group ". After you have selected this function, a new section will automatically be defined in your list.
2nd step
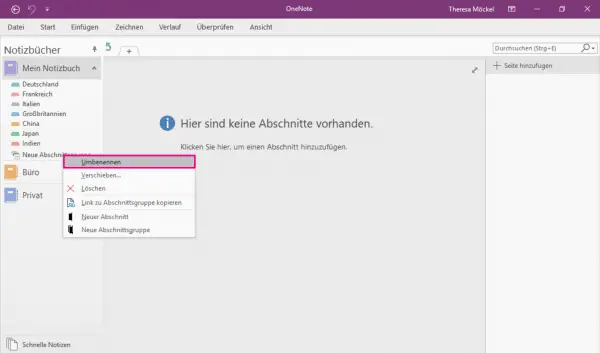 You can now " Rename " the new section again with the right mouse button .
3rd step
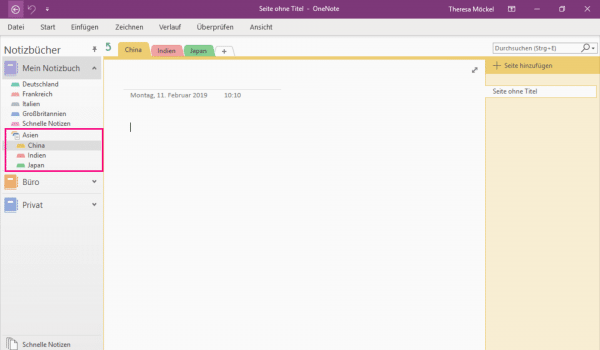 Now you can use the mouse to drag all of the sections that you want to group into the section group.
Synchronize notebooks
OneNote allows you to edit your content across multiple devices - both as a desktop program and as an app. All changes are automatically synchronized so that you always have the latest version available.
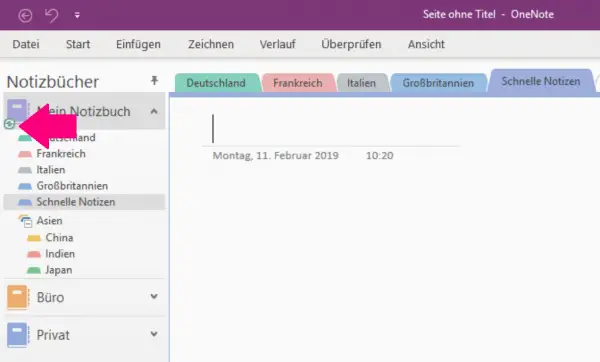
You can tell that automatic synchronization is running by the green loading symbol in the lower left corner of your notebook icon. When all changes are saved online, it disappears again. In addition to the automatic backup, you can also perform a "forced synchronization" to be really sure.
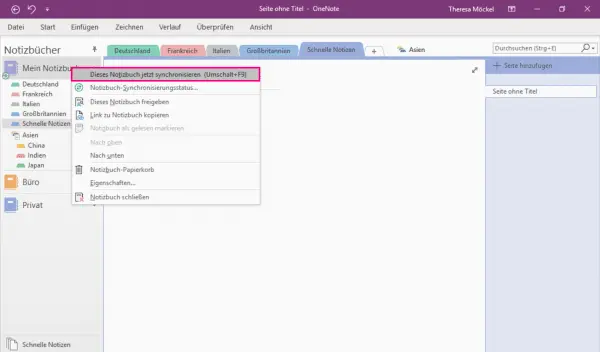
To do this, right- click on the notebook and click on " Sync this notebook now ". Or press the key combination [Shift] + [F9] .
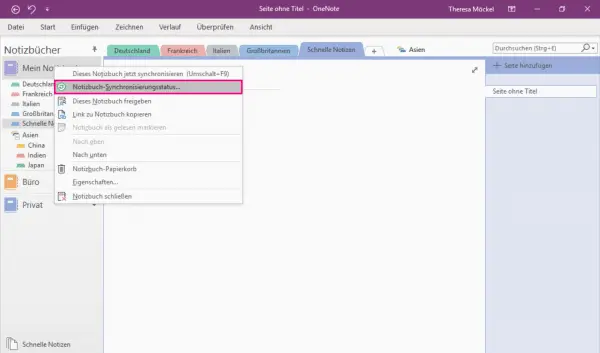
You can also right-click in your notebook and select " Notebook synchronization status " to call up the status of all notebooks and synchronize all of them if necessary .
Password protection
In addition to the ability to share your notebooks, you can also protect certain content with a password. In this way, you can restrict the visibility for other users or employees despite approval. However, it is only possible to regulate access for entire sections and not just individual pages.
Follow our step-by-step instructions or take a look at the brief instructions .
1st step
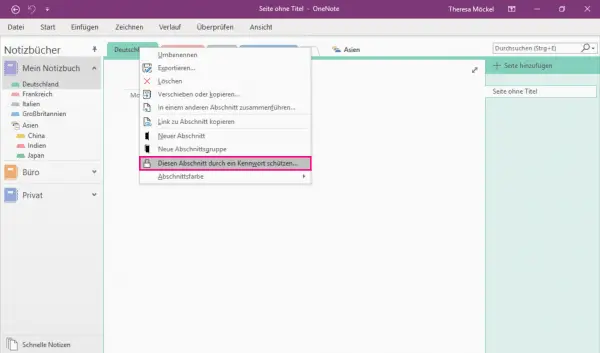 To password protect a section, just right- click the section. Select the " Password protect this section " function. The " Password protection " column then opens .
2nd step
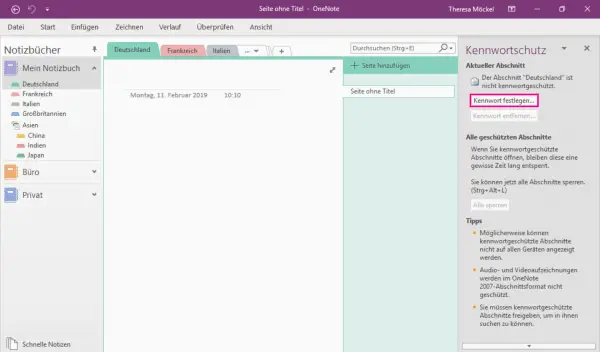 Here click on " Set password ".
3rd step
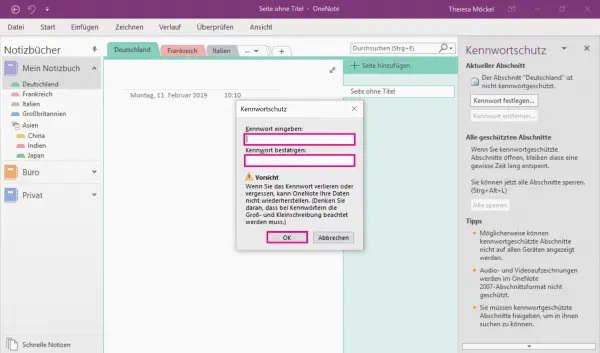 Enter the password . To avoid typing errors, this must be entered twice . With " Ok " you can complete the process and confirm the password.
Quick Start Guide: Create Section Groups
1. First click with the right mouse button in your notebook, and then "on New section group ."
2. Right-click on the new section group to " rename " it.
3. Finally tighten all the sections you this assign group want by dragging and dropping into it .
Quick Start Guide: Password Protection
1. Right click on the section you want to protect. " This section protected by password Select". The " Password protection " column then opens .
2. Now click on " Set password ".
3. Finally, you have to enter your password twice . Close the window with " Ok ". Your section is now password protected.