Create a notebook 1st step: 2nd step: 3rd step: 4th step: Create notes 1st step: 2nd step: 3rd step: Personalize notebooks 1st step: 2nd step: Share notebooks 1st step: 2nd step: Brief instructions: Create a notebook Quick start: Take notes
With OneNote, Microsoft offers a free tool with which you can create various notebooks and fill them as you wish. You can sort your notes categorically using sections and pages. And you can not only work with the software on your PC, but also on your tablet or smartphone thanks to the app. Your notes are synced across all of your devices. Here we explain what you need to know to get started with OneNote.
Create a notebook
Follow our step-by-step instructions or take a look at the brief instructions .
1st step:
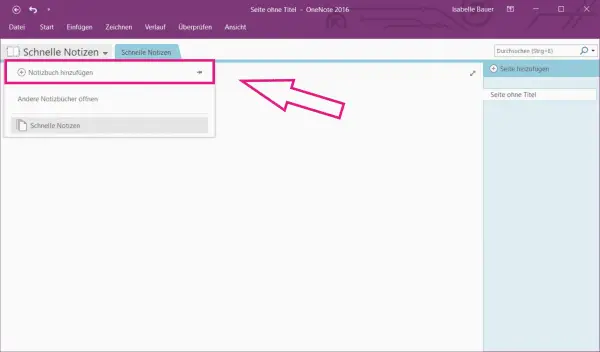 Open OneNote and sign in with your Microsoft account so your notes can be synced across all of your devices. Now click on the notebook you have just opened at the top left to view all of your notebooks. Then click on " Add notebook " to create a new notebook.
2nd step:
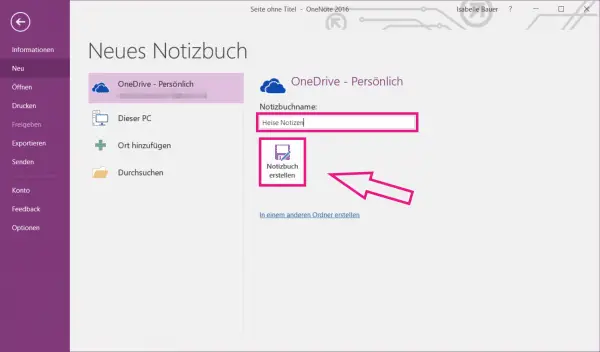 Now give your notebook a suitable name and then click on the " Create notebook " button .
3rd step:
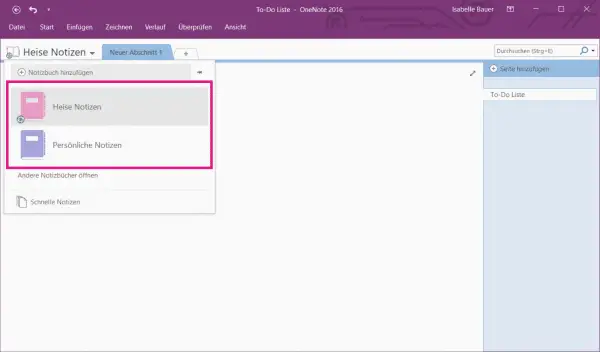 If you now want to switch between your notebooks, click on the button of your currently open notebook at the top left and then select the notebook you want.
4th step:
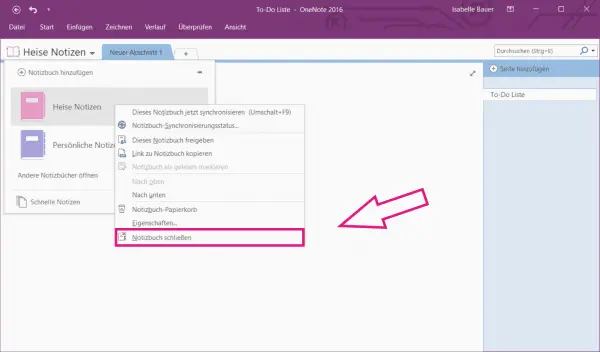 To delete a notebook , right-click it and click the " Close Notebook " entry .
Create notes
Follow our step-by-step instructions or take a look at the brief instructions ..
1st step:
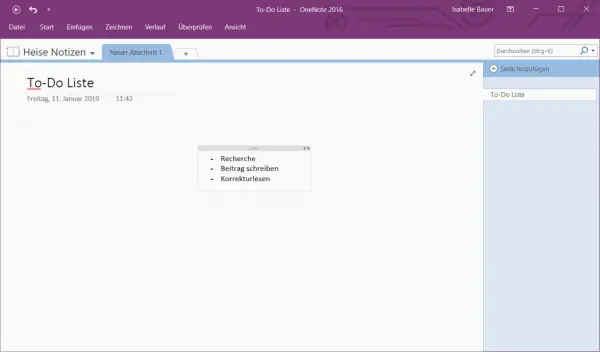 Click anywhere on your page and start writing . You can then drag the text field anywhere on the page as often as you like . To insert a new text field , simply click again and start typing.
2nd step:
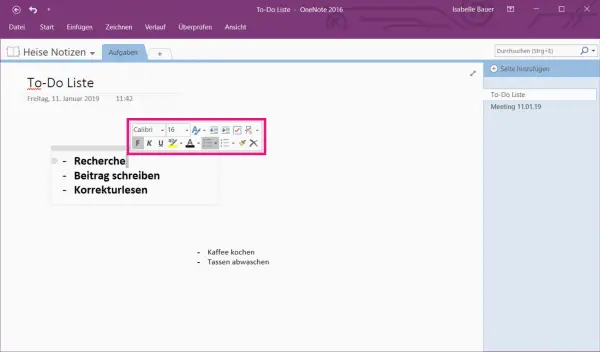 You can then change the font , size and color as well as the formatting of the text with one click in the text field .
3rd step:
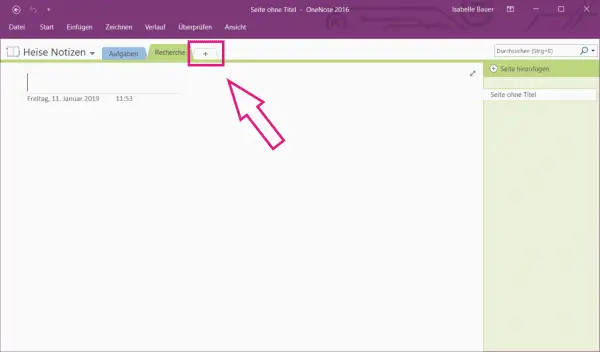 Click on the plus next to the colored tab at the top to create a new section . These are like chapters in a book and are used to connect notes with a specific topic.
Personalize notebooks
1st step:
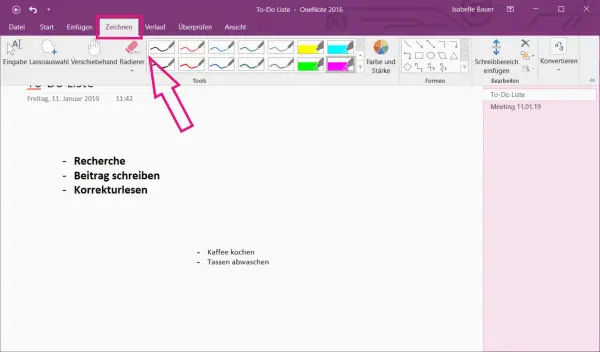 With a click on the tab " Draw " you can add drawings to your notes. You can also use the highlighter feature to highlight important passages in your text.
2nd step:
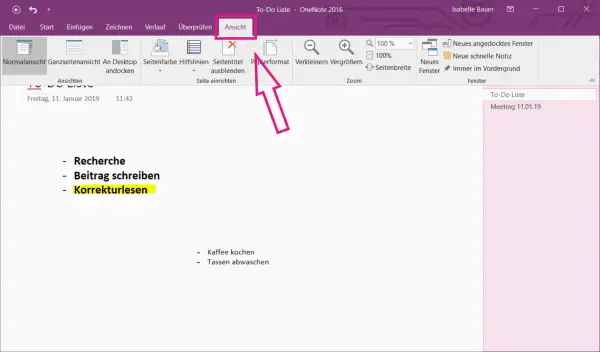 Under " View " you can page color change and highlight such important sites. You can also use the " Auxiliary Lines " button to change the lines on your page.
Share notebooks
1st step:
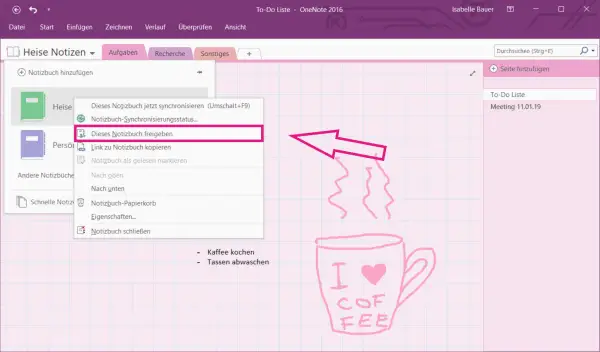 Click on the button of your opened notebook at the top left and right-click on the book that you want to share . Now click on the entry " Share this notebook ".
2nd step:
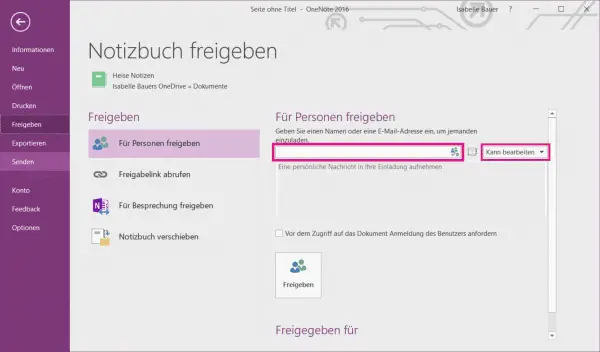 Then enter the email addresses of the people you want to share the book with. You can also choose whether they can only view the notebook or edit it by opening the drop-down menu on the right.
Brief instructions: Create a notebook
- After opening OneNote, sign in to your Microsoft account so that your notes can be synced across your devices. Then click on the button of the currently opened notebook in the top left and then on the entry " Add notebook ".
- Name the new notebook and click the " Create Notebook " button .
- Do you want the notebook to change , click again on the button in the top left and select the desired notebook .
- To delete a notebook, right-click on it and select the entry " Close notebook ".
Quick start: Take notes
- To open a text box , click anywhere on the page and start typing. You can create multiple text boxes on a page and drag them anywhere you want.
- Click in a text field to format the text in it however you want .
- With a click on the plus at the top next to the colored tab, you can add a new section. Sections are like chapters and are used to connect notes on a specific topic.