If the CPU asks for more cooling or if you want to clean the graphics card, the heat sinks must be removed and reassembled later. And for assembly, you first need to apply thermal paste. We'll tell you why you need thermal paste and how to apply it.
Why thermal paste?
Heat sinks are screwed onto the CPU or GPU with a lot of pressure and of course, like their counterparts, have a very smooth surface. And good contact is necessary for heat transfer. You may also be familiar with this from cooking: If the pan is not completely flat on the ceramic hob, for example because a grain of rice has crept in between, a large part of the energy dissipates into the air. With the pan, it is sufficient to keep the surfaces clean. With heat sinks, even the best cleaning is not enough, there are - of course - still tiny air pockets. You just have to look at such a surface under a microscope. What seemed smooth to the naked eye then looks like a crater landscape. And since every ounce of performance and temperature is really important for coolers, thermal paste comes into play.This displaces all air and conducts heat itself very well.
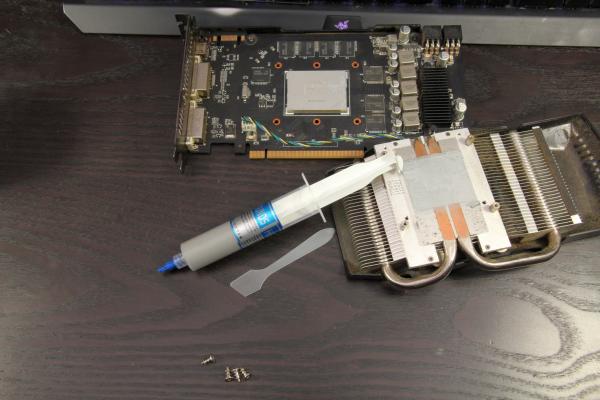
When buying, you should take a closer look at the price: Thermal paste is offered either in small tubes or in syringes, usually in rather small quantities of a few milliliters. The prices fluctuate a lot: The 25-gram variant in the following pictures is just under 28 cents per gram, but there are also products that cost more than 10 euros for a 1-gram syringe. Unless you intend to overclock your system to the very last drop, you can confidently take the inexpensive variants - if you do, you can deal with the exact properties of the respective pastes. As for the quantity: With just one gram you can easily mount two or three fans..
Apply thermal paste
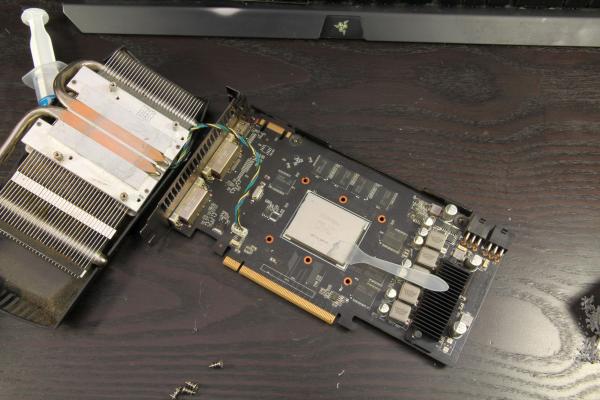
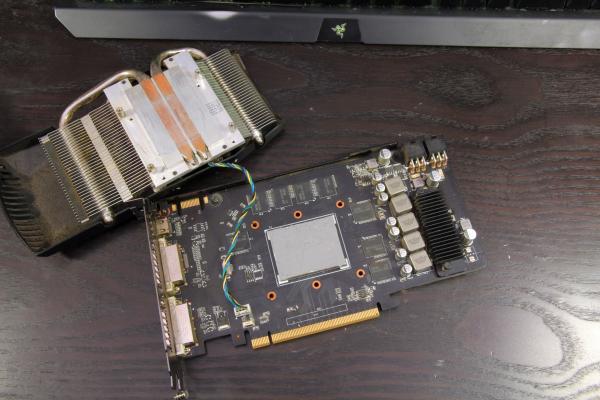
After dismantling the cooler, the first thing to do is to remove the old thermal paste. Most pastes come with a small plastic spatula that will also help with application later. But you can also remove the remains with a paper towel. If you even have rubbing alcohol or special radiator cleaning, you will get the surfaces a little cleaner - but a spatula and paper towel will do it too.

Be careful not to leave any residue on the board. In general, you should be reasonably careful on the GPU / CPU side. You don't have to treat them like a raw egg, but scratches are pretty inconvenient for thermal conductivity..
Now you can apply the conductive paste - just enough to create a very thin film. The amount in the picture is enough.
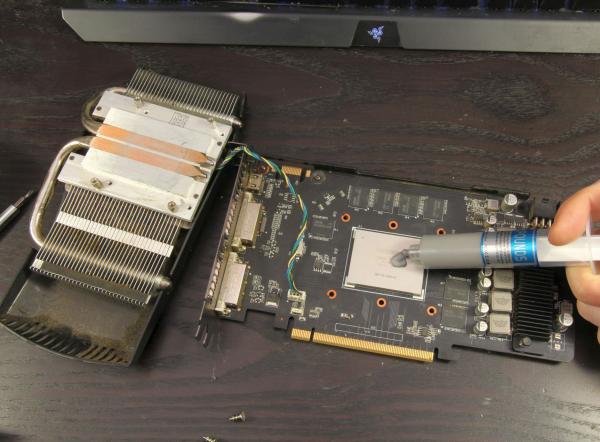
If you're lazy, you can just put the paste in the middle and mount the fan - it will spread out reasonably regularly. However, it makes much more sense to distribute manually with the spatula ...
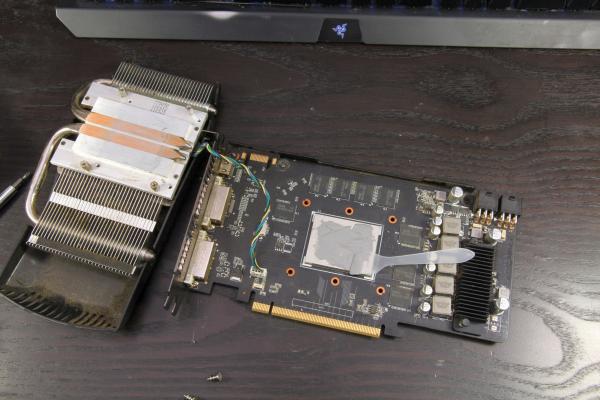
... until a thin, even film covers the entire surface. Small inaccuracies are not a problem.
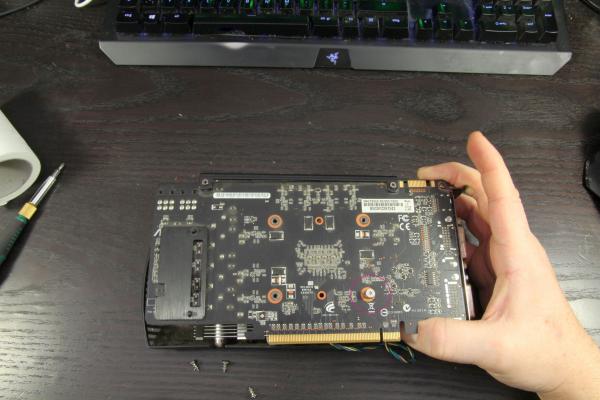
You can then reassemble the heat sink. Make sure that the heat sink and CPU / GPU are neatly placed on top of one another straight away so as not to smear the thermal paste. If necessary, it can help to use a first screw or a thin rod as a guide. Once the heat sink is in place, it is best to first screw in the opposite screw to lock everything in place.
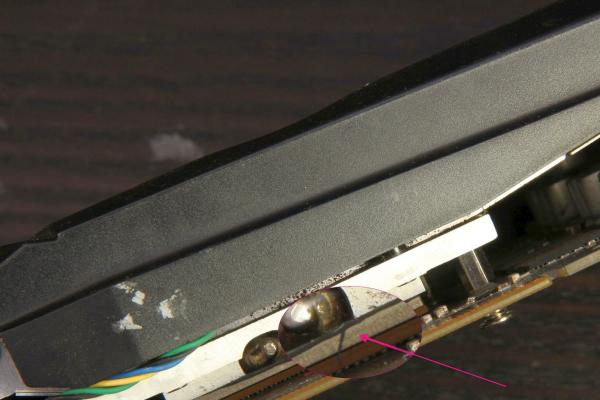
At the end you should - if the structure of the graphics card / mainboard allows it - check whether the thermal grease was squeezed out by the screwing together. If necessary, you can clean up with a cotton swab or something similar. A few drops on the outside of the cooler are not a problem either.
You can find more tips on building your own PC here.