You are familiar with list views, for example, from contacts on smartphones. ListView now allows you to create your own lists with data from databases or simple lists. Read here how you can create your first ListView, even if you have no prior knowledge of development.
What is ListView?
ListView is a view in Android development to display elements in a simple, scrollable list. This could, for example, be a list of contacts on the Android device. The elements of the list can come via a database query, be read from an external file or simply come from an array, i.e. they can be specified directly in the code as text.
The ListView element is described in great detail in the Android developer documentation, and there are also plenty of extensive examples on the Internet. However, basically all articles are aimed at more or less experienced developers. In other words: you have to be able to develop basic Android apps and understand many of the basics to get such a list.
In the following, we want to go a little differently and introduce you to the ListView as an introduction to development. It should not be about the many possibilities of data sources or the largest possible, illustrated list entries, but only about the absolute basic variant: An app that shows a list of fixed entries. You can then use this wonderfully as a springboard to plunge further into development work.
We'll show you the fastest possible way to set up a working list in two ways: Android Studio and MIT App Inventor. The Android Studio is the large development environment for Android with which you can develop professional applications. Without basic development skills and knowledge of the structure of Android apps, however, you will find it difficult to make any headway here. The MIT App Inventor, on the other hand, dispenses with a complicated environment and even without code: Here the design is created using a simple WYSIWYG editor and the program logic is put together using puzzle pieces. You can also program real apps with the App Inventor, but the possibilities are limited. But it really works without any programming knowledge!
ListView in Android Studio
So install Android Studio , if you haven't already, and start a new project. For the most part, you can simply click through..
1st step:
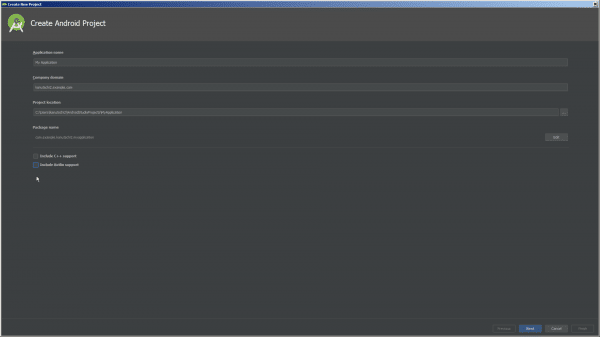 The choice of "Company domain" later affects parts of the code.
 2nd step:
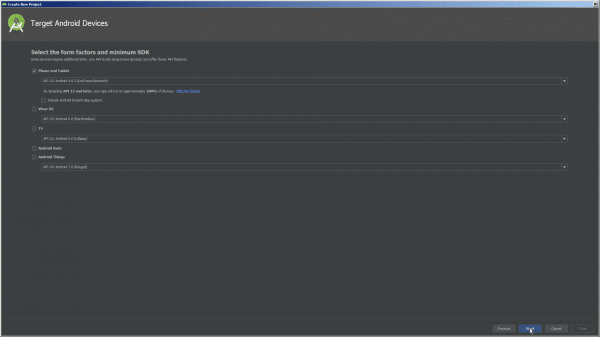 You can leave the standards here.
 3rd step:
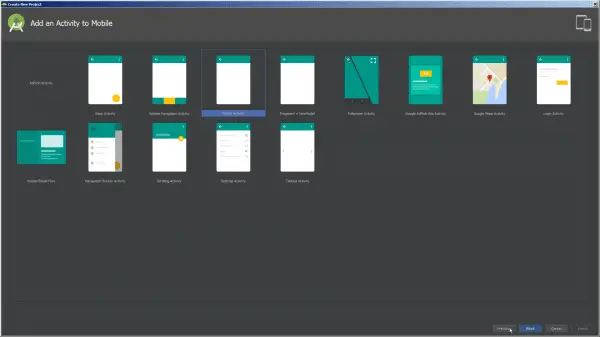 Select "Empty Activity" here.
 4th step:
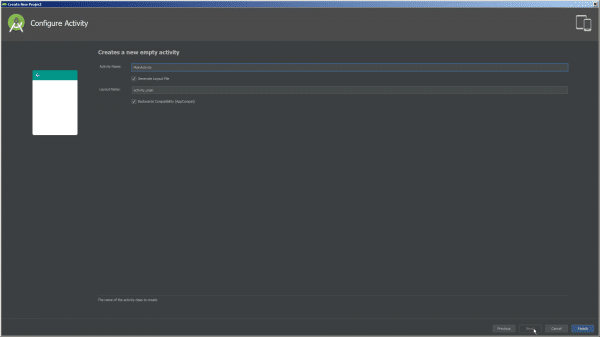 Again, you can keep the defaults for the sample code to work.
 You can also test the basic app created in this way directly: Click on the green " Play button " (Run app) in the top right corner . If this is the first time, you must first create a test device for the emulator using the " Create New Virtual Device " button . For example, select "Pixel 2" to get a virtual Pixel 2 smartphone for testing. You can simply click your way through the wizard. Then the app starts on the emulated device and shows - as usual - a simple "Hello world".
Two files are responsible for this, which you will change in a moment : " Java / com.example.USERNAME.myapplication " and " res / layout / activity_main.xml ". Open both of them with a double-click. With" acivity_main.xml "you can already see a preview.
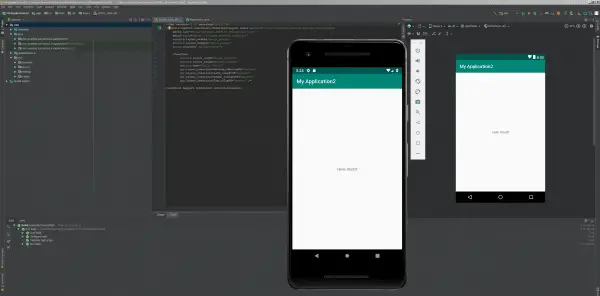 With the "Empty Activity" template you get a typical Hello World app.
 Define the ListView view in " acivity_main.xml ". Replace all of the code with the following:
 <?xml version="1.0" encoding="utf-8"?>
 <RelativeLayout xmlns:android="http://schemas.android.com/apk/res/android"
 xmlns:tools="http://schemas.android.com/tools"
 android:layout_width="match_parent"
 android:layout_height="match_parent"
 tools:context="${packageName}.${activityClass}">
 <!-- Alternativ fixe Angaben statt Variablen:
 tools:context="com.example.NUTZERNAME.myapplication.MainActivity"> -->
 <ListView
 android:id="@+id/android:list"
 android:layout_width="fill_parent"
 android:layout_height="fill_parent" />
 </RelativeLayout>
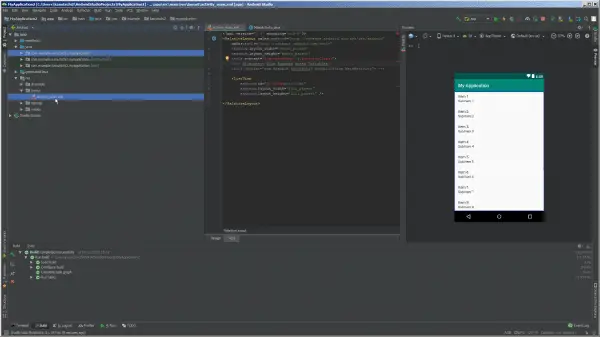 The finished "activity_main.xml" in Android Studio.
 Make sure to replace "USERNAME" with your name - as specified during the setup in the first screenshot of the gallery under "Company domain". This simply creates a simple layout with the ListView - all standard information that would go beyond the scope to explain in detail here. The line that begins with " tools: context " is interesting . Here "USERNAME" and the name of the "MainActivity.java" are given as variables - then it also works if your name is different from the one here. To make it easier to understand, the written variant is shown directly below as an alternative. You can of course delete the comment between "<" - and "->".
In the " MainActivity.java "replace the complete code again:
package com.example.NUTZERNAME.myapplication;
import android.app.ListActivity;
import android.os.Bundle;
 import android.view.View;
 import android.widget.ArrayAdapter;
 import android.widget.ListView;
 import android.widget.Toast;
 public class MainActivity extends ListActivity {
 String[] eintrag = {
 "Eintrag 1",
 "Eintrag 2",
 "Eintrag 3",
 "Eintrag 4",
 "Eintrag 5",
 "Eintrag 6",
 };
 @Override
 protected void onCreate(Bundle savedInstanceState) {
 super.onCreate(savedInstanceState);
 setContentView(R.layout.activity_main);
 //Listview adapter
 setListAdapter(new ArrayAdapter<String>(this,
 android.R.layout.simple_list_item_1,eintrag));
 }
 public void onListItemClick(ListView parent, View v,
 int position, long id) {
 Toast.makeText(this, "Ihre Auswahl : " + eintrag[position],
 Toast.LENGTH_LONG).show();
 }
 }
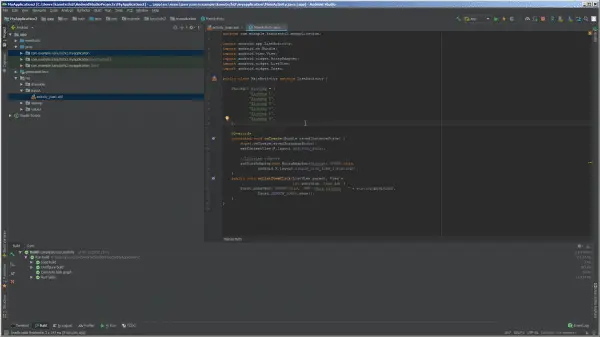 The finished "MainActivity.java" in Android Studio.
 Here, too, replace "USERNAME" in the first line. The required components are then imported. Then comes the actual list. Again, most of it is standard, which you can simply leave for testing. The content then follows in the "String" area: "Entry" is the name of the array in which the data is stored, "Entry 1" and so on are the values - and you can change them as you wish.
Under " Override " there are some standards for setting the view. At " Listview adapter " you will find another element that is not (halfway ...) self-explanatory: " simple_list_item_1 "is a permanently integrated layout. Alternatively, you could define this yourself in a separate file (as is also the case in the documentation and extensive tutorials). Last but not least," onListItemClick "determines what happens when you click on a list item Click / tap. Here "Your selection: Entry 1" or accordingly is output. You can also adjust that again.
Now start the app again via the "Play button" and you will see your completed list. That was of course a now Fast-forward, but you have a working ListView list, you know the relevant files and can now delve into the subject wonderfully..
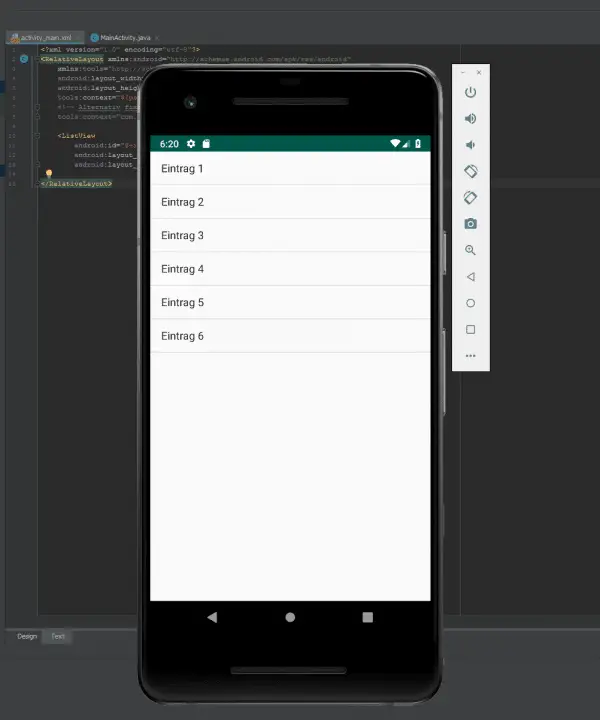 The finished Android studio app in the emulator.
 ListView in MIT App Inventor
With the App Inventor , too , we will try a quick run-through, but briefly to the concept: You first create a design in the browser by placing buttons or a list view on a screen. Then you put together a few puzzle pieces called "blocks" to fill the list view with content. And then comes the kicker: You can test live on your real Android device. To do this, first install the MIT AI2 Companion on Android. Later you will establish a connection between App Inventor and Companion via a QR code and see your development from the browser live on the Android screen.
Sign in to App Inventor and start a new project. You land directly in the "Designer" and see an Android screen in the middle. Now drag a " Button " from the left-hand navigation from the " User Interface " area onto this . At the bottom right of the window, under " Properties / Button 1 / Text ", name the button " Load list ". Then add the " ListView " element to the app using drag & drop.
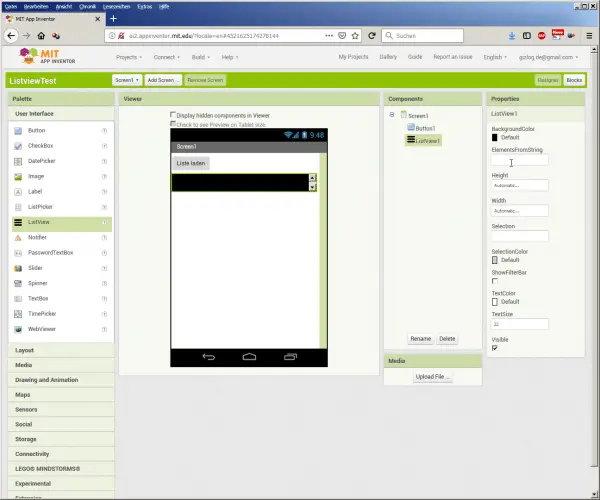 The designer in the App Inventor.
 Now switch to " Blocks " using the button at the top right . Here, too, drag & drop is used. Click on " Button 1 " in the navigation and drag the " when Button1.Click " element into the middle. This determines what happens when the button that has just been created is pressed.
Click on " ListView1 " and drag the element " set ListView1.Elements to " into the existing button element - it docks directly under the "when" in the block. This is the aforementioned puzzle work. This block says that after clicking the button, the elements of the list should be set, which is done via two more elements.
First, dock " Lists / make a list ". Then click on the little gear to add further" items "(list entries) to the list - again using drag & drop. For example, define four list entries. Now dock the" Text / "" element to each of these entries. Now you can click into these empty text blocks to write the actual texts for the entries.
But in this case a picture is worth a thousand words, this is how the finished puzzle should look like:
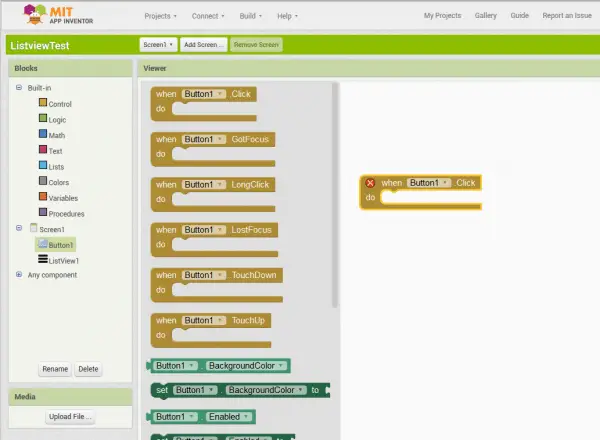 The App Inventor concept: Instead of code, there are puzzle pieces that basically cannot be put together incorrectly.
 So when you were doing the jigsaw puzzle, you decided: When the button is pressed, the list should be filled with a list that contains the following texts.
Time to test: Click on " Connect / AI Companion " above (a QR code will appear), open the AI Companion on Android, click on " scan QR code " and scan the code. If that doesn't work, reset the connection in the browser via " Connect / Reset connection " and try again. This time, however, check the box next to " Use Legacy Connection " in the AI Companion - it helped here.
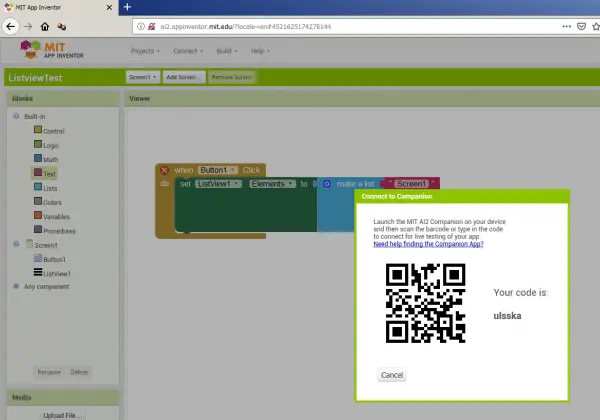 Simply scan the QR code and the App Inventor app runs on the real smartphone.
 From now on you can see every change from the App Inventor without further action on the Android device. Testing is fun!
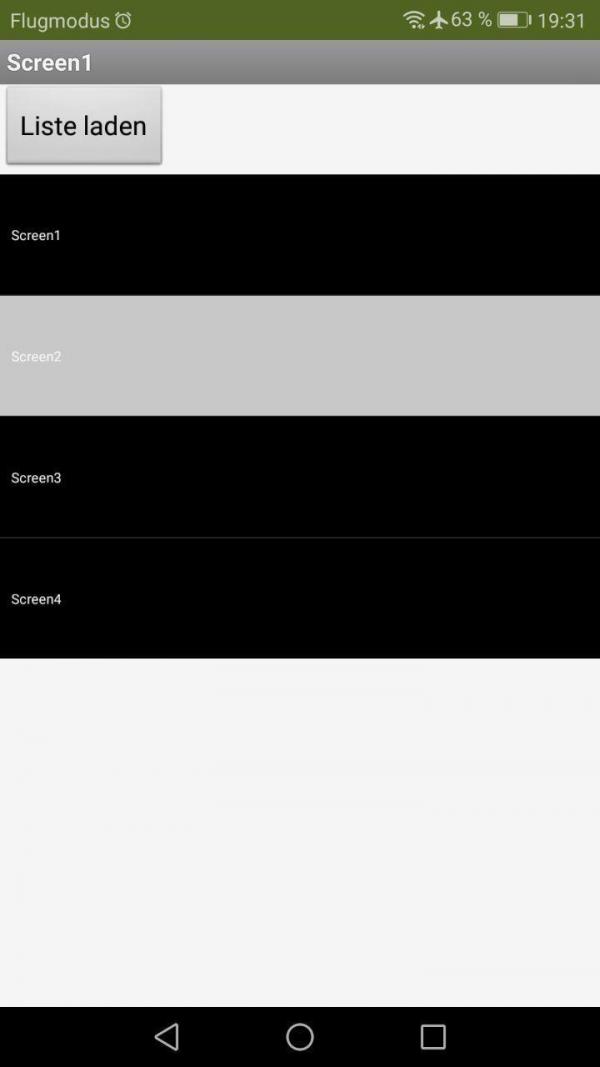 The finished App Inventor app: Not pretty, but a list.
 These were two very quick ways to get to the ListView. In practice, you will still have to look up many, many components for a real app. And that is exactly what will be much easier for you once you have a working minimal app.