A transparent background is great for logos or images that you want to put on other backgrounds without borders. For this it is important that you choose the correct file format when saving, because not all formats can map alpha channels. The alpha channel is an additional channel for color information in image and video editing programs. It saves the transparency. The advantage of this is that no image data is lost and the color depth is retained. Warning: The most popular image format, JPEG, does not support the alpha channel, for example. We'll show you what to look out for in the free GIMP image editing software.
Tip: If you would like to use the program in other ways, we have a GIMP beginners tutorial for you here.
Crop the image
Before you can save the transparency, you have to crop your image, that is, remove the current background. This can be time-consuming depending on the background. We'll show you two tools with which you can remove either single-color or detailed backgrounds..
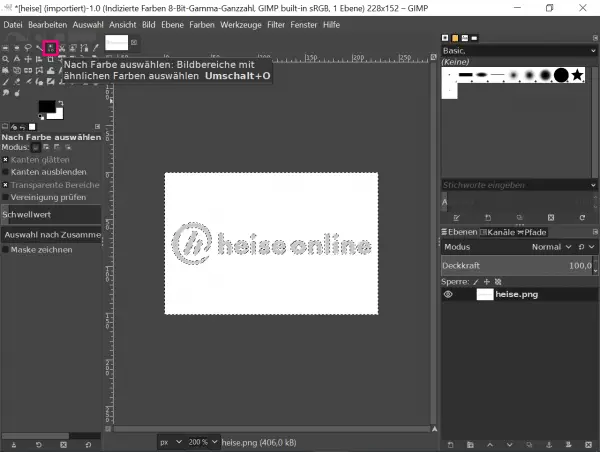
Single-color background: If the background is a single-color, you can simply click on the background with the " Select by color " tool and select the entire background. Your selection is indicated by the dashed border lines. If you then press the [Del] key, you have cropped your image.
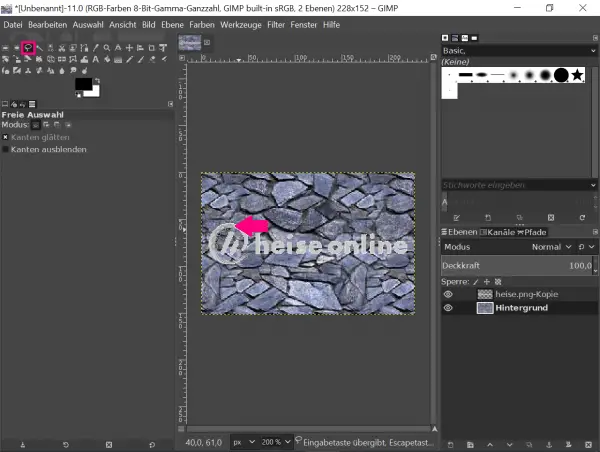
Detailed background: If you have a detailed background, it is advisable to select the object that you want to highlight using the " Free Selection " tool. To do this, follow the shape of your object or set individual points until you have completely outlined the object ..
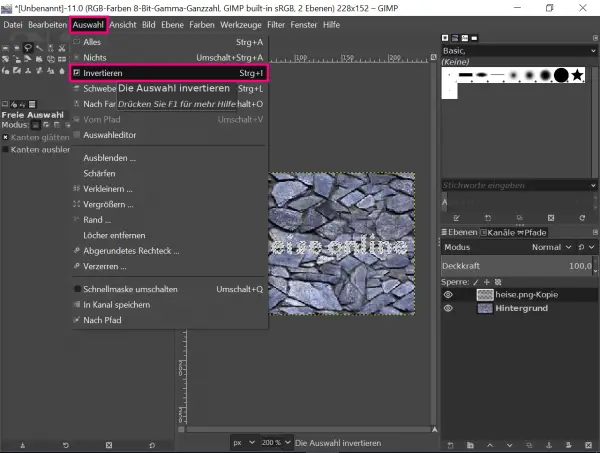
Then go to " Invert " via the menu item " Selection " so that the dashed line now delimits your background. Now you can also delete the background here with the [Del] key .
Create and save transparency
Follow our step-by-step instructions or take a look at the brief instructions .
1st step
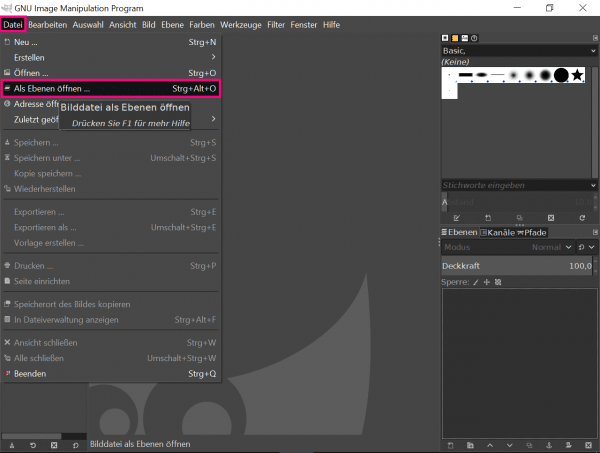 Open GIMP and go to " Open as Layer ... " via the menu item " File " or press the key combination [Ctrl] + [Alt] + [O] . Then find the picture that you want to save the background of as transparent.
1. Click on " File " in the menu and then on " Open as layer ... ". Alternatively, you can press [Ctrl] + [Alt] + [O] . 2. Then you go under " Level " to " transparency " and then on " Add Alpha Channel " .3. Now you can crop your picture / object, depending on the background, with the tool " Select by color " or " Free selection ". With [Del] you remove the background so that a gray checkered area appears. 4. Now save your picture via " File " and then " Export to ... ".Note under " File Format "select an image format that can display transparency, eg" PNG ". Finally, click on" Export ".