Ubuntu Server can be set up quickly and easily if you can handle the many text menus. We show the complete installation step by step in the picture. You will also read how to set up web and database servers and how to equip Ubuntu Server with a graphical user interface for the browser.
Install Ubuntu Server
Ubuntu Server is a good option, for example, to build a Network Attached Storage (NAS) from an old computer or to operate a server for the home network. The first step is to download Ubuntu Server 20.04 LTS from the homepage. To do this, click on " Option 3: Manual install " on the official website and then on the " Download Ubuntu Server 20.04 LTS " button . Then burn the file to a DVD or copy it to a USB data carrier - you can find out how to create such a start medium here.
Then boot Ubuntu Server from CD / USB stick - you land in a text menu. The first page also tells you the most important things: You navigate with [ Arrow up ] and [ Arrow down ] and select the options with [ Enter ]. You can simply confirm most of the options - basically the same installation routine as with Ubuntu Desktop, just with text menus. You only need to be "creative" once, namely when assigning computer and user names as well as the password. Only if you do not want to install Ubuntu Server on the entire hard drive would you have to do the partitioning yourself in the process.
In the following picture gallery you can still see every single screen of the installation process:
1st step:
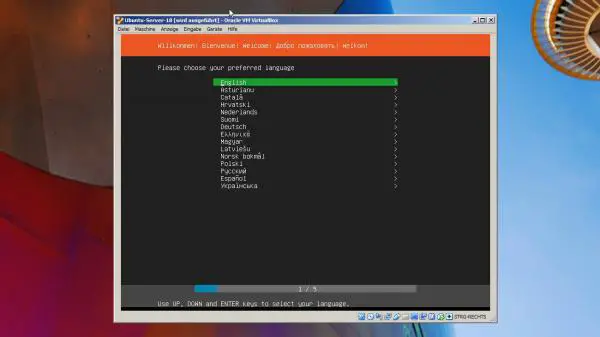 In the first screen you select the desired language for the assistant (even if this is not used continuously).
 2nd step:
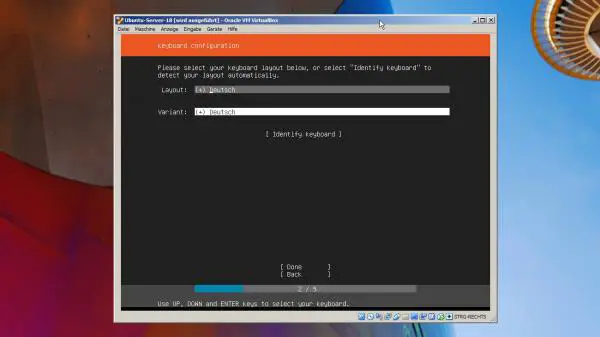 Set both options to " German " in order to have the correct keyboard layout.
 3rd step:
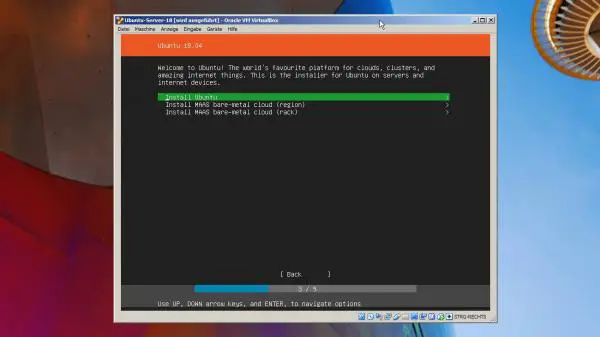 For a "normal" installation select " Install Ubuntu ".
 4th step:
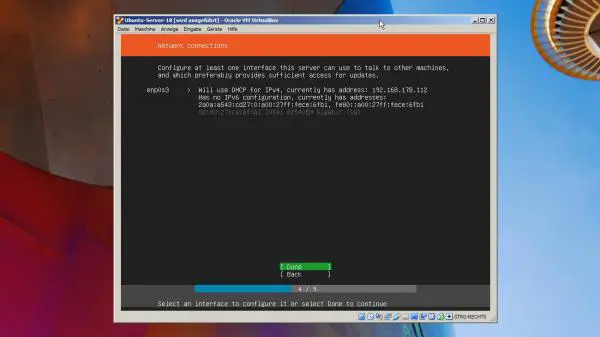 Ubuntu Server requires a network interface - stick with the default setting.
 5th step:
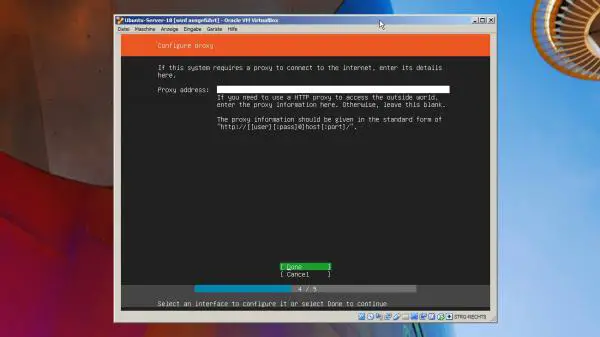 The proxy setting you can simply ignore the home network generally.
 6th step:
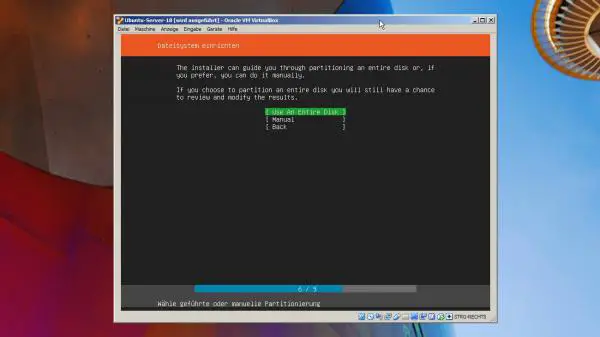 Under " Set up file system " select " Use An Entire Disk " to install Ubuntu Server on the entire disk.
 7th step:
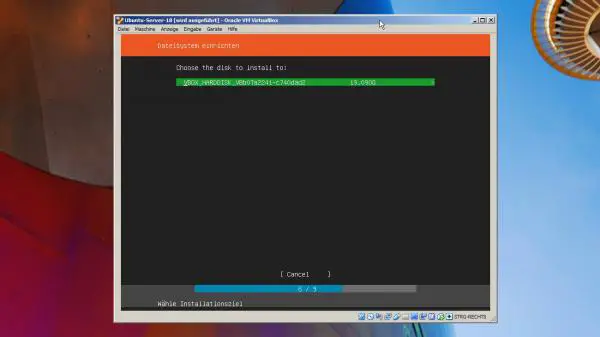 In this step, choose the hard drive you want . Choose carefully - all data on it will be lost!
 8th step:
 Confirm the summary .
 9th step:
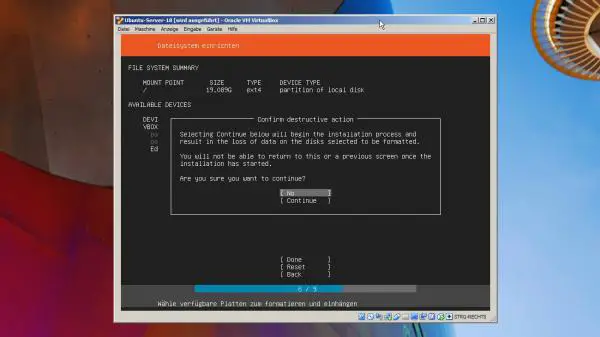 Confirm again that you know the data will be deleted .
 10th step:
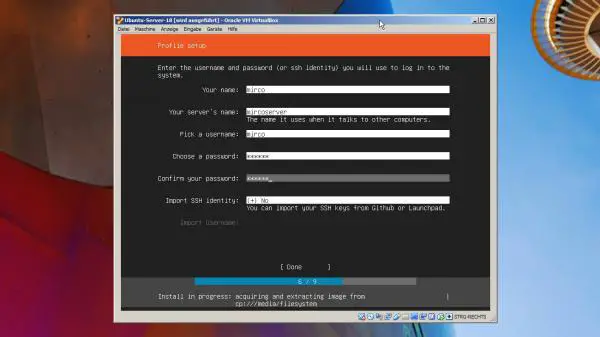 Now assign a username, password and server name - under "Name" you can enter your real name if you like.
 11th step:
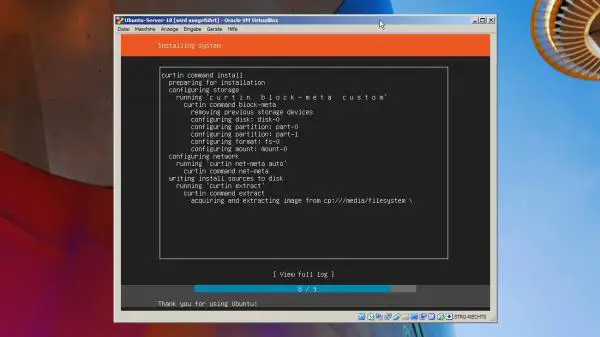 The actual installation then follows - be patient.
 12th step:
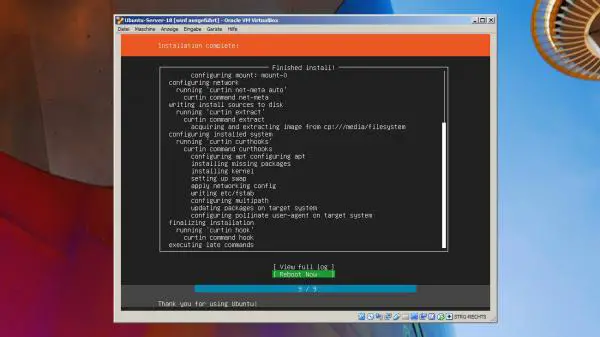 As soon as the installation is complete, restart the server using " Reboot Now ".
 13th step:
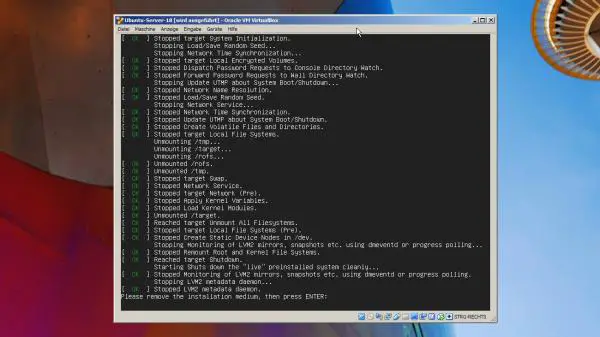 Before the server shuts down, you have to remove the installation medium on request and finally restart it with [ Enter ].
 14th step:
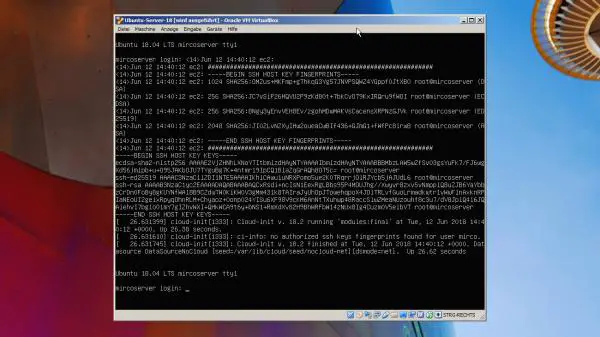 After the restart you will be greeted with a login - so log in with the username and password you have assigned.
 15th step:
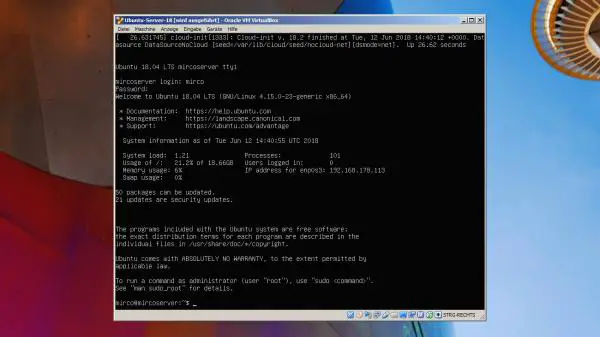 Then you land in a normal terminal - and you can get started.
 Set up web server & Co.
Ubuntu Server is of course not very exciting yet. What a server will usually need are a database server, a web server and a scripting language. And that's MySQL, Apache, and PHP by default .
You can install all these programs in one go:
sudo apt-get install apache2 libapache2-mod-php7.2 php7.2 php7.2-mysql mysql-server
You can test the installation immediately without any further work. Simply call up the IP address of your Ubuntu server computer, for example "192.168.178.100" in your network , and you should land on the Apache web server's welcome page. By the way, the files that Apache displays in the browser are located under " / var / www / html ". If you now create a" test "folder in it and copy a simple text file" test.txt "with the content" hello world "into it, you can also call it up immediately via" 192.168.178.100/test/test.txt "in the browser .
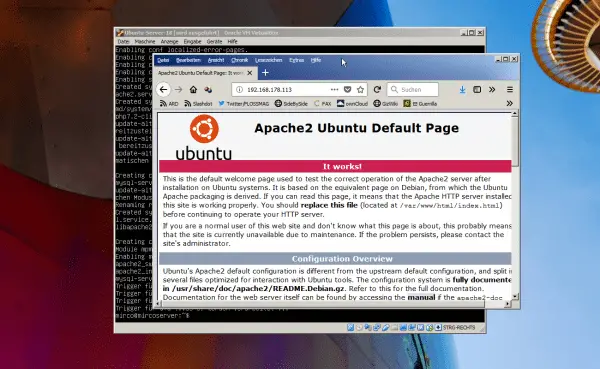 The Apache welcome page - if everything goes well.
Another essential tool is the database management tool PhpMyAdmin , which you install via " sudo apt-get install phpmyadmin ". The installer again asks a few questions, all of which you can simply confirm. You should then be able to access the tool via " 192.168.178.100/phpmyadmin ". "Should" because problems can certainly arise.
If logging in to PhpMyAdmin does not work, call the configuration assistant again via " dpkg-reconfigure phpmyadmin " - the username assumed by PhpMyAdmin so far is displayed again. By default this is " phpmyadmin "..
Retrofit graphical user interface
Even if Ubuntu Server deliberately doesn't have a graphical desktop, you probably don't want to do without a GUI entirely. After all, even the cheapest NAS offer graphical web interfaces. And since your server is working in the network anyway and can be accessed via the browser, you can also retrofit a convenient administration tool here.
One of the most popular tools is Webmin . For the installation you have to download Webmin first, which works in the terminal with the command " wget http://prdownloads.sourceforge.net/webadmin/webmin_1.881_all.deb " - you have to adapt the URL if necessary. Then install the downloaded DEB package via " dpkg -i webmin_1.881_all.deb ".
And yes, there will probably be error messages about some dependencies. In this case, try " sudo apt-get --fix-broken install " to reinstall missing dependencies. For a quick test, enter " dpkg -i webmin_1.881_all.deb " again - the message that nothing was installed should follow, but above all the error message should now not appear.
After the installation you can reach Webmin via " 192.168.178.100:10000 ". By the way: Just like PhpMyAdmin, Webmin does not end up in the "Document Root", ie under "/ var / www / html", but as a separate folder under " / usr / share "..
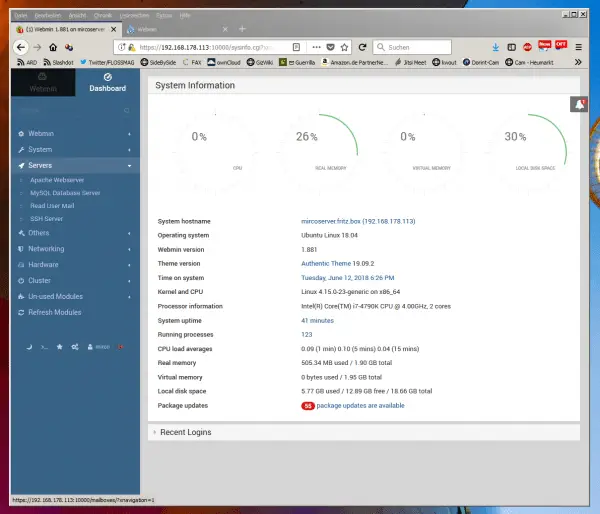 Webmin is an extremely comfortable graphical interface - but not always a matter of course for laypeople.
So you now have a running Ubuntu server with the usual LAMP shell (Linux, Apache, MySQL, PHP) and a graphical administration for the browser. But there is still a lot to be done in order to be able to draw real practical benefits: On the one hand, the components that have already been installed will still require one or the other configuration or troubleshooting. On the other hand, there is of course still a lack of functions or content.
Here you have two options for how to proceed: Either you set up (for test purposes) a few web tools such as WordPress, or any PHP calendar, MySQL soccer betting games, the free Dropbox alternative OwnCloud or whatever. Or you can install additional servers, for example for streaming media.
And when they all run smoothly and have been filled with content, you can try to make the server accessible via the Internet and secure it - preferably in the reverse order.