For some time now, Instagram has offered the option of converting a normal profile into a creator profile. This is especially useful if you want to publish and monitor your content in a more professional manner. In this article you will learn exactly which functions these are and how to create a creator profile.
These are the advantages of a Creator Profile
Creator profiles are designed to make it easier for individuals to use Instagram professionally. There are also a number of functions that help in everyday Instagram life. We will briefly introduce the four most important ones to you here:
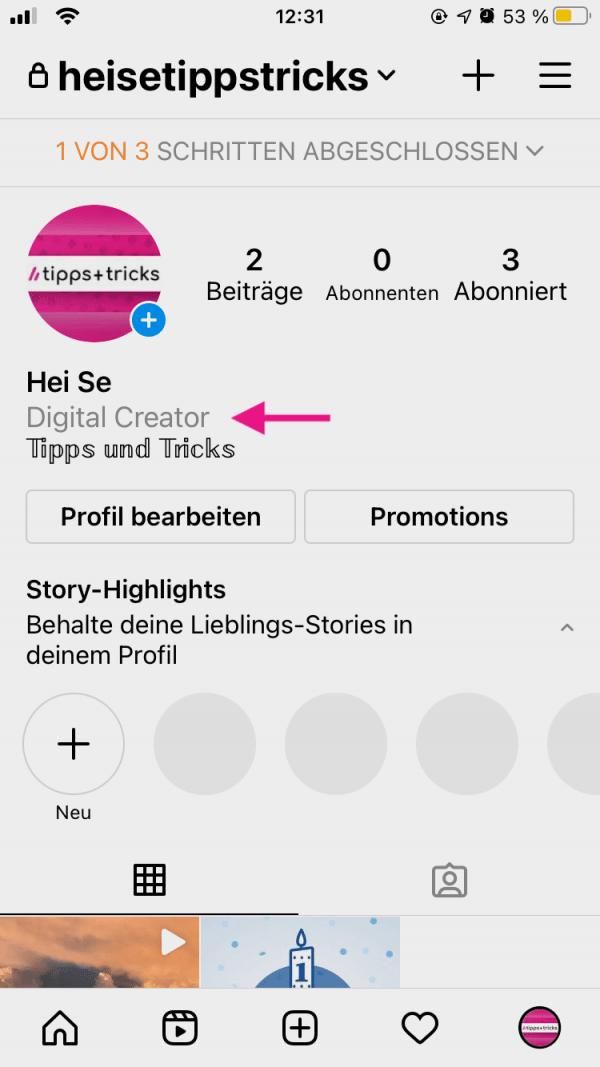
Assign profile to a category
Central is the ability to classify the profile in a category, which can then be displayed as a description above the biography. This shows followers at first glance what this profile is about. Examples are an artist, public figure, or personal blog..
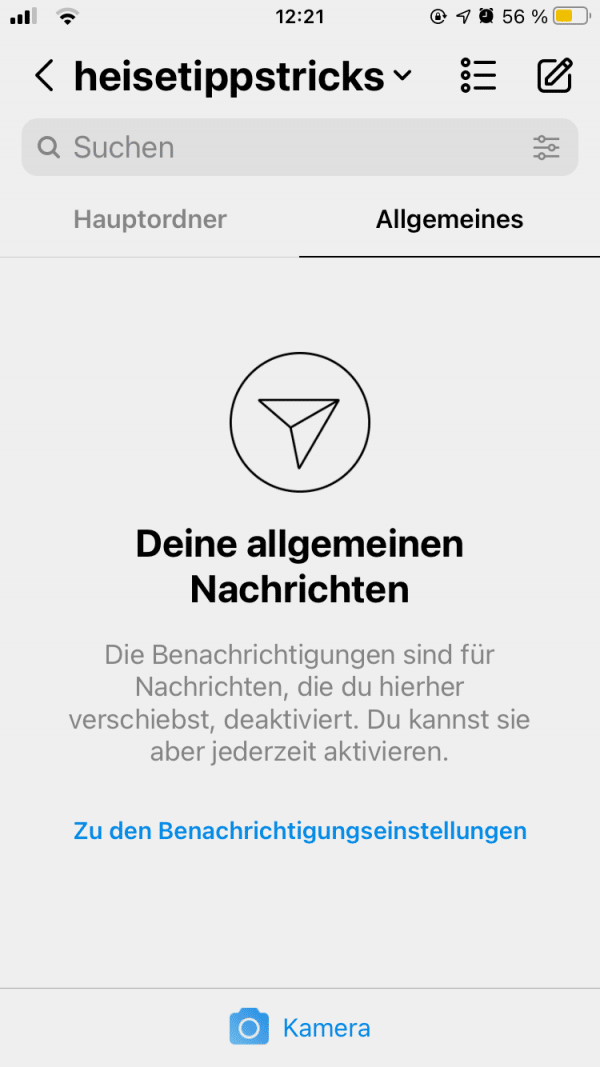
Easier communication
Interaction with followers is significantly simplified: In addition to the normal mailbox, in which only selected chats with frequent contacts are displayed, there is a “General” area. All other messages are displayed in this, but are muted.
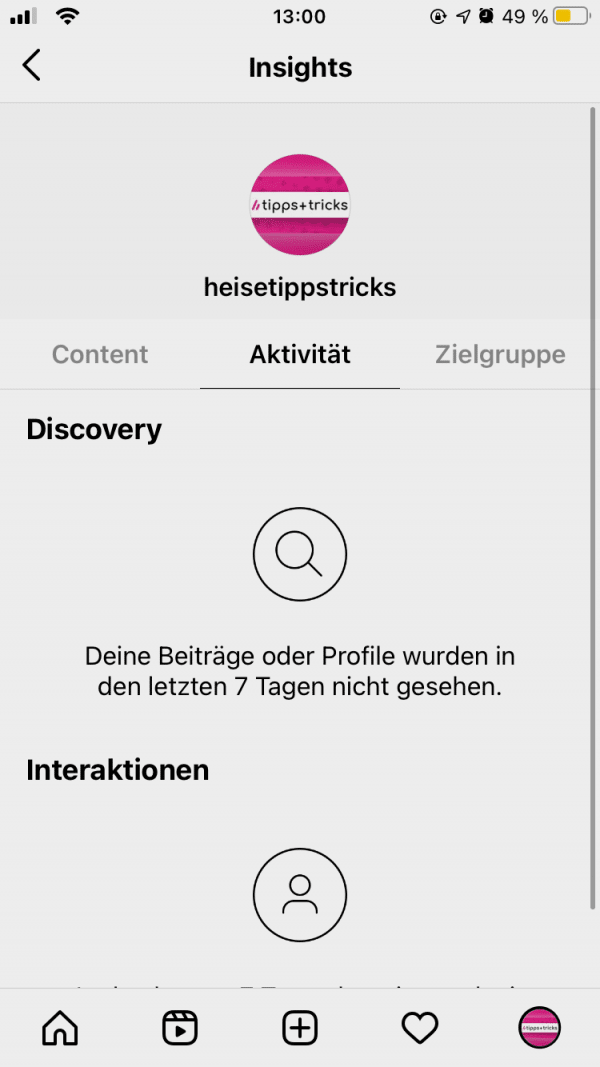
Insights
With the Insights, follower developments can be followed directly in Instagram and the success of posts can be viewed. This means that external tools no longer have to be used to analyze Instagram activities..
Plan posts ahead
Finally, with a creator profile, there is the option of linking an Instagram profile with Facebook Creator Studio. This also allows you to create, monitor, and plan ahead of time posts in the browser as well. You can find out how to schedule Instagram posts in this article.
How to convert your profile into a creator profile
The conversion to a creator profile takes place directly in the Instagram app..
Note : If you convert your profile to a creator profile, it will automatically be set to "Public". That means anyone can view, follow, and write your posts. You cannot switch your account to "private" until you convert your Creator profile back into a personal account.
Follow our step-by-step instructions or take a look at the quick start guide .
1st step
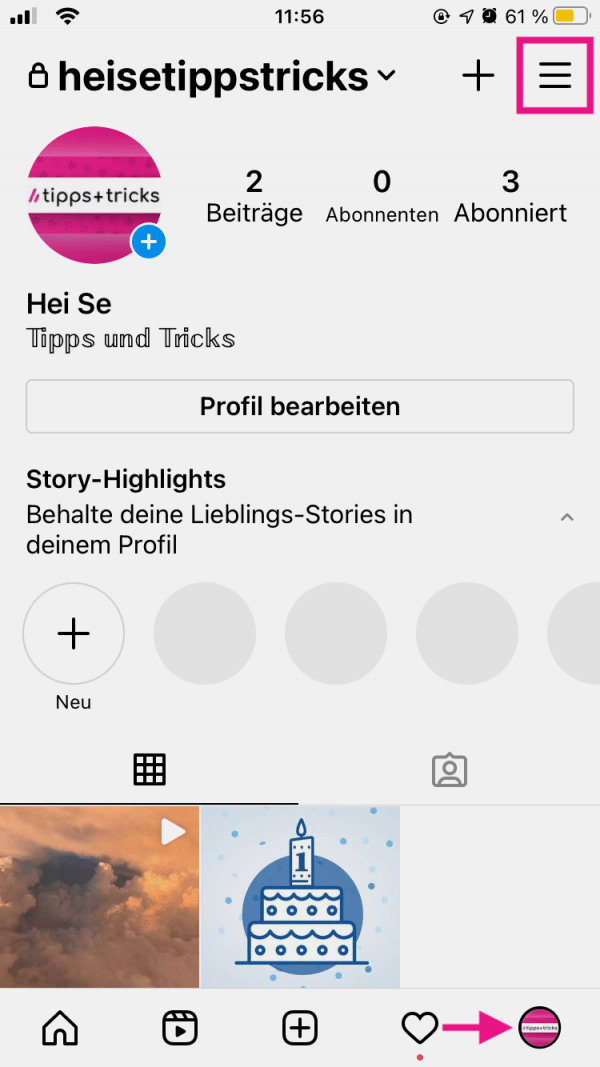 Open Instagram and go to your profile . There, tap on the three lines .
 2nd step
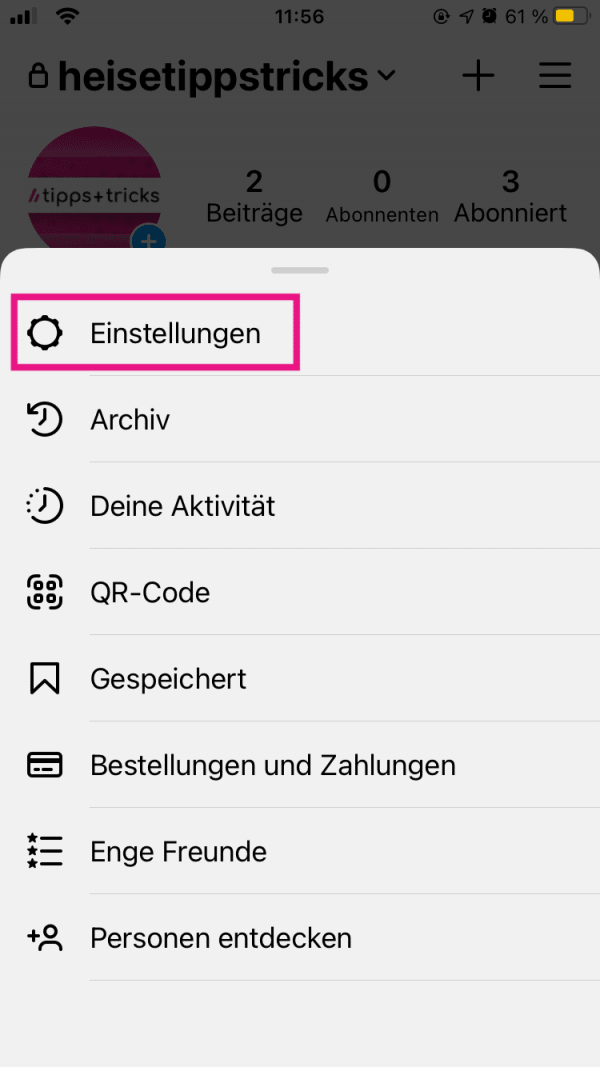 Then go to " Settings ".
 3rd step
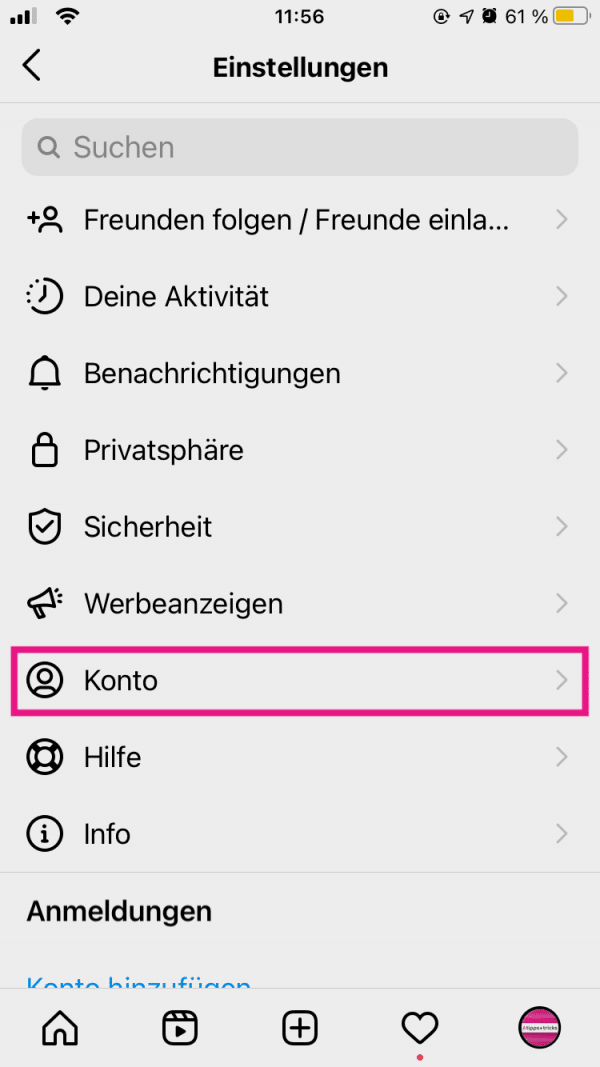 Now go to " Account ".
 4th step
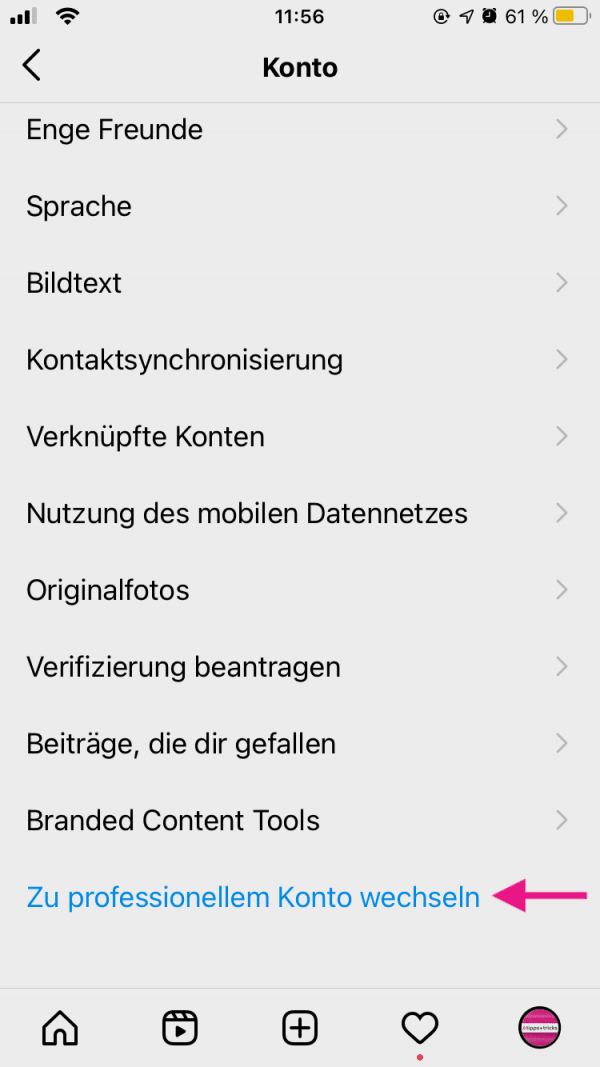 Scroll to the very bottom and tap “ Switch to Professional Account ”.
 5th step
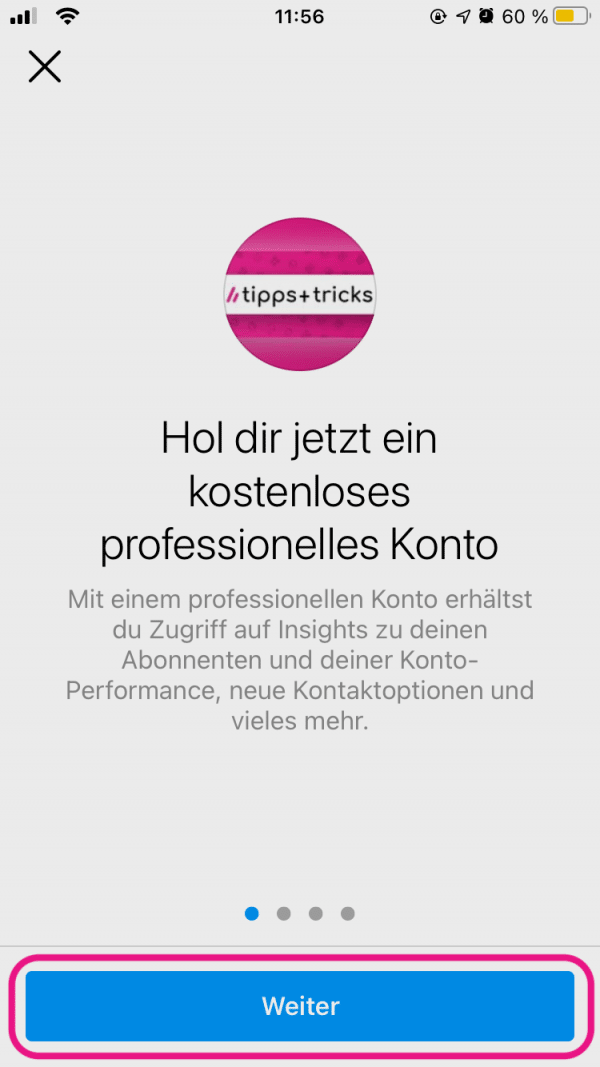 You will now be shown some information. Tap Next a few times until you are directed to the next Settings page.
 6th step
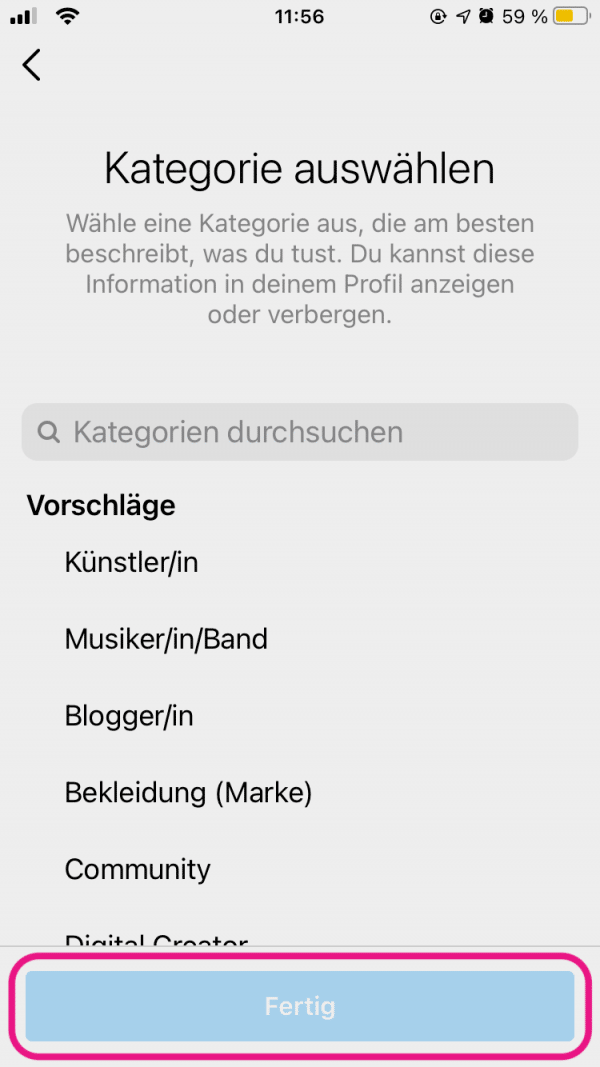 Here you can choose which category you want to assign your account to. Tap the category you want. You can change this setting later via " Edit profile " in the profile overview.
 7th step
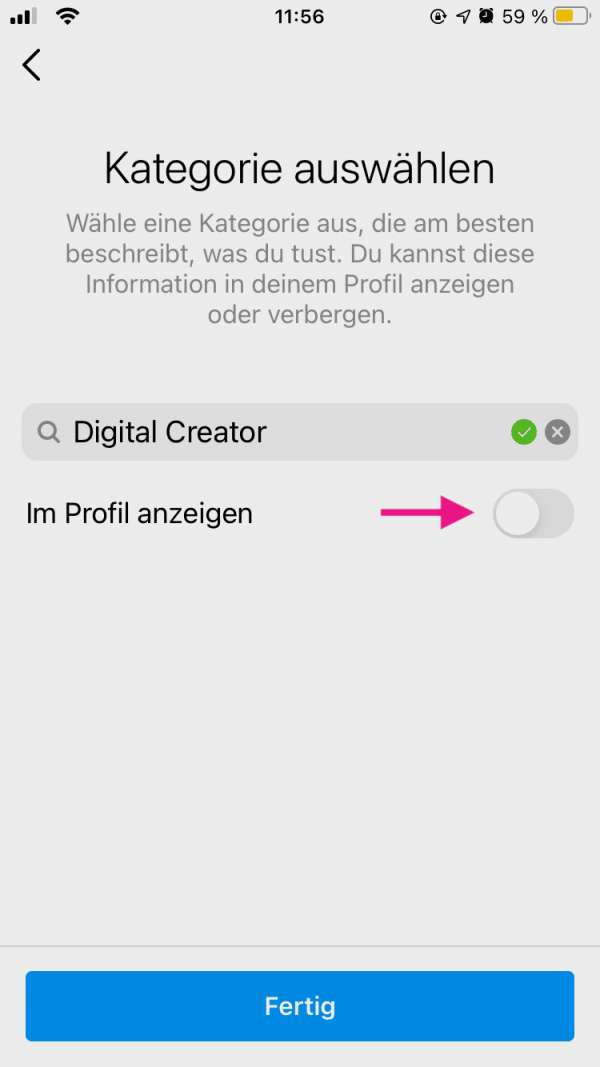 Now you can choose whether the category should be displayed in your profile by ticking the box next to "Show in profile " or not. Then tap on “ Done ”. You can also change this setting later via " Edit profile " in the profile overview.
 8th step
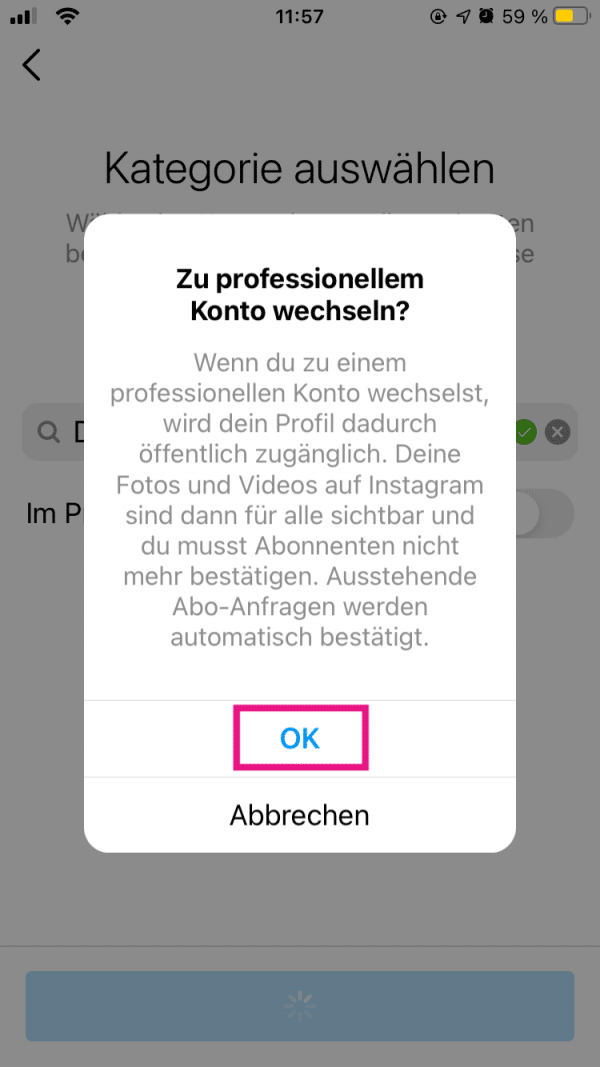 Confirm the conversion with " OK ".
 9th step
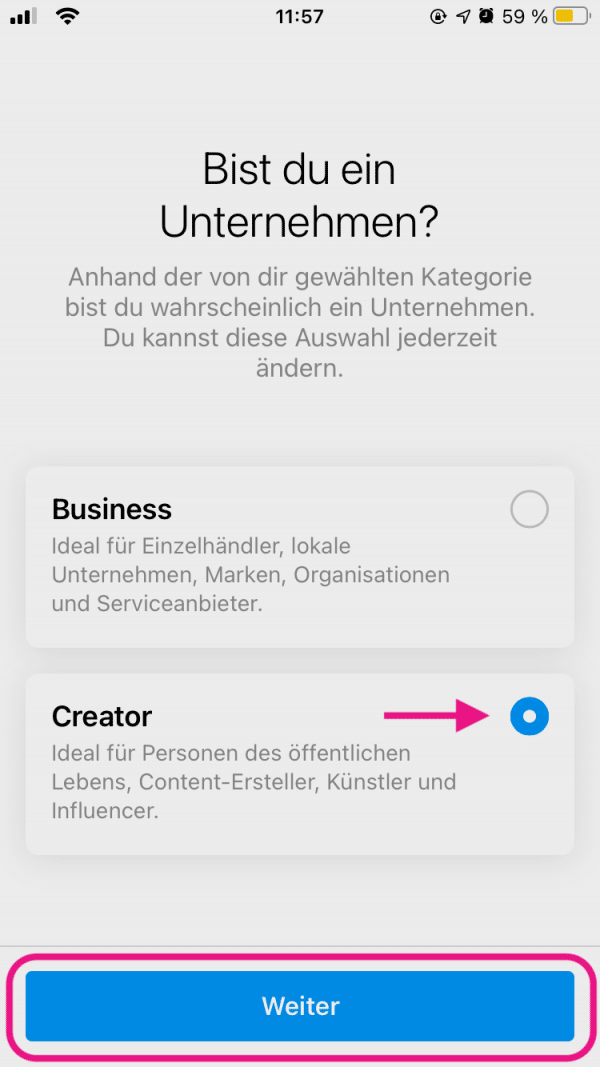 Select Creator to create a Creator Profile and tap Next .
 10th step
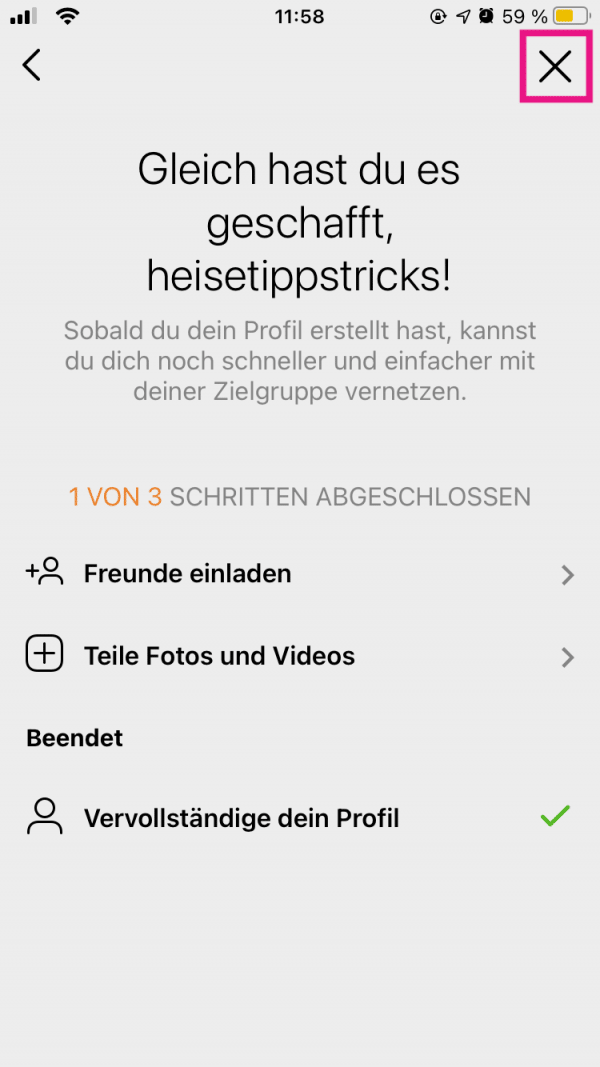 Your account will now be converted. You may see a message asking you to invite friends and share posts. You can skip this with a tap on the " X " symbol. After that, the setup is complete.
 quick start Guide
- Open Instagram, switch to the profile overview and tap on the three dashes .
- Go to " Settings " and then to " Account ".
- At the bottom, tap Switch to Professional Account .
- Skip the information shown by clicking several times on " Next ".
- Select a category that you'd like to place your account in.
- If you would like the category to be displayed in your profile, check the box next to " Show in profile ". Tap on “ Done ”.
- Go to " OK " to confirm.
- Select “ Creator ” and tap “ Next ”.