Windows 10 is an operating system that has been constantly updated, launching new editions each with new and improved functions, always focused on offering the end user the best alternatives for both compatibility and performance. When we navigate through the different folders that our operating system has, especially in the C drive that is where the operating system is installed , we can find a series of unknown folders or that we do not know what their actual use is. One of them is the Windows.old folder and it is nothing more than a folder that contains operating system files and settings. When we install Windows cleanly this folder does not exist, it will only be available when we update the system to a new edition..
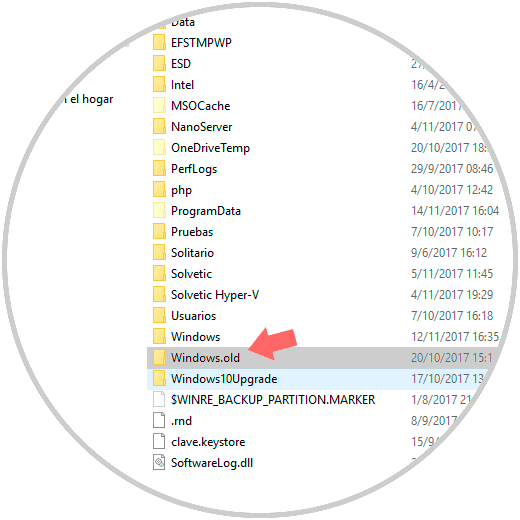
Once we see this folder there, if we consider that it is not useful we can proceed to its deletion, but we must take into account something, it is that in its content we can recover data that we considered lost. Today we will see how to delete this folder and thus gain some more space on the Windows C drive.
By default, when we update our current version of Windows 10 to a newer one, for example, we update from Creators Update to October 2018 , the system is responsible for creating a folder at the root of drive C called Windows.old. This folder contains files and the operating system settings and their inclusion in drive C is part of the system security measures since, if any process in the update task fails, it can be restored to the initial state without problem. This is because the Windows.old folder can undo the new changes. In addition to this, if the update is completed correctly, the backup copy of the previous version will be available in case we want to return to the previous version of Windows 10 through the Configuration utility..
Although this is a valid recovery and security option, the Windows.old folder can occupy more than 10 GB of space, this based on the current configuration, which represents a space on the hard disk that can be used for other most relevant tasks.
If our Windows 10 update works as expected, we can proceed to delete this folder and recover that space on the hard drive and therefore TechnoWikis will explain how to delete the Windows.old folder safely and completely in Windows 10. If you want to manage Also the space of your computer and that your most used partitions have a larger size, we leave you how to give more space to a partition in Windows 10..
To stay up to date, remember to subscribe to our YouTube channel! SUBSCRIBE
1. How to find Windows old folder in Windows 10
Step 1
The use of this folder is much more important than we think since when the Windows.old folder is created at the root of the Windows partition, there we will see the files and data of the previous operating system stored with the possibility of recovering data that we believed lost in case of failure.
Step 2
In this way, if the system installation fails on several occasions, this folder will get bigger and bigger and the folder will not be automatically deleted once it is working with the newest version of Windows, so we must delete it ourselves. themselves.
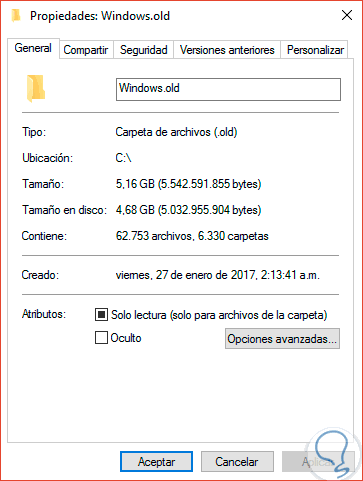
TechnoWikis will teach how we can delete this folder in Windows knowing that the process is identical in Windows 7 and Windows 10.
2. Delete Windows.old folder using Windows 10 Storage Sensor
Windows 10 integrates a storage sensor which gives us the possibility to manage all the parameters associated with space in Windows 10 and thus have options to delete content that we no longer use but that does take up disk space.
Step 1
To access this option, we will go to the Start / Configuration menu and there we will see the following:

Step 2
We go to the "System" category and then we will go to the "Storage" section where we will see this:

Step 3
There we click on the line "Change the way to free up space automatically" and in the new window displayed activate the box "Delete previous versions of Windows" located at the bottom and click on the button "Clean now":
3. Delete Windows.old folder using Windows 10 temporary files
Step 1
This is another of the options integrated in the Windows 10 Configuration utility, to use this mode we go back to the Start / Configuration / System / Storage path:
Step 2
This time we click on the line "Free space now" and Windows 10 automatically takes care of a complete system analysis to load each section that takes up space and display the size used, there we will see aspects such as Downloads, Temporary files, Delivery optimization and more, worse the point that interests us is the line "Previous installations of Windows". We can see in this case that it occupies 6.40 GB, there we must activate that box and click on the “Remove files” button to complete the task.
4. Delete Windows.old folder using Windows 10 drive properties
Step 1
For this we have two options:
- In the search box enter "liberator" and select the option "Liberator of hard disk space".
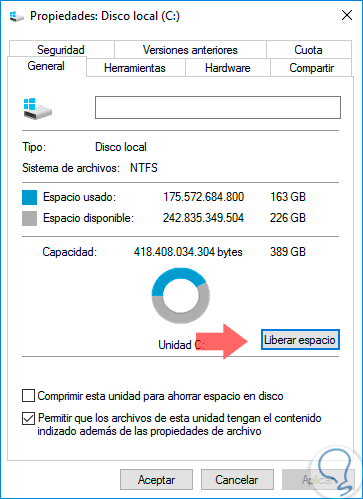
- Go to the Windows file explorer, right click on the C drive and there select the "Free up space" option.

Step 2
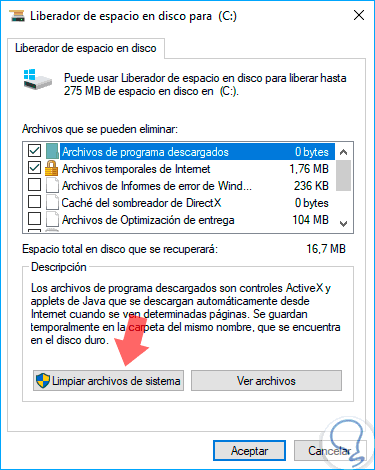
With any of the indicated options we will see the following window:

Step 3
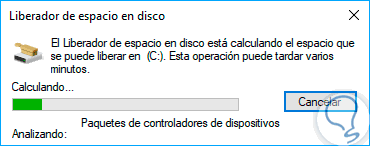
There we click on the "Clean system files" button located at the bottom and the tool will start scanning:

Step 4
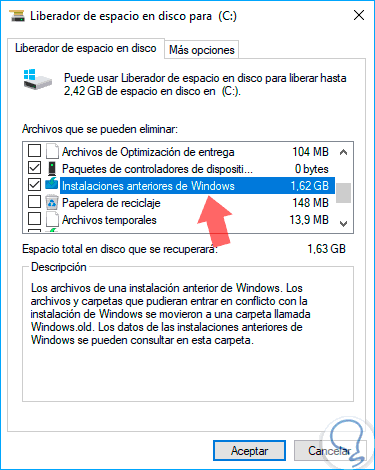
After this scan, the following window will be displayed where we go to the line "Previous Windows installations":
Step 5
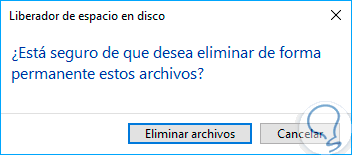
There we can see the size that it currently occupies in the system and click on OK to start the elimination process. The following message will be displayed. There we click on "Delete files" to proceed with the task.
Windows.old is a folder that can be useful in the first 10 to 15 days of system use, which is where we really test if it works without errors, but after this time we can delete it to avoid taking up additional space on the hard drive. Thus, we have removed the Windows.old folder from the system and has freed up a large amount of space on the hard disk.