In these days of network-level attack, we must emphasize more on the importance of having an updated operating system with the latest security patches issued by the manufacturer..
There are various types of updates , drivers, applications, system, but one of the most important and delicate are security updates. Although Linux is listed as one of the most secure operating systems, in reality it is, this does not exclude it from the fact that it is prone to suffer some type of attack.
When a new edition of an operating system is released, as in this case Ubuntu 17.10, the most recommended thing for the developer is to update the system to a security level in the following 30 days..
Today we will address a very useful issue at the management level and that is to schedule the automatic download and installation of security updates for Ubuntu 17 and thus we will save time and we will be sure that the system will always have the latest updates.
1. Update packages and install unattended updates in Ubuntu 17.10
Step 1
The first step to take is to update the packages installed on the system by executing the following command:
sudo apt update
Step 2
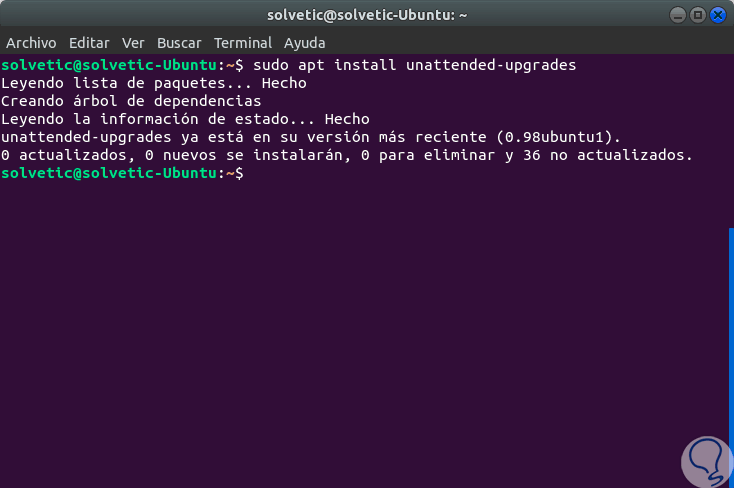
Once the system packages are updated, we proceed to install the unattended updates using the apt command as follows:
sudo apt install unattended-upgrades
2. Edit the configuration directory in Ubuntu 17.10
After installation, you will need to edit the configuration in the /etc/apt/apt.conf.d configuration directory .
The configuration of unattended updates is available in the mentioned directory, so we must edit the configuration to define the type of update, the blacklist updates and configure any additional configuration that occurs in the process..
Step 1
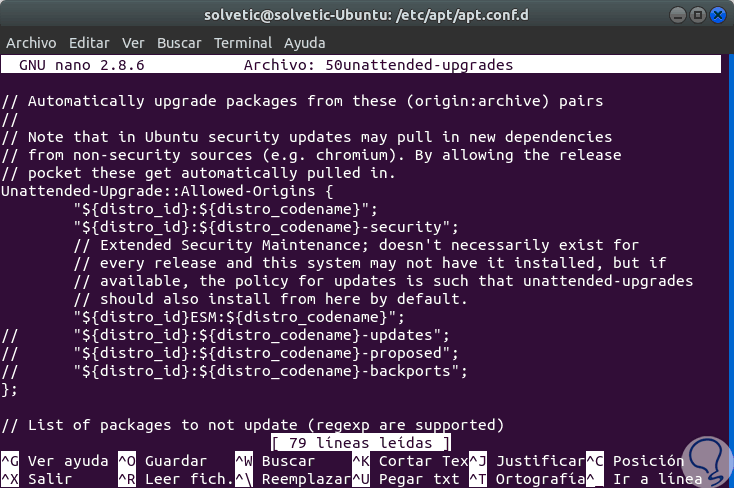
For this we will go to the /etc/apt/apt.conf.directory and edit the configuration file 50unattended-upgrades using the nano editor:
cd /etc/apt/apt.conf.d/sudo nano 50unattended-upgrades
Step 2
This will look like the file:
3. Define the update type in Ubuntu 17.10
It will be necessary to define an update and / or upgrade type for the operating system. The unattended update package provides some form of automatic updates, including updating all packages and only security updates. In this case, we are only going to enable the security update for Ubuntu 17.10.
In the configuration of the first block “Allowed-Origins”, we will comment on all the lines and leave only the security line as follows:
Unattended-Upgrade :: Allowed-Origins {// "$ {distro_id}: $ {distro_codename}"; "$ {distro_id}: $ {distro_codename} -security"; // Extended Security Maintenance; doesn't necessarily exist for // every release and this system may not have it installed, but if // available, the policy for updates is such that unattended-upgrades // should also install from here by default. // "$ {distro_id} ESM: $ {distro_codename}"; // "$ {distro_id}: $ {distro_codename} -updates"; // "$ {distro_id}: $ {distro_codename} -proposed"; // "$ {distro_id}: $ {distro_codename} -backports"; 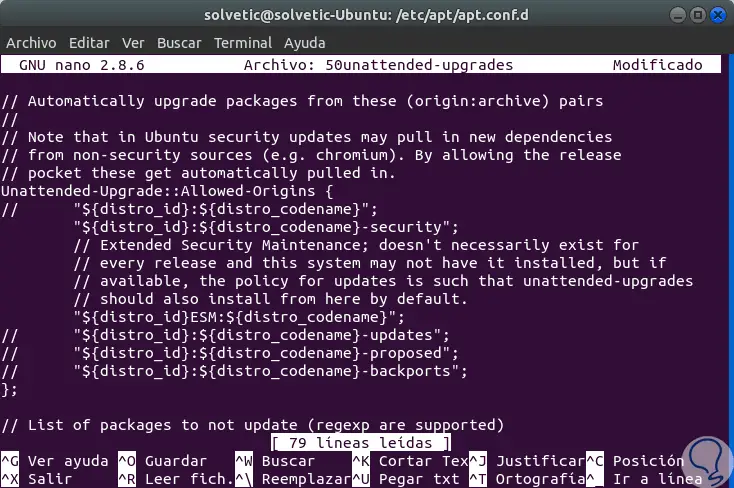
4. Set up blacklist packages in Ubuntu 17.10
In the second block, there is the blacklisted package configuration. There we can define which packages are allowed for an update and which are not. This is useful when we do not want certain packages to be updated within the operating system.
In this section, just as an example, we will not allow 'vim', 'mysql-server' and 'mysql-client' to be updated, in this case, our blacklist setting should be similar to the following structure:
Unattended-Upgrade :: Package-Blacklist {"vim"; "mysql-server"; "mysql-client"; // "libc6"; // "libc6-dev"; // "libc6-i686"; }; 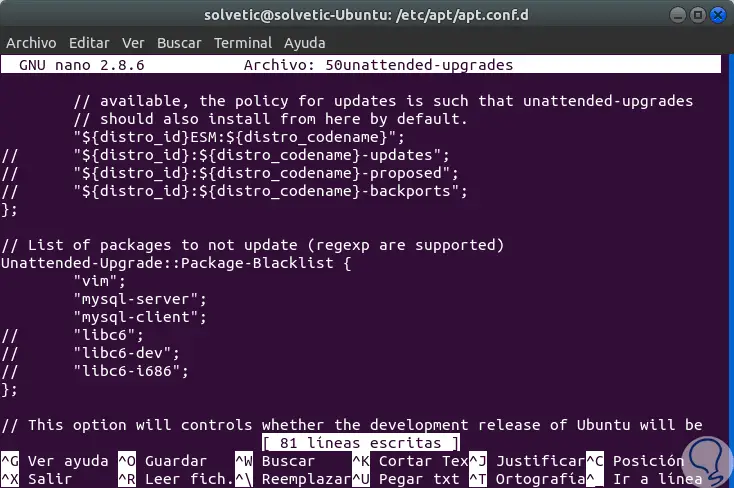
5. Additional configuration in Ubuntu 17.10
It will then be possible to add and enable some features provided by unattended updates. For example, we can set an email notification for each update, enable automatic removal of unused packages (apt autoremove automatically), and enable automatic restart if necessary.
Step 1
For email notifications, delete the comment on the following line:
Unattended-Upgrade :: Mail "root";
Step 2
If we choose to receive notifications by email we must ensure that the mailx or sendmail packages are installed on the operating system. These can be installed using the following command:
sudo apt install -y sendmail
Step 3
To enable automatic removal of unused packages, we will remove the comment from the following line and change its value to true:
Unattended-Upgrade :: Remove-Unused-Dependencies "true";
Step 4
And if we want an automatic restart after the update, if necessary we will remove the comment from the Automatic-Reboot 'and change the value to' true ':
Unattended-Upgrade :: Automatic-Reboot "true";
Step 5
After configuring this automatic restart, the server will automatically restart after all update packages have been installed. However, we can configure the server restart time by uncommenting the corresponding configuration line and changing the restart value like so:
Unattended-Upgrade :: Automatic-Reboot-Time "00:00";
Step 6
We save the changes using the following key combination:
Ctrl + O
We exit the editor using:
Ctrl + X
6. Enable automatic updates in Ubuntu 17.10
Step 1
To enable automatic package updates in Ubuntu 17.10, we must edit the automatic update settings by accessing the following directory:
cd /etc/apt/apt.conf.d/
Step 2
once we access, we will use an editor to access the following file:
sudo nano 20auto-upgrades
Step 3
In the displayed file we will add the following:
APT :: Periodic :: Update-Package-Lists "1"; APT :: Periodic :: Download-Upgradeable-Packages "1"; APT :: Periodic :: AutocleanInterval "3"; APT :: Periodic :: Unattended-Upgrade "1";

Step 4
We save the changes using the following key combination:
Ctrl + O
We exit the editor using:
Ctrl + X
Step 5
The lines added or configured are:
Update-Package-Lists
1 enables automatic updating, 0 to disable it.
Download-Upgradeable-Packages
1 enables the automatic download package, 0 to disable it.
AutocleanInterval
Allows you to enable self-cleaning packages for X days. The configuration shows 3-day automatic cleaning packages.
Unattended-Upgrade
1 enables automatic updating, 0 to disable it.
At this point, all security updates will be downloaded automatically and then installed on the operating system.
7. Verify records of unattended updates 17.10
To identify all the updated packages, we must check the unattended update logs located in the / bar / log / unattended-upgrades directory.
Step 1
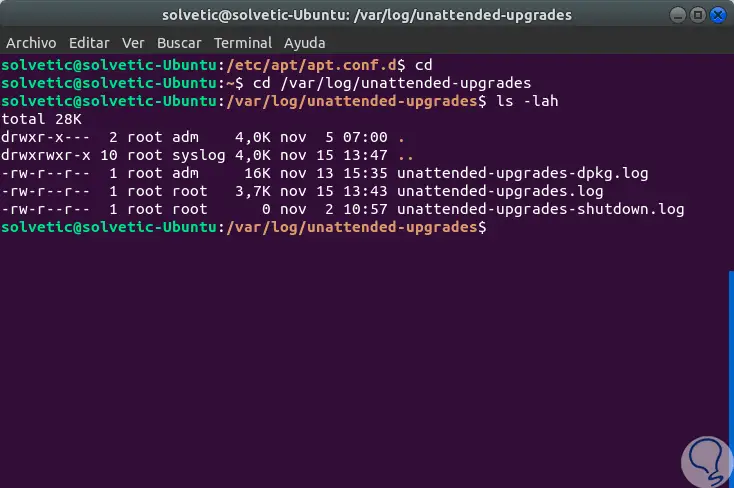
We can go to the / var / log / unattended-upgrades directory and check the available logs:
cd / var / log / unattended-upgradesls -lah
Step 2
There we can see three logs:
unattended-upgrades-dpkg.log
It involves unattended updates to the action logs to update, update, or remove packages.
unattended-upgrades.log
It is an unattended log file. It includes the update / upgrade package list, blacklist package list and the unattended error message (if there is an error).
unattended-upgrades-shutdown.log file
Refers to shutdown events.
Step 3
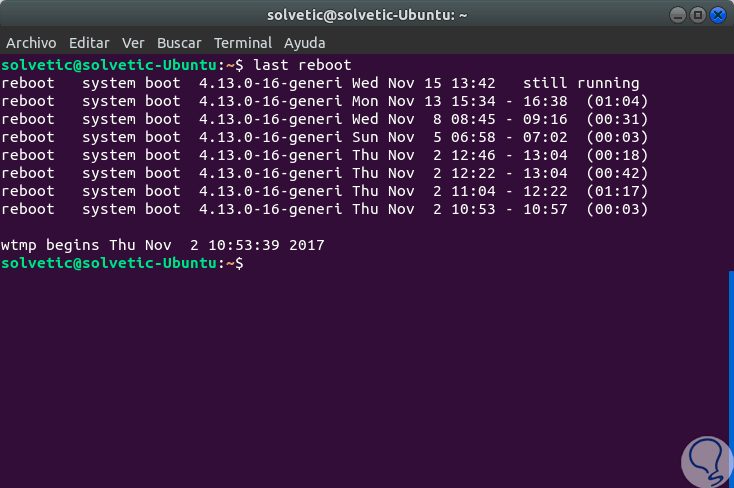
For verification of system restarts, we can use the following command:
last reboot
With these practical options we can configure according to the needs that are currently in the organization.