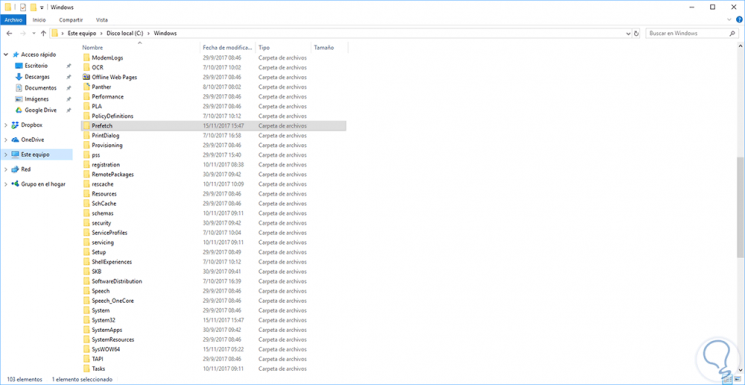
When we work and we have an operating system like Windows, be it 7, 8 or 10, we can see that when accessing the path C: \ Windows , which is where the operating system is hosted, we find various folders that we have never seen, one of these in particular is the Prefetch folder in the path C: \ Windows \ Prefetch:
What is Prefetch and Superfetch folder in Windows
This Prefetch folder was added by Microsoft from the well-known Windows XP but we can see that it is still used in Windows 10. The main function of the Prefetch folder is to host direct data from the applications that we run within the system in order for them to be loaded much faster thus streamlining the work process.
Basically, Microsoft has developed Prefetch as an algorithm that has the ability to detect and anticipate cache errors, especially when the operating system requests data that does not exist in the local cache, and Prefetch is responsible for storing this data, which does not exist. , in the cache so that your access is much faster..
Another of the folders that we can find at the root of Windows is the Superfetch folder, which is constituted as a function capable of determining or deciding which application or program should be executed in order to load all the files and associated data from it. in memory of.
Next, we will see how to disable Superfetch and Prefetch folders easily..
1. How to disable Prefetch in Windows 10 using Registry Editor
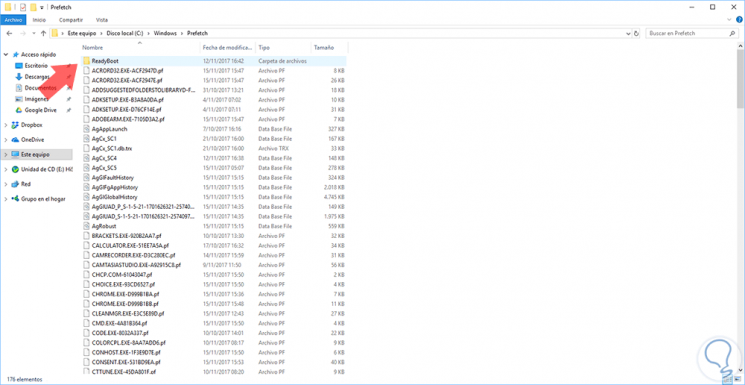
A good practice that we can carry out is to periodically clean this data to optimize its performance. The files that are hosted in the Prefetch folder have the extension PF:
When we run a new application in Windows, new data with a PF extension is created in the Prefetch folder which results in a relatively quick opening of the application. But it is important to clarify that, since there are data already hosted there, the operating system will have less information for analysis and this impacts the speed of data search. We currently know two types of hard disk drives:
- HDD: Mechanical Hard Drives
Prefetch plays a fundamental role when we work with HDD disks because the reading speed of this is much slower than an SDD, thus, if we use HDD disks the value to define for EnablePrefetch must be 3 which is the default .
Now, with the new incursion of solid state SDD hard disks, we have much faster disks for both system startup and access to applications, so enabling Prefetch is not a recommended task since it is not needed by users. own characteristics of the hard disk. In the case of using SDD disks we can set the value to zero (0) for its disablement..
Step 1
The first thing we will do is open the Registry editor in the following way:
Step 2
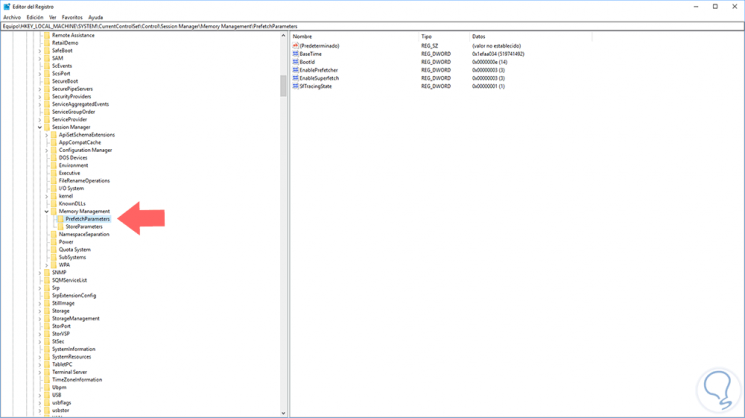
The default Prefetch settings are hosted in the Windows logs at the following location:
HKEY_LOCAL_MACHINE \ SYSTEM \ CurrentControlSet \ Control \ Session Manager \ Memory Management \ PrefetchParameters.
Step 2
The EnablePrefetch value can be set with any of the following values. To disable it we will choose 0.
Prefetech Values
- 1 = Application Launch Preload Enabled
- 2 = Startup preload enabled
- 3 = Applaunch and Boot enabled (optimal and default) which is the default value.
2. How to disable Windows 10 Superfetch folder using Services
Now, if what we want is to disable the functionality of Superfecth we will do the following:
To stay up to date, remember to subscribe to our YouTube channel! SUBSCRIBE
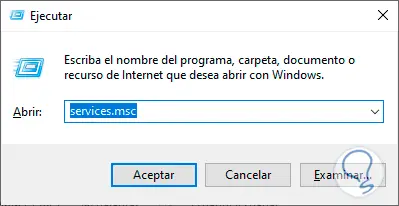
Step 1
We must access the system services with the following key combination and in the displayed window we enter the line services.msc.
+ R
Services.msc
Step 1
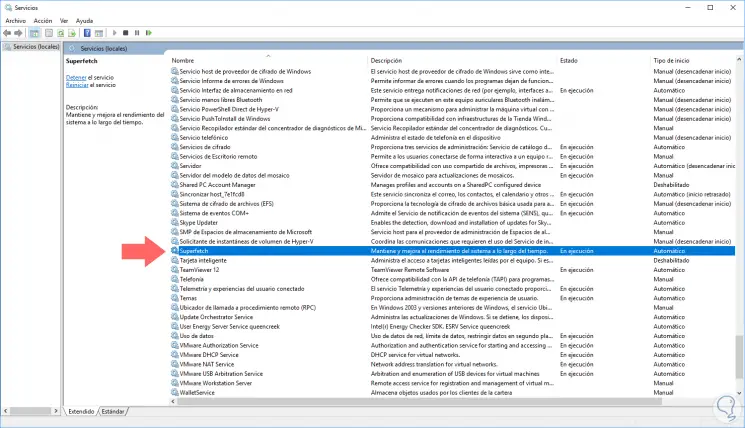
In the displayed window we will locate the service called Superfetch:
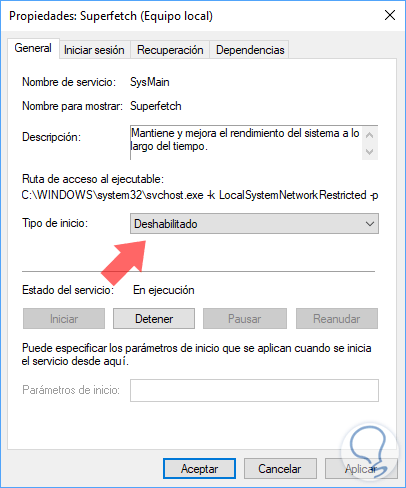
Step 2
We will double click on it and in the Startup type field we set the value Disabled. Click on Apply and OK to save the changes.
3. How to disable Superfetch in Windows 10 using Services in new versions
As we know, SuperFetch service is directly related to the maintenance and improvement of equipment performance. If you need to disable it on occasion, we will do the following steps.
Since Microsoft updates to version 1809 in Windows 10, the Superfetch service has been renamed SysMain, although it works the same way. So it may not appear when you search for it in your system. If we want to disable it we will do the following process.
Step 1
Open the Run panel with the following key combination:
+ R
Step 2
Now type the following command to open the services panel:
Services.msc
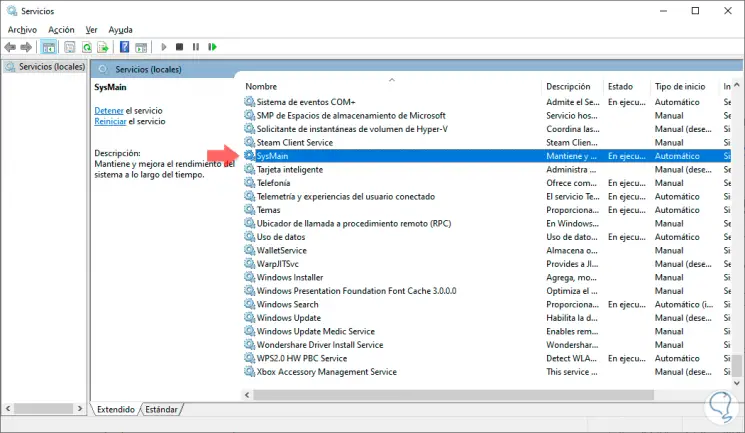
Step 3
In this window we will look for the service under the name of SysMain. Press by double clicking on it.
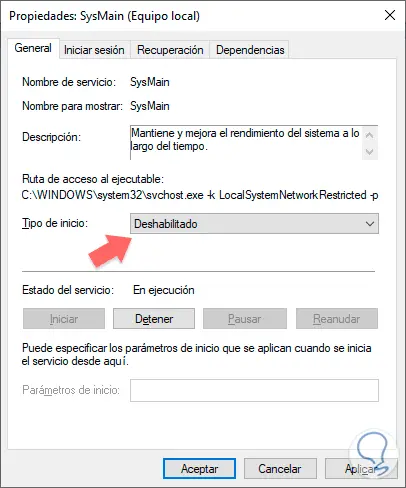
Step 4
Now click on the "Startup type" section and choose the "Disabled" option.
As we see this is a practical option to implement on computers that have HDD hard drives but not SDD hard drives since this function is responsible for optimizing the startup of applications and we know the benefits of SDD in this regard.