The file encryption on Android devices allows us to prevent theft of information , and even if they are stolen, can not read, provided they are not decrypted with the proper key. If the file is accessed , what it does is open the file as unreadable information, generally to an AES 128 or AES 256 standard that essentially makes the information impossible to decrypt..
This is useful to protect all of our sensitive and personal information. It is for this reason that in this tutorial TechnoWikis today will give some advice on how we can encrypt our Android or iPhone devices and thus add a further level of security to all the information that our terminals contain.
1. How to encrypt all Android mobile with encrypt SD card
The most complete encryption method that we can perform on Android is to do a full disk encryption, which is a feature that is easily integrated into the operating system. This will lock your Android device using a password and / or PIN and on slightly older devices it may cause some slowdown and overall system performance poor. For this we will have to follow the steps that we indicate below:
Step 1
First of all what we have to do is click on the "Settings" of the device, which are represented by a cogwheel on the main screen of the device.

Step 2
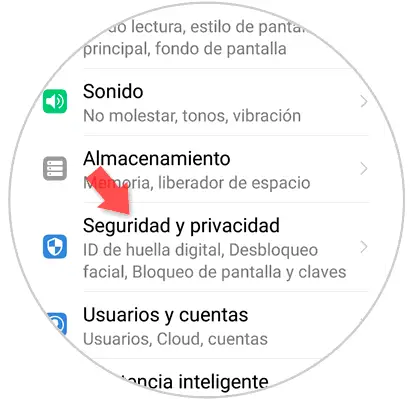
Here, among the listed options, click on "Security and privacy" to access these options.
Step 3
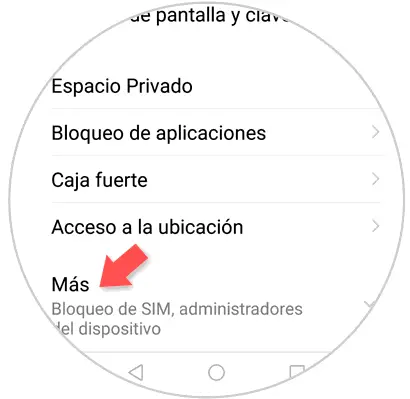
Once here, swipe to the bottom where you will find the "More" option. Click on this option to continue.
Step 4
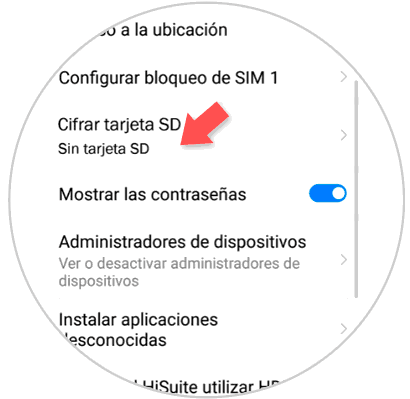
Here new options will be displayed at the bottom. Press "Encrypt SD" to encrypt all the information contained in the SD. This process can take time depending on the volume of information that the SD contains, so try to be patient.
2. Encrypt individual files on Android with Androidcognito
If we do not want to encrypt the entire device but some specific files, we can make use of the "Andrognito" application which is available at the following link:
Andrognito
Andrognito uses military grade encryption techniques, AES-256, to lock files with multiple layers of protection and offers one of the fastest encryption speeds. Andrognito is useful for storing files in the private cloud and freeing up space on the device..
Andrognite Characteristics
Within its characteristics we have:
- Hides files using the military-grade AES 256 algorithm along with fairly fast encryption and decryption speeds.
- Securely lock your private photos, videos and files to the cloud.
- It allows you to back up secret images, videos and large files in the Andrognito cloud to free up space on the device in order to install more applications and games.
- It allows us to access all important files synchronized with the cloud on all Android devices with the same registered account.
- It has end-to-end encryption which makes all data completely secure.
Step 1
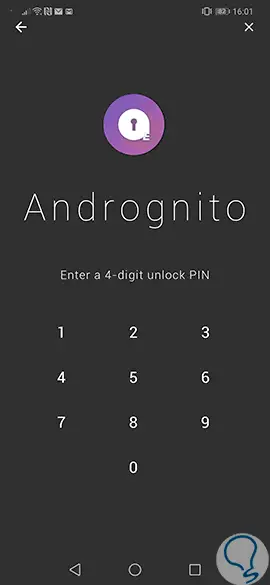
Once downloaded and installed we proceed to execute it, and when the application starts for the first time, we must enter our name and a four-digit PIN that will safeguard your files.
Step 2
We note that we can enter with Facebook or Google accounts to avoid passing the general registration of the application.
Once we access with the user and PIN defined we can click on the + icon at the bottom to see the different options:
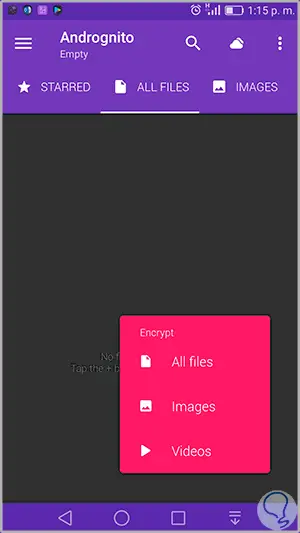
Step 3
There we can encrypt images, videos or all kinds of files.
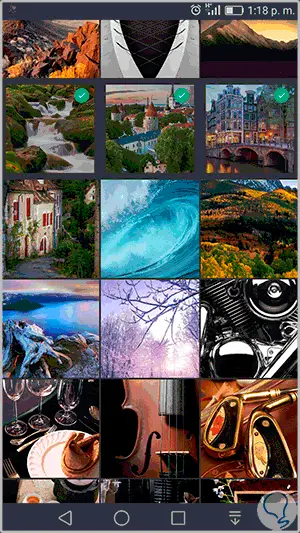
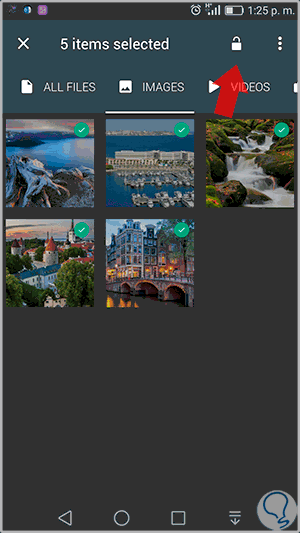
Once we define the type of element to encrypt we can select one or more objects for encryption:
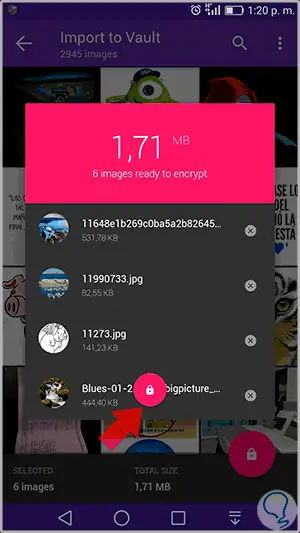
Step 4
With these elements selected, we will go to the top and click on the verification button and then on the padlock icon and we will see a summary of the images that have to be encrypted:
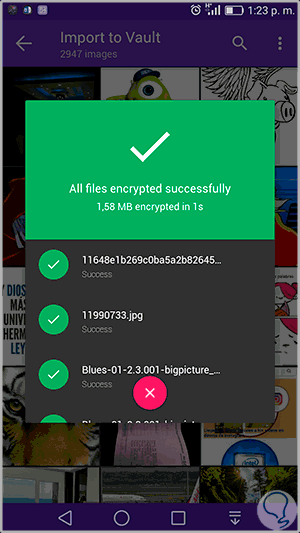
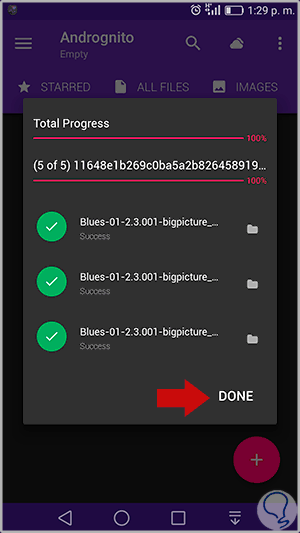
Step 5
There we can delete images by clicking on the X. Once the images to be encrypted are defined, click on the padlock icon again and we will see that the encryption process is correct. We can undo the changes by clicking on the X sign.
3 . Decrypt files on Android with Androidcognito
Step 1
For this we will access the application again by entering our PIN and once there we can view the elements that are currently encrypted in Android:
Step 2
To decrypt them, we will select the elements to edit and click on the open padlock icon located at the top and we will see the following message:

Step 3
If we are sure, click on the "YES" button to confirm the action and decrypt the elements to their original location:
Note
Next we will see how to protect files on different specific Android and iOS models, in Android we will use the Samsung Galaxy S10 terminal
4. Encrypt individual files on Galaxy S10 with strong protection
The strong protection feature is used to use a secure type of lock such as the pin to access the information of the phone and thus protect it. For this you have to follow the steps that we are going to quote you below.
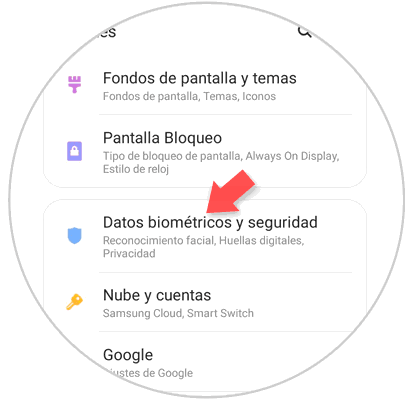
Step 1
Enter Settings, and once here click on the option "Biometric data and security" to enter:
Step 2
Here you select the option "Other security settings" by clicking on it.
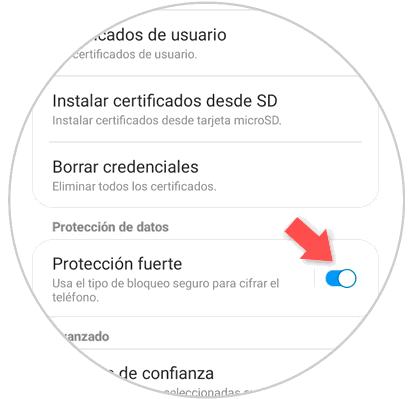
Step 3
Finally, in the "Data Protection" section, activate the "Strong Protection" tab so that this feature is working on your Samsung Galaxy S10.
5. Encrypt all Samsung Galaxy S10 mobile with encrypt SD card
Another way to protect the information will be by encrypting the data of the mobile that contains the SD card to provide it with greater security. For this you will have to follow the steps that we mention below in an orderly manner.
Step 1
On your Samsung Galaxy S10 access the Settings section, and once here click on the option "Biometric data and security":
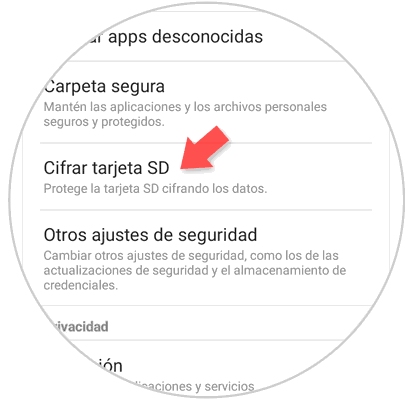
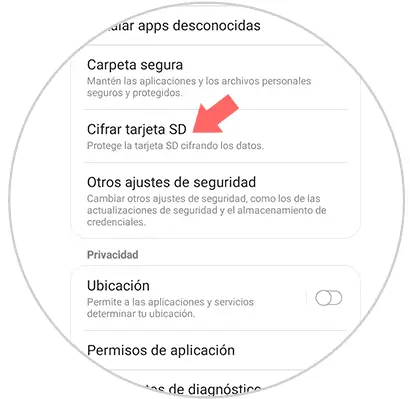
Step 2
Here, you will find the option "Encrypt SD card". Click on the information of the same and keep in mind that this may take a while depending on the volume of data contained in the SD card.
6. How to encrypt data on Samsung Galaxy S10 with fingerprint
Protecting data with a fingerprint is a very recurring option, since these will be protected with a unique password and impossible to duplicate, so this is one of the options chosen by many users to protect the information on their terminal.
In this video post you will be able to read and see how to protect the data with a fingerprint on your Samsung Galaxy S10:
To stay up to date, remember to subscribe to our YouTube channel! SUBSCRIBE
7. How to encrypt the entire iPhone mobile with Touch ID or code
Protecting all the information contained in a mobile with IOS operating system is possible, and can be done by setting a fingerprint or an unlock code on the terminal. For this you will have to carry out the steps that we are going to mention below:
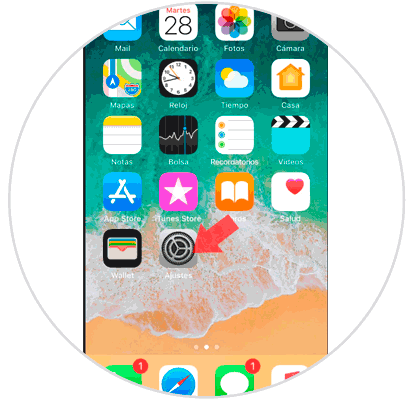
Step 1
Access the "Settings" of the iPhone by clicking on the gear icon on it.
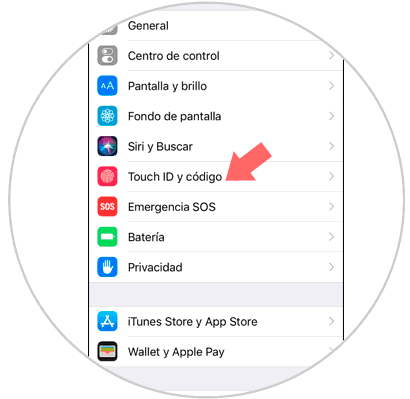
Step 2
Once inside the settings, click on the option "Touch ID and code" to access.
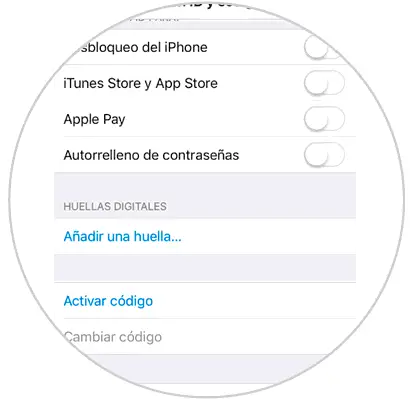
Step 3
Here you can select between 2 different types of encryption, such as "Add a fingerprint" or activate a code.
Add a footprint
If you press the option "Add a fingerprint" you will be able to access the information only through your fingerprint.
Activate code
With this option you will be able to access the information through a verification code
This is how easy it will be to encrypt the information contained in your Android or iPhone terminal if you follow the instructions that we have marked in this tutorial.