When using the preview in macOS High Sierra, and in most macOS editions, we have different options when editing an image , from modifying its size, changing the colors and one of the most used is to crop the image to add it to other documents, create a mix of images or some additional tasks..
It is common to select the area of the image to crop, but we may be in a slightly different situation, what happens if we need to edit the image in the opposite way? That is, cut a specific part of the image and leave the rest intact, well, the answer is simple, Preview offers us the option to invert selection and today TechnoWikis will analyze what it is and we will see how simple it is to use.
Inverting selection is common in design programs like Photoshop, but in macOS High Sierra it will be a practical and useful tool..
1. How to open the image on Mac
Step 1
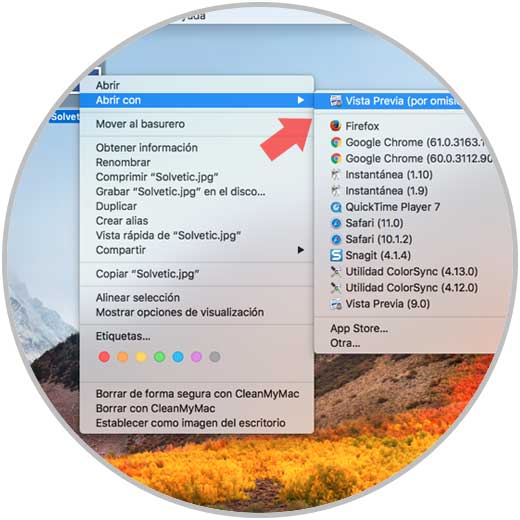
The first step to take is to open the image with Preview, for this we will right-click, Option key + click on the image and select the path Open with / Preview (default)
Step 2
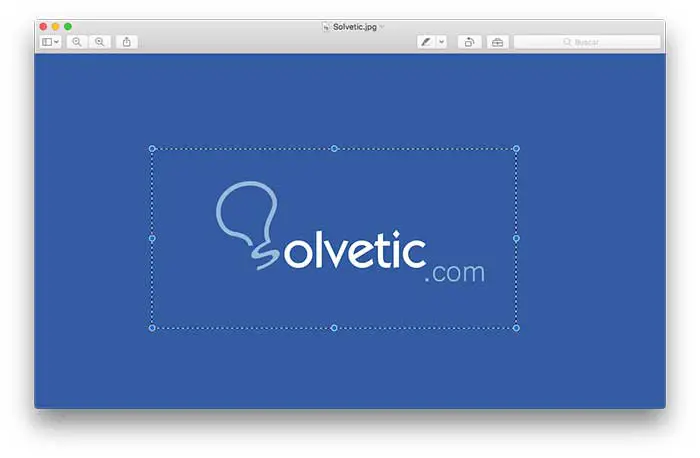
Once the image is open in Preview, we will use the mouse or trackpad cursor to click and drag a selection, in this case we have selected the following:
Now, at this point is where many times an error is made, since if we click on the Mark img button, and later we go to Tools / Trim, we will only see the area that we have selected and that is not the objective.
2. How to edit the image on Mac
Step 1
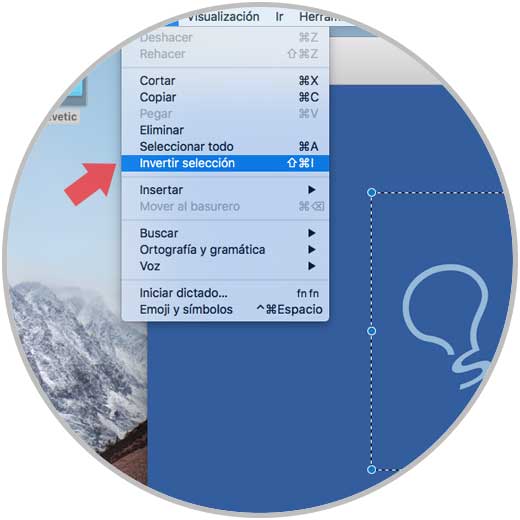
At this point the Invert Selection option comes into play which allows us to select everything in our image except the area initially selected. Invert Selection is available from the Edit menu in the preview menu bar or by using the keyboard shortcut Shift + Command + I.
Step 2
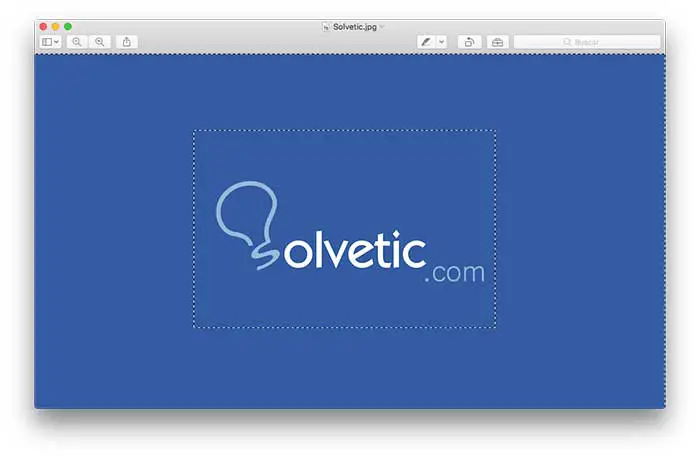
When you select the Invert Selection option, the dotted selection line in the preview image will change to include everything except the initial section:
Step 3
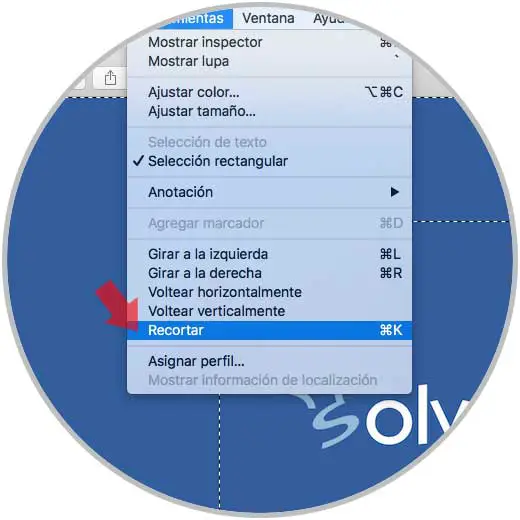
At this point, we can use the Mark / Trim option or press Command + K:
Step 4
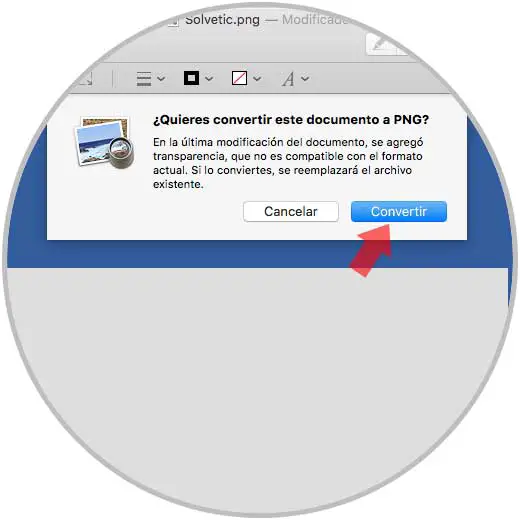
The following message will be displayed:

Step 5
There we click on the Convert button and with this step we will see that only the part of the original selection disappears, leaving the rest of the image intact:
So we have seen how the Invert Selection function is a useful aid for editing an image in macOS High Sierra..