One of the main advantages of using any Linux distribution is the scalability that we have with it, that is, we can add thousands of applications or functions focused on improving the performance and local or global reach of the server..
Nagios Core is listed as one of the best applications to centrally manage various Linux distributions and therefore getFastAnswer will explain step by step how to install Nagios Core in Ubuntu 17.10 and Debian 9 , two of the most popular Linux distros, and so on. have the possibility of a simpler administration.
What is Nagios Core
Nagios Core is a free open source network monitoring application that every good administrator demands. It is designed to monitor and control network applications, devices, all related services you may have within a local network.
This Nagios Core program has the ability to remotely monitor through specific parameters of the operating system through agents deployed on nodes, it is possible to send alerts by mail or SMS, being another utility to keep us notified in case critical services such as SMTP, HTTP, SSH, FTP etc. errors, drops or failures appear..
As an extra, Nagios Core can also be used as a basic event planner, as well as an event processor and alert manager. It has several APIs that extend our capabilities, we implement it as a daemon written in C for performance reasons designed for Linux / * nix systems.
Nagios Core has various features among which we highlight:
Architectural description
Nagios Core has been designed with a focused and extensible architecture designed for flexibility and scalability in all types of companies. It provides various APIs which allow its feature set to be easily extended through additional plugins. This architecture has proven to be successful and has led to the creation of thousands of complementary projects that expand its core feature set.
General scope
Nagios Core focuses primarily on the duties of verification scheduling, verification execution, verification processing, event handling, and alerts.
Frontends
Nagios Core has a default CGI interface. CGIs provide Nagios users with the basic functionality required to view and manage items that are monitored by Nagios Core. CGIs have become the standard Nagios Core interface, and many Nagios extensions often use them as APIs. Many users implement additional interfaces to customize the look, feel, and functionality of their Nagios UI. Nagios V-Shell is a new interface that is currently being developed to be the official PHP interface for Nagios Core.
Extended functions
Nagios has a wide variety of plugins that provide additional functions that are beyond the reach of Nagios Core itself, including configuration interfaces, performance graphs, automatic detection and distributed monitoring, among others. These features are implemented in different Nagios projects, which are developed independently and can be found in Nagios Exchange.
Extra features
- Visibility and Consciousness
- Stable, reliable and respected platform and more.
Prerequisites to install Nagios Core
Before starting the Nagios Core installation process we must have Ubuntu 17.10 or Debian 9 installed, if not, we can download the ISO image at the following link:
Debian
Ubuntu
1. How to install LAMP components
Before installing Nagios Core from sources in Ubuntu or Debian, it will first be necessary to install the following LAMP components (Linux, Apache, MySQL and PHP) on the system, without the MySQL RDBMS database component, executing the following command :
sudo apt install apache2 libapache2-mod-php7.0 php7.0

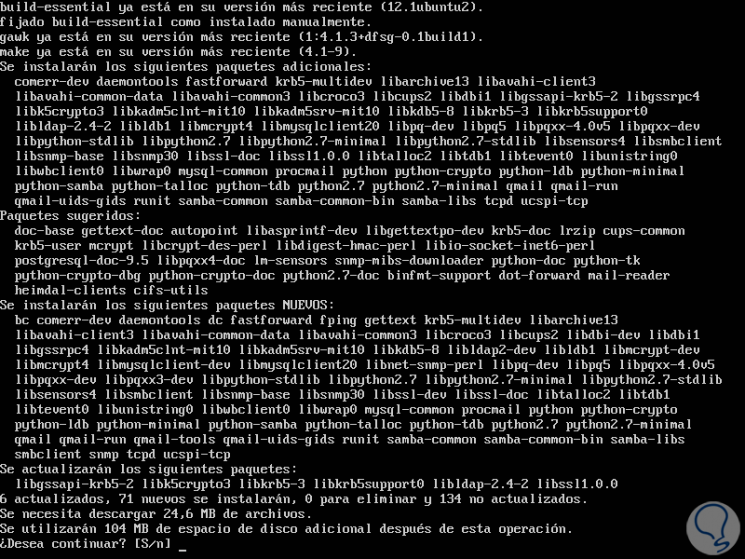
We enter the letter S to confirm the download and installation of the respective packages. In the next step, we will install the following system dependencies and the utilities required to compile and install Nagios Core from the sources, executing the following command:
sudo apt install wget unzip zip autoconf gcc libc6 make apache2-utils libgd-dev
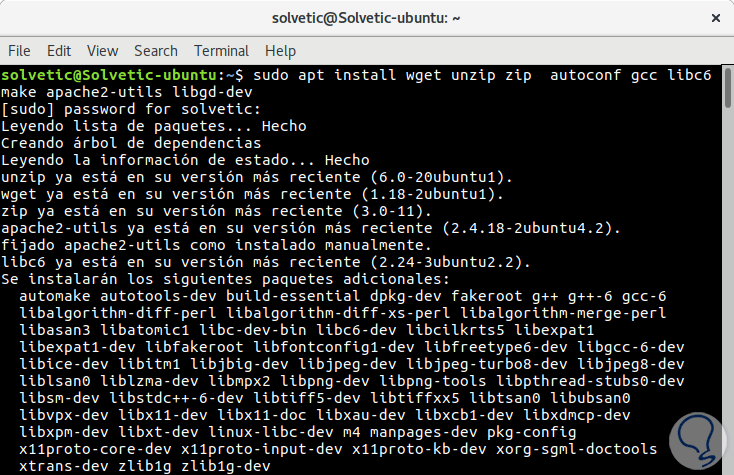
There it will be necessary to enter the letter S for the download and installation..
2. How to install Nagios Core
We currently have version 4.3 of Nagios Core.
Step 1
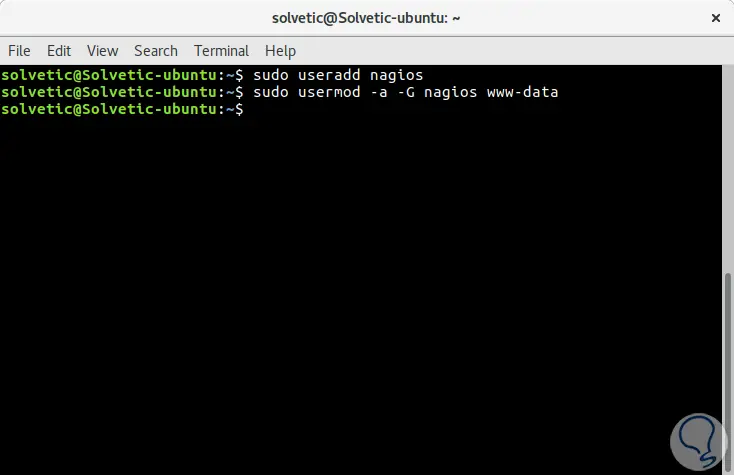
As a first step, we are going to create the nagios system user and group and add the nagios account to the Apache www-data user, using the following commands:
sudo useradd nagiossudo usermod -a -G nagios www-data
Step 2
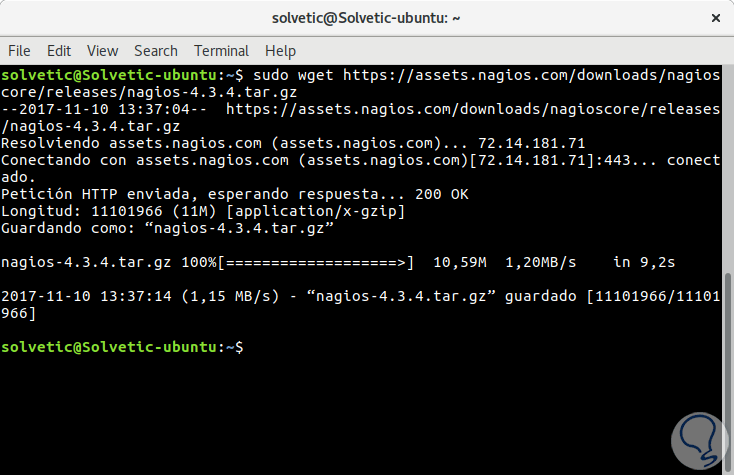
After all the dependencies, packages, and system requirements for compiling Nagios from sources are available on the system, we will go to the Nagios website and get the latest version of the stable Nagios Core source file using the following command:
sudo wget https://assets.nagios.com/downloads/nagioscore/releases/nagios-4.3.4.tar.gz
Step 3
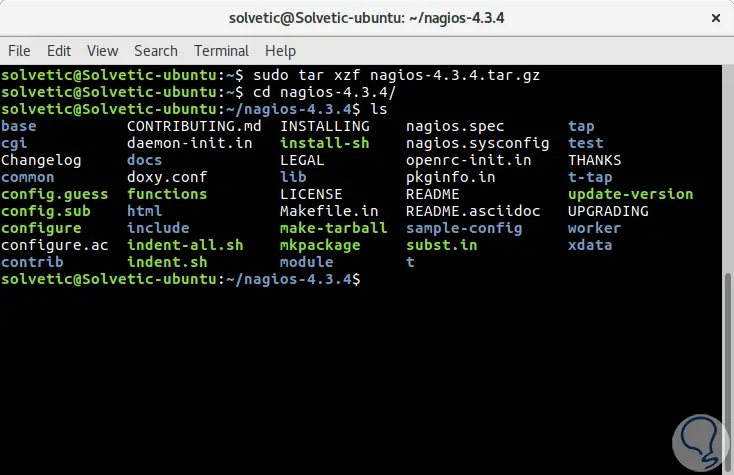
Now, we will extract the Nagios tarball and enter the extracted Nagios directory, with the following commands, we can issue the ls command to list the contents of the Nagios directory:
tar xzf nagios-4.3.4.tar.gz (extract content) cd nagios-4.3.4 / (Directory access) ls (list directory content)
Step 4
Now, we will start to compile Nagios from sources with the following commands:
Note
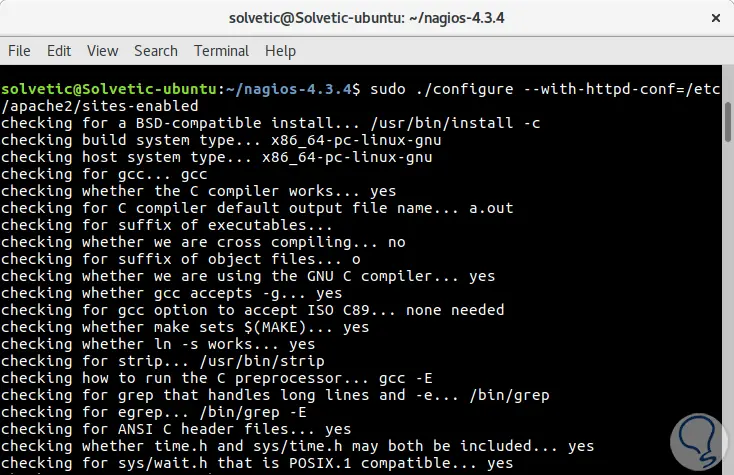
We must make sure to configure Nagios with Apache site-enabled directory settings when running the command.
sudo ./configure --with-httpd-conf = / etc / apache2 / sites-enabled
Step 5
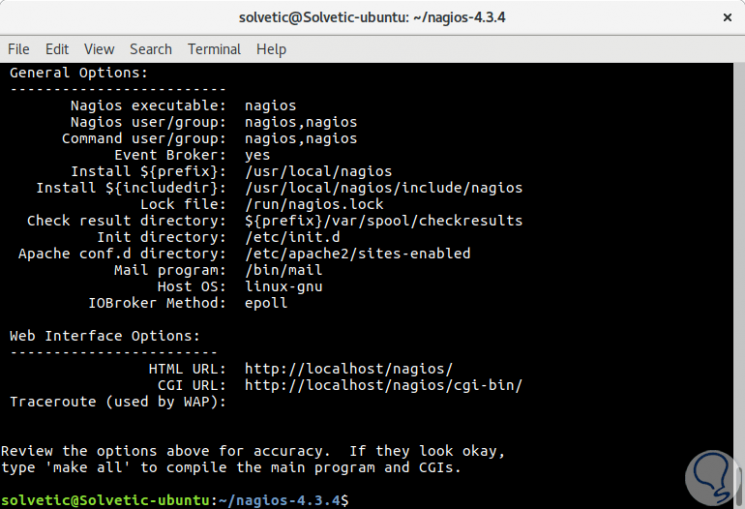
Once the process ends we will see the following:
In the next step, we will build the Nagios files by running the following command:
sudo make all
Step 6
Once the process ends we will see the following:
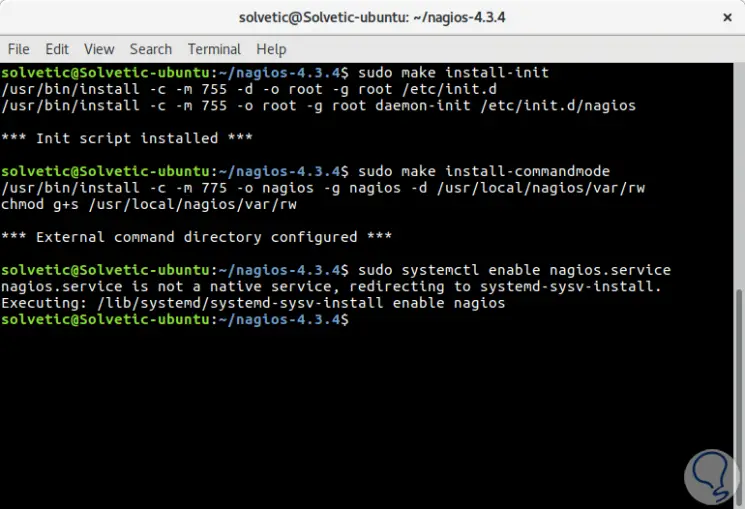
Once this process is finished, we will install the Nagios daemon init configuration files and the external command mode and, additionally, we must make sure to enable Nagios Daemon system-wide with the following commands:
sudo make install-initsudo make install-commandmodesudo systemctl enable nagios.service
Step 7
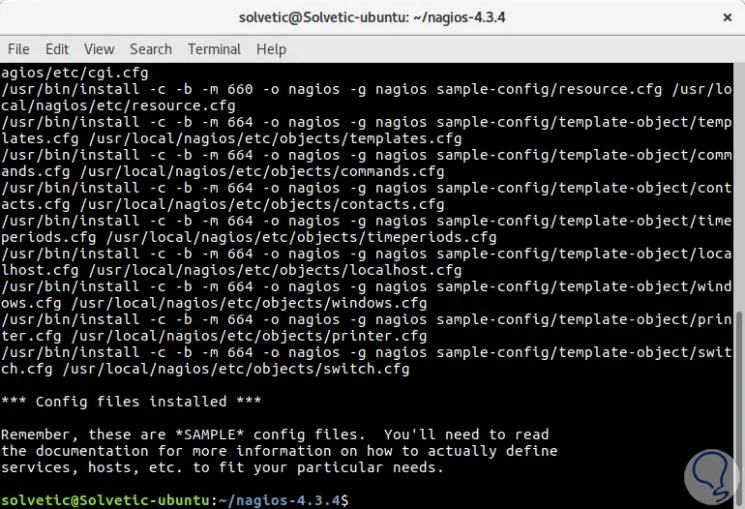
Next, we'll run the following command to install some sample Nagios configuration files needed for Nagios Core to run properly:
sudo make install-config
Step 8
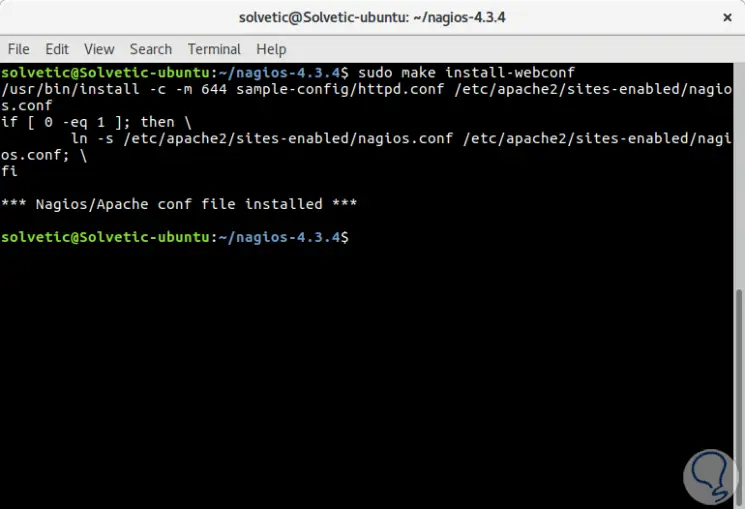
In addition to this, we will install the Nagios configuration file for the Apache web server, which is available in the / etc / apache2 / sites-enabled / directory, by running the following command:
sudo make install-webconf
Step 9
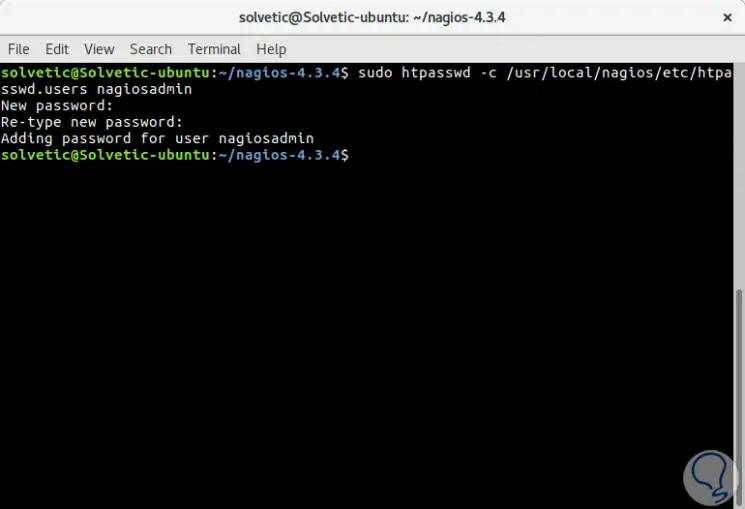
Next, we'll create a nagiosadmin account and password for this account, which the Apache server needs to log into the Nagios web panel using the following command:
sudo htpasswd -c /usr/local/nagios/etc/htpasswd.users nagiosadmin
There we must enter and confirm the password.
3. How to configure Apache
Step 1
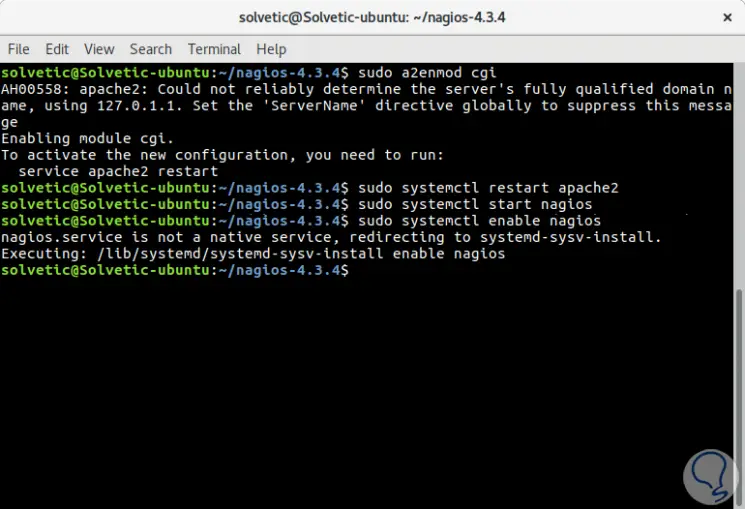
To allow the Apache HTTP server to run the Nagios cgi scripts and to access the Nagios admin panel via HTTP, we must first enable the cgi module in Apache and then restart the Apache service, start and activate Nagios daemon throughout the operating system with the following commands:
sudo a2enmod cgisudo systemctl restart apache2sudo systemctl start nagiossudo systemctl enable nagios
Step 2
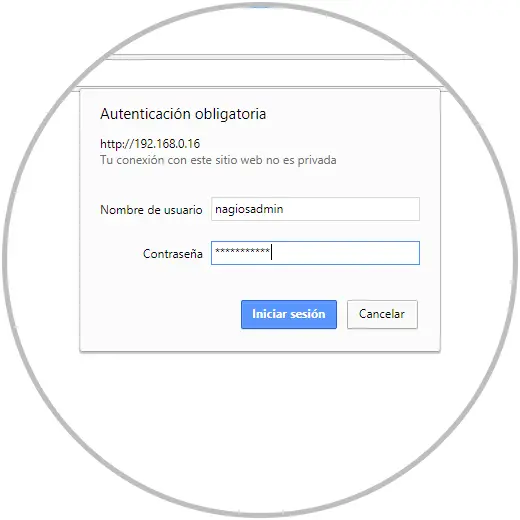
Finally, we can log in to the Nagios web interface by directing the browser to the IP address or domain name of the server at the following URL through the HTTP protocol. We will log into Nagios with the user nagiosadmin and we must assign the password configuration configured with the htpasswd script.
We execute one of the following options:
http: // IP_address / nagioshttp: // DOMAIN / nagios
Step 3
When accessing we will enter these credentials:
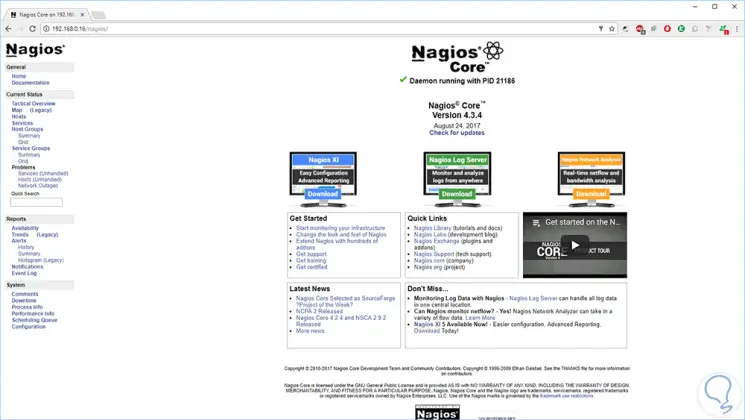
Click on Login and this will be the environment we will see:
Step 4
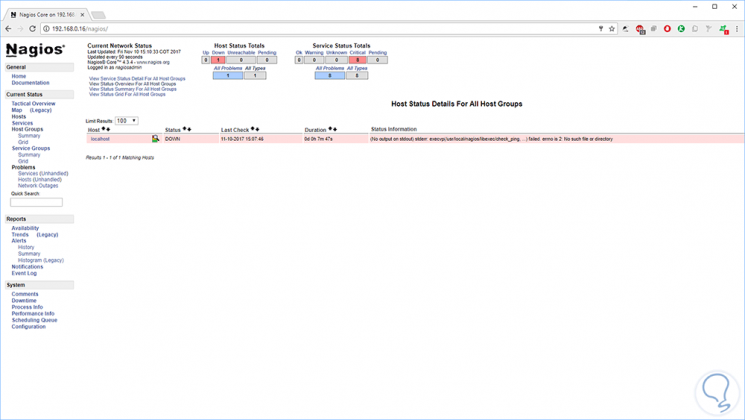
To see the status of the hosts, we must go to Current Status / Host Groups, where we will see that some errors are shown for the localhost host, this error appears because Nagios does not have plugins installed to verify the status of the hosts and services.
4. How to install Nagios Core plugins in Ubuntu and Debian
Step 1
To compile and install Nagios plugins or plugins from sources in Debian or Ubuntu, first of all, we will install the following dependencies in the system using the following command. There we will enter the letter S to confirm the download and installation of the packages.
sudo apt install libmcrypt-dev make libssl-dev bc gawk dc build-essential snmp libnet-snmp-perl gettext libldap2-dev smbclient fping libmysqlclient-dev qmail-tools libpqxx3-dev libdbi-dev
Step 2
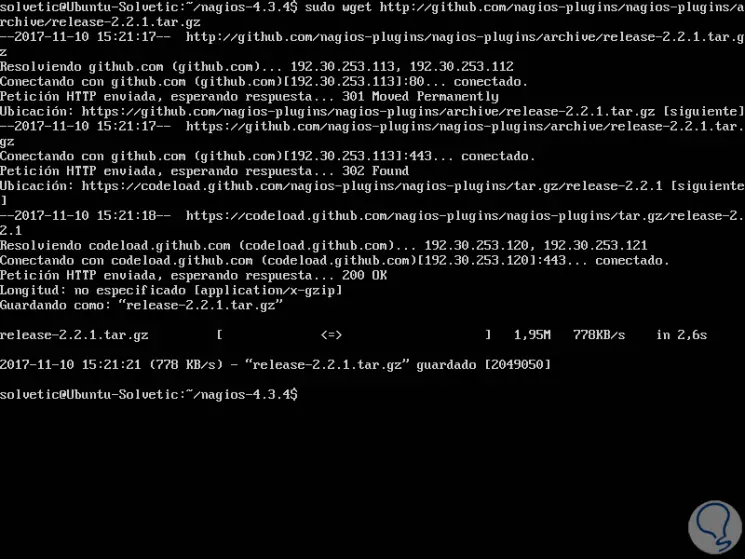
Next, we must visit the Nagios Plugins repositories page and download the last tarball of the source code with the following command:
sudo wget https://github.com/nagios-plugins/nagios-plugins/archive/release-2.2.1.tar.gz
Step 3
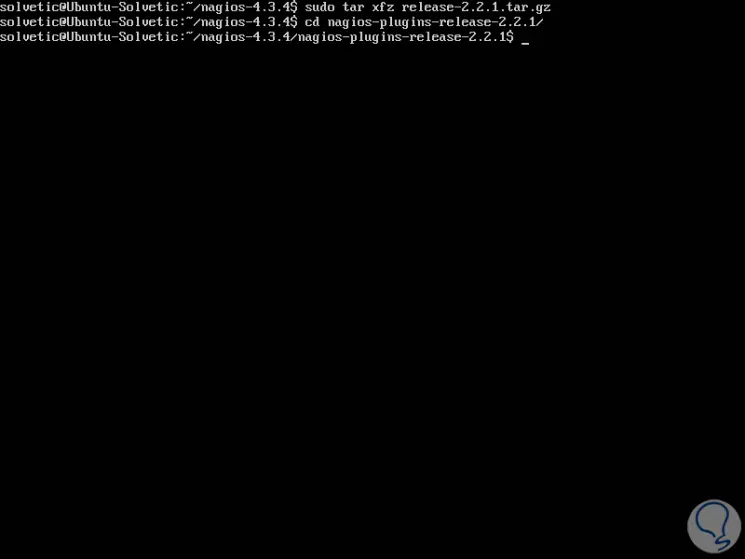
Now we must extract the tarball from the Nagios Plugins source code and change the path to the directory extracted from nagios-plugins by executing the following commands:
sudo tar xfz release-2.2.1.tar.gzcd nagios-plugins-release-2.2.1 /
Step 4
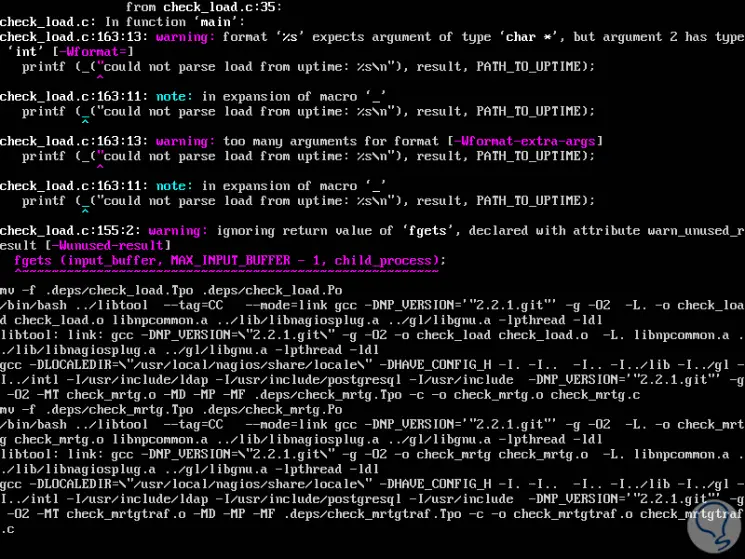
Now, we will start the process of compiling and installing Nagios plugins from the sources, executing the following series of commands in the server console:
sudo ./tools/setupsudo ./configuresudo makesudo make install
Step 5
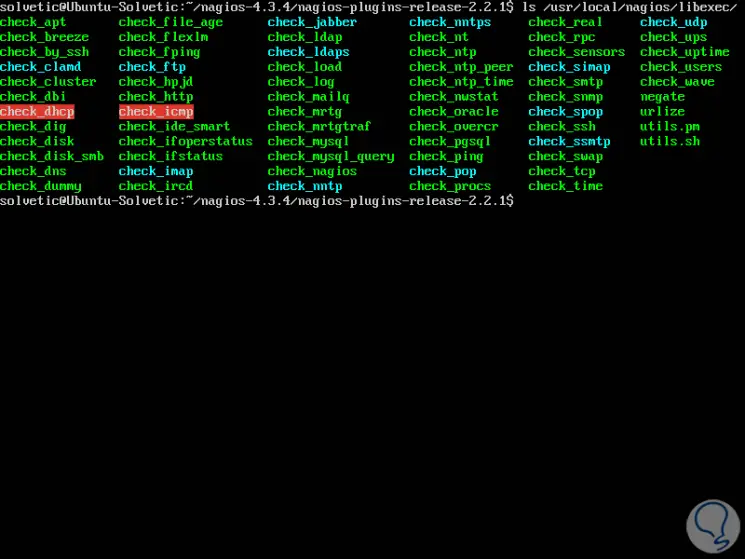
The Nagios plugins or plugins compiled and installed these can be located in the / usr / local / nagios / libexec / directory. We must list this directory to see all the plugins available in the system.
ls / usr / local / nagios / libexec /
Step 6
Finally, we can restart the Nagios daemon to apply the installed plugins, using the following command:
sudo systemctl restart nagios.service
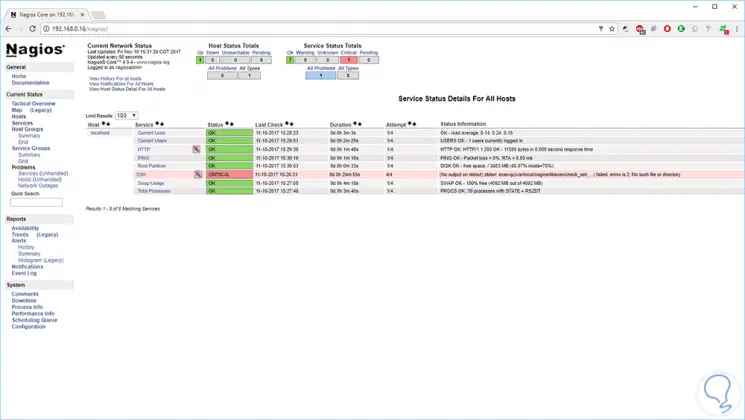
Then we can log into the Nagios web panel again and go to the Current Status / Services path and we can notice that all the services of the hosts are marked by Nagios plugins.
From the color code, it will be possible to see the status of the current services: the green color is for the OK status, the yellow for Warning and the red for the Critical Status.
5. How to access through HTTPS
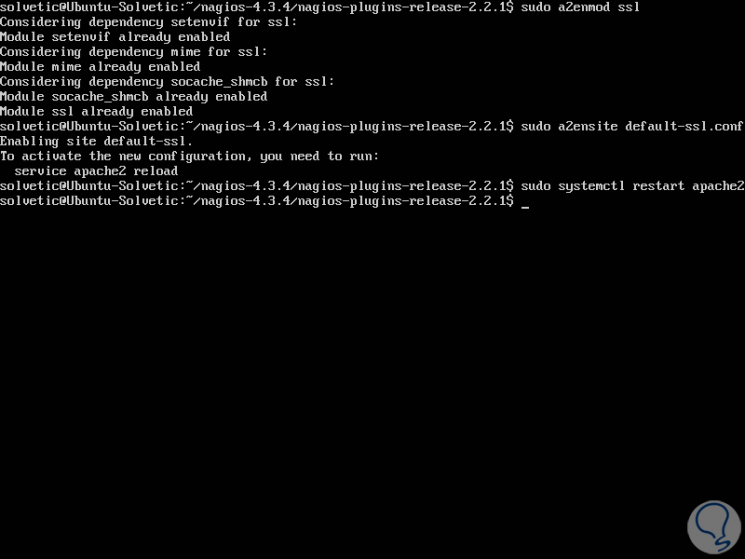
Finally, to access the Nagios administration web interface through the HTTPS protocol, we must execute the following commands to enable the Apache SSL configurations and restart the Apache daemon to reflect the changes:
sudo a2enmod sslsudo a2ensite default-ssl.confsudo systemctl restart apache2
After enabling Apache SSL settings, we proceed to open the /etc/apache2/sites-enabled/000-default.conf file for editing and add the following code block after the DocumentRoot declaration:
RewriteEngine onRewriteCond% {HTTPS} offRewriteRule ^ (. *) Https: //% {HTTP_HOST} / $ 1 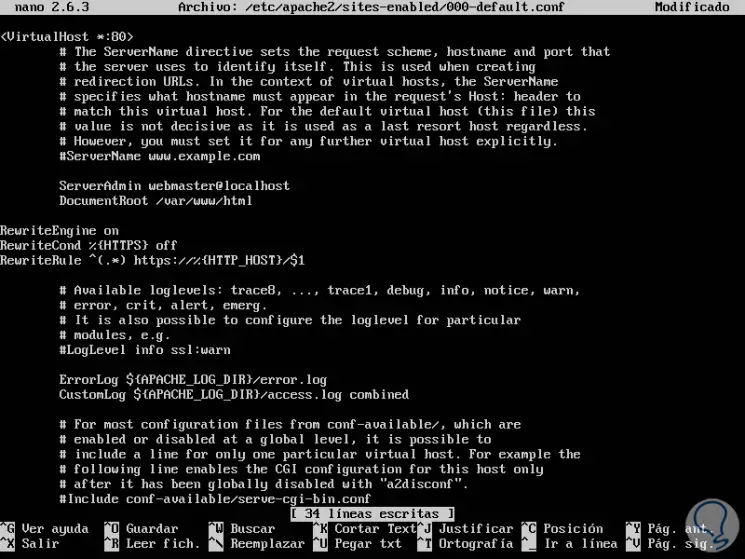
We save the changes using the Ctrl + O key combination and exit the editor using the Ctrl + X keys.
Once these changes have been made, we execute the following command to restart the service:
sudo systemctl restart apache2.service
In this way we will access Nagios Core using the secure HTTPS protocol.
We have seen how to install this valuable tool in Debian and Ubuntu distros correctly.