
Since the delete all button disappeared, it's impossible to delete all unwanted emails on an iPhone. This absence is all the more incomprehensible as the number of spam sent around the world is steadily increasing. Here is a workaround to delete all emails in one click on an iPhone..
Clean up in the iPhone messaging app
The inbox of your email is crumbling under the weight of emails? All these messages, these newsletters that you do not have time to read end up unnecessarily cluttering the memory of your iPhone.
Over the years, spam or spam has become the bane of many iPhone owners. Even if it is impossible to completely eradicate them, the iPhone has a system of filters in order to drastically reduce their number..
This very simple device to set up will allow you to automatically sort all your messages including those from the iCloud Mail service. Unsolicited e-mails and advertising e-mails will therefore be sent automatically to a folder called Spam or Spam.
It is then up to you to empty this folder regularly in order to free up memory on your device. Unfortunately since the disappearance of the delete all function, cleaning up your mailbox has never been so painful..
Delete all emails from a folder
This change in the iPhone email management interface places an unnecessary burden on iPhone owners. Deleting each message individually is a huge waste of time. Fortunately there is a little-known trick to erase all spam from a snap of your finger.
Important detail, the method described below works regardless of the folder created in your email application. This is not limited to spam. You can therefore reproduce it for Drafts, Sent, Archive files and all your personal directories (work, sports club, bank, family, etc.).
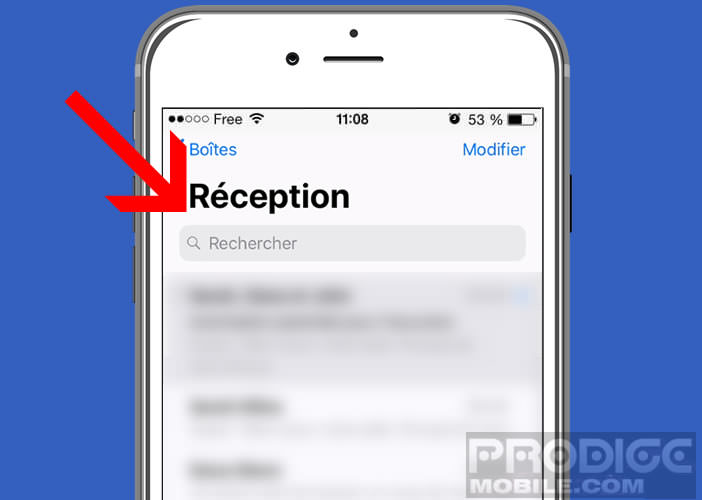
- Launch the iPhone messaging application
- Open the folder where you want to purge all messages
- Scroll through all emails to be sure this directory does not contain any important messages
- If you come across an important email, all you have to do is move it to another directory
- Select the message to keep
- Press the Folder button in the lower left corner of the screen
- Place it in another directory
- Repeat this for each message to keep
- Then click on the Edit button in the upper right corner of the window
- Check the box to the left of the first email
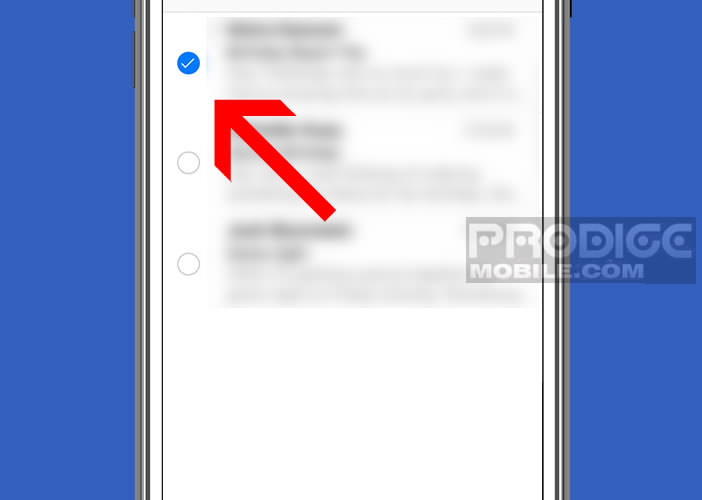
- Place your finger on the Move button at the bottom of the window
- While holding down the button, you will uncheck the first email in the list
- Release the Move button
- And there, as if by magic, all the messages are selected
Now you just have to click on the Move button and then select the Trash. After carrying out this process, you will select the Trash directory, check one last time that no important message is hidden in the list, then you click on the modify button and finally on the delete all button. In case of error, here is a very useful technique to recover an email deleted by mistake.
Quickly delete all emails from a sender on an iPhone
The workaround proposed above provides the ability to delete all emails in a folder. If all your emails are in the main inbox folder, this tip will be of no use to you.
In this section, we will show you how to get rid of all emails from a particular sender. This technique is particularly useful for getting rid of newsletters and other newsletters.
- Open the Mail app on your iPhone or iPad
- Place your finger on the search box at the top of the window
- Enter the sender's email address
- Press the search button on the keyboard of your terminal
- The Mail application will display all the mails from this sender
- Click the Edit button
- Check the empty circle to the left of an email
- Press the Move button and keep it pressed while unchecking the previously selected message
- Release the Move button
- Send all messages to the trash
Well done, you've just deleted all the emails from the sender of your choice. Do not forget to inform the publisher of the site that you no longer wish to appear in its distribution list. These messages will no longer invade the inbox of your iPhone.