Apache has positioned itself as one of the best solutions for creating and managing web servers centrally due to its security, compatibility and performance options. Apache is a free web utility with which we can manage web servers in a more complete way than we would with other utilities, Apache offers us:
Apache functions
- Loading multiple MPMS at runtime
- Asynchronous data support
- General purpose expression parser to facilitate web work
- Module update and integration
- Has the FastCGI daemon as a startup utility
- Comprehensive event management
getFastAnswer will explain how to install Apache in Ubuntu 21.04 and thus have one of the best options for creating and managing websites..
To stay up to date, remember to subscribe to our YouTube channel! SUBSCRIBE
How to install Apache on Ubuntu 21.04
Step 1
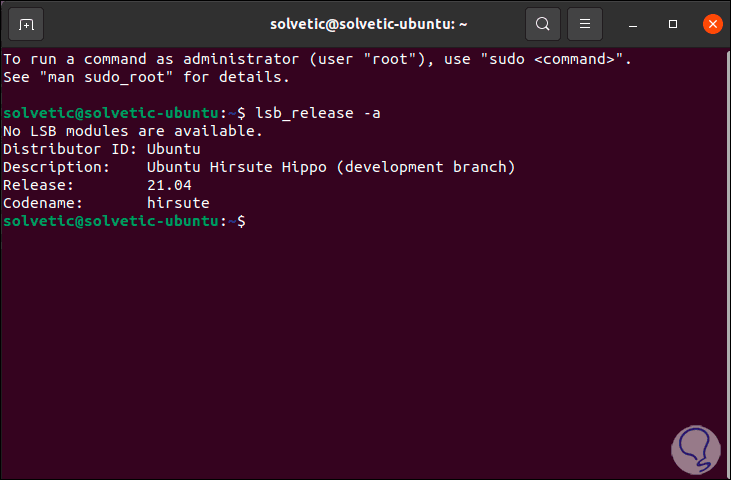
As a first option we are going to validate the use of Ubuntu 21.04, in the terminal we enter:
lsb_release -a
Step 2
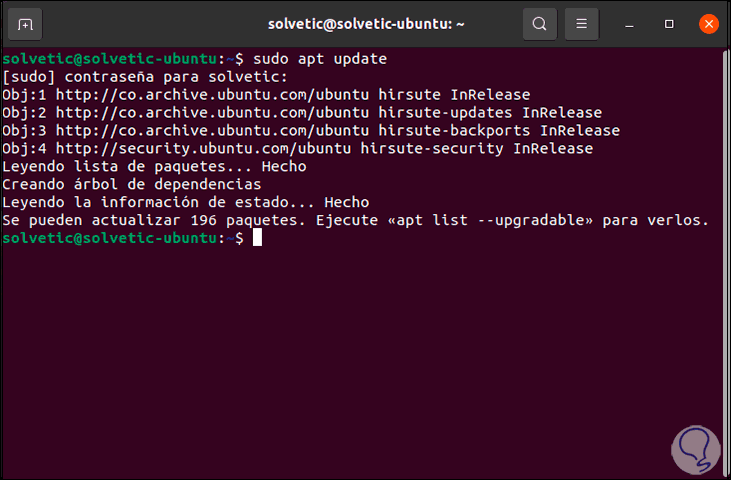
We update Ubuntu 21.04 with the following command:
sudo apt update
Step 3
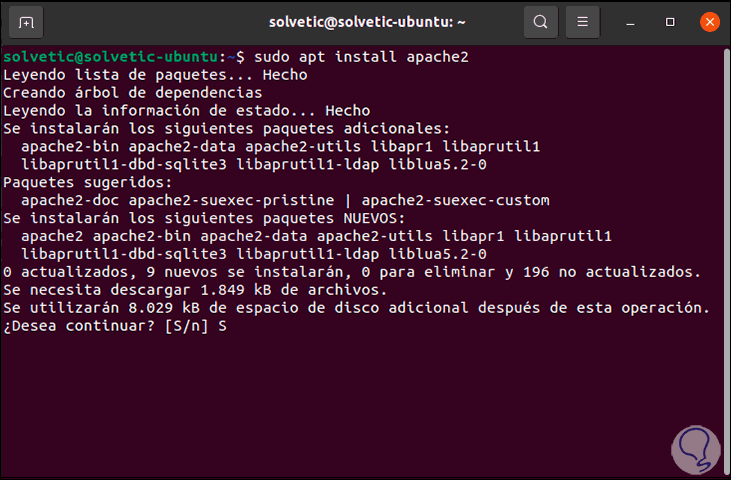
Now we install Apache with the following command:
sudo apt install apache2
Step 4
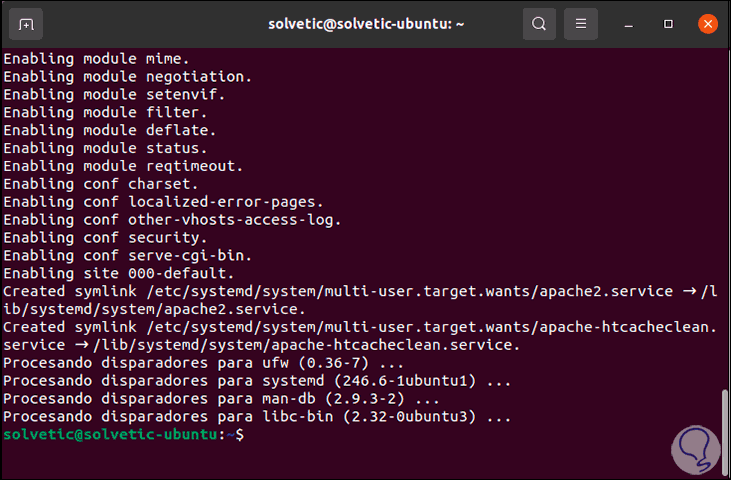
We enter the letter S to confirm the download and installation of Apache in Ubuntu 21.04:
Step 5
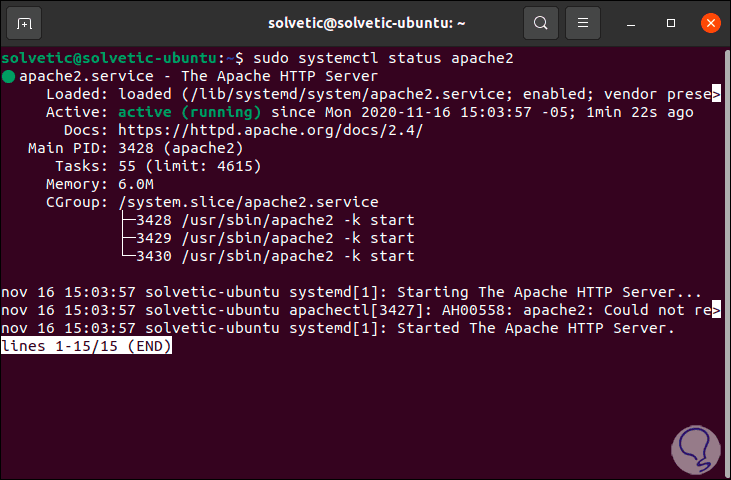
To see that everything works correctly, let's see the Apache status:
sudo systemctl status apache2
Step 6
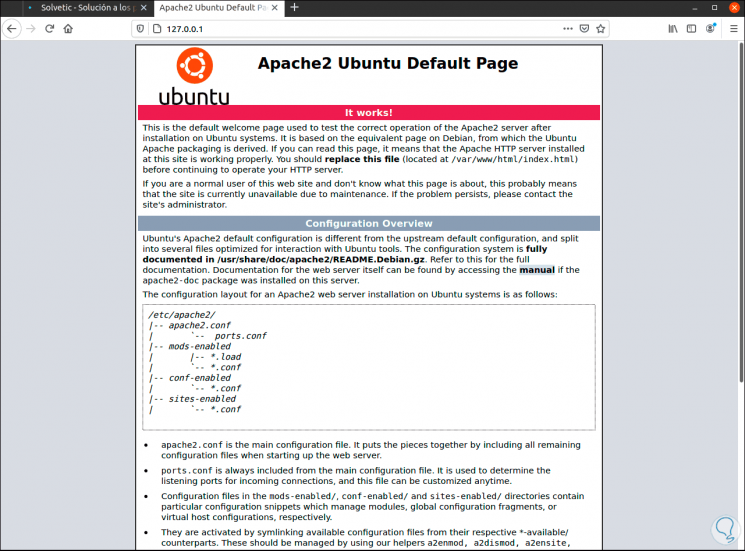
Now, we open a browser and there we enter the localhost IP:
127.0.0.1
We will see the following:
Step 7
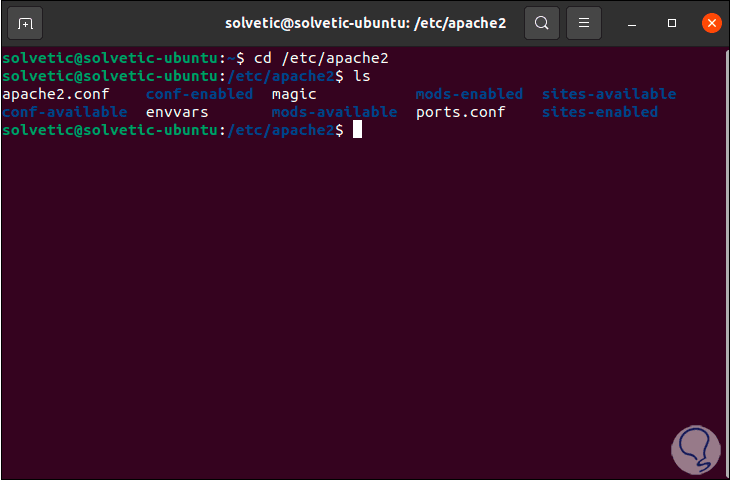
In case of administration tasks, we can go to the following route.
cd / etc / apache2 ls
With this simple process, Apache has been installed in Ubuntu 21.04 and we will be ready to create web applications.