DNS helps us to translate IP addresses in domains that help us to more easily enter web pages. This allows that when we write a web page name, DNS can interpret that it corresponds to a specific IP address and give us the result..
The most recommended configuration is to put our DNS in automatic if we do not know other values and it is usually the most effective method. But despite the fact that they always usually establish DNS with effective values, the truth is that sometimes they can fail or we can have some established that do not have a good response in our Internet connection. That is why one of the available options we have is to manually configure the DNS on PS5 and thus choose them ourselves.
To stay up to date, remember to subscribe to our YouTube channel! SUBSCRIBE
How to change DNS on PS5
Step 1
The first thing we will do is enter the "Settings" menu from the main screen.

Step 2
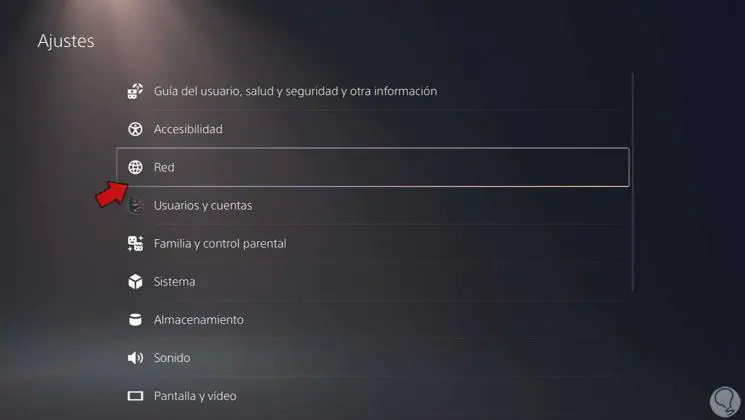
Next, we will enter the "Network" menu
Step 3
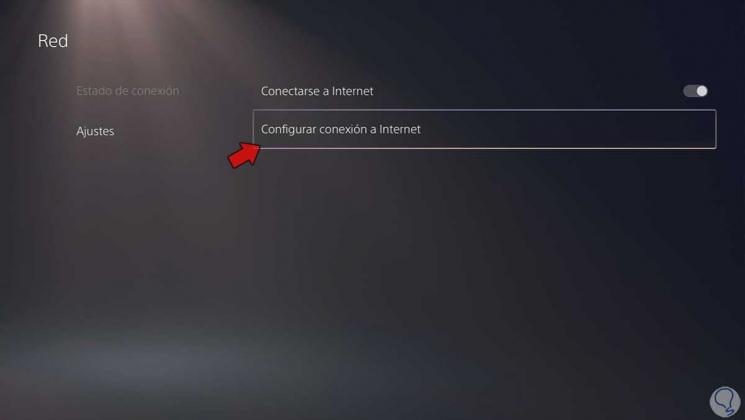
Now we will click on "Settings" and then on "Configure Internet connection".
Step 4
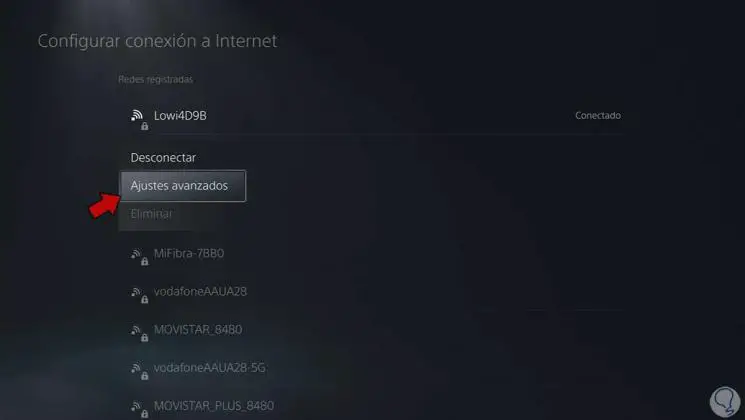
Now we will click on our current connection and choose "Advanced Settings".
Step 5
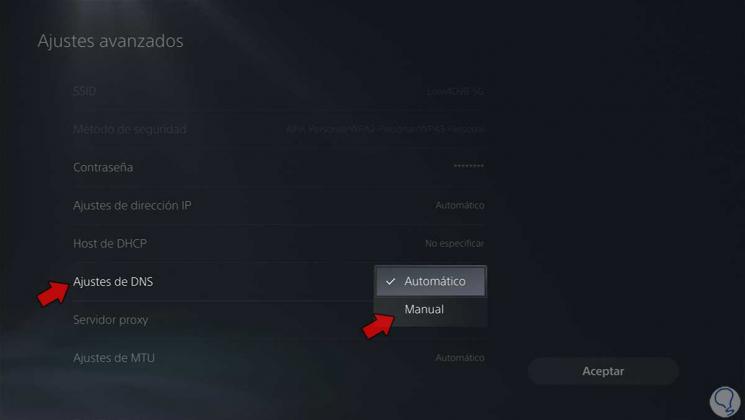
Here we will click on "DNS Settings" and select the "Manual" option to activate the configuration.
Step 6
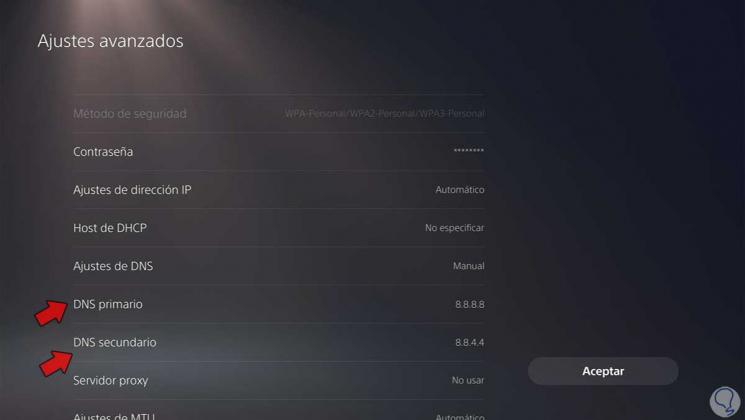
The next thing will be to click on both primary and secondary DNS setting the following values that correspond to Google DNS:
Step 7
Click on "Accept" and a connection test will be carried out to verify that everything is correct.
Step 8
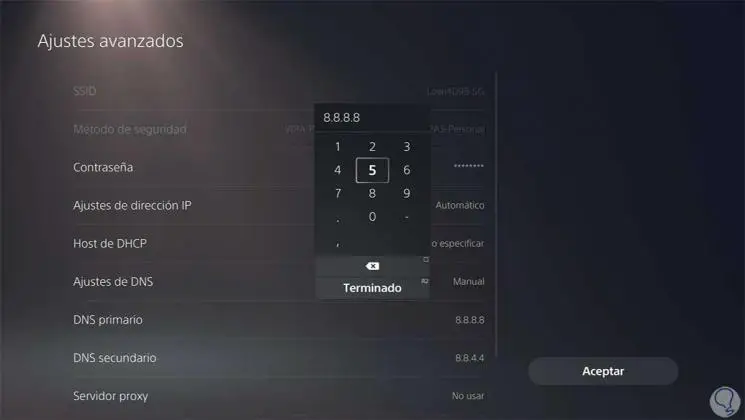
Another recommended Google configuration for DNS is the following:
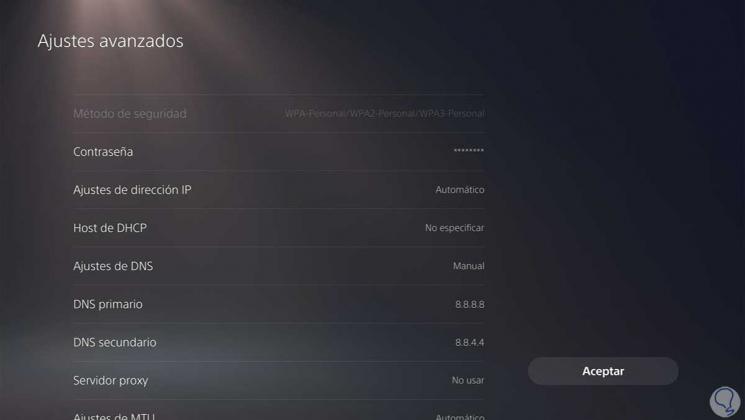
In this way we can change the DNS on PS5 and choose good DNS values to improve our Internet connection on PS5..