When we buy a computer, it comes with a version of the operating system , but as time goes by we must update it so that we can make the most of its possibilities. Keeping our Mac updated is one of the main tasks that as users we must bear in mind so that it is always with the latest in security, compatibility and performance ..
But something that may affect some users is that some macOS updates are directly from new versions (or if you use macOS Beta of this type) which can weigh from 4 GB to 12 GB directly affecting the space on the hard disk. Being an SSD disk it is limited, by default macOS integrates automatic updates but it is possible to deactivate them and be the ones who determine when these updates should be downloaded and installed.
That is why below we show you all the steps you must follow to know how to disable automatic macOS updates in a simple step by step, to be able to update the OS when we are interested..
To stay up to date, remember to subscribe to our YouTube channel! SUBSCRIBE
How to disable automatic updates macOS
Step 1
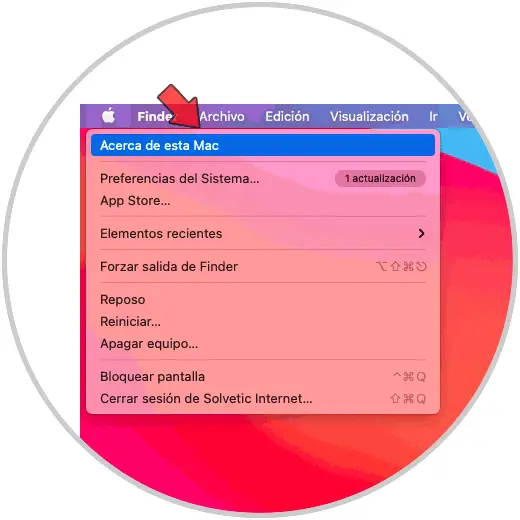
We go to the Apple menu and there we click on "About this Mac":
Step 2
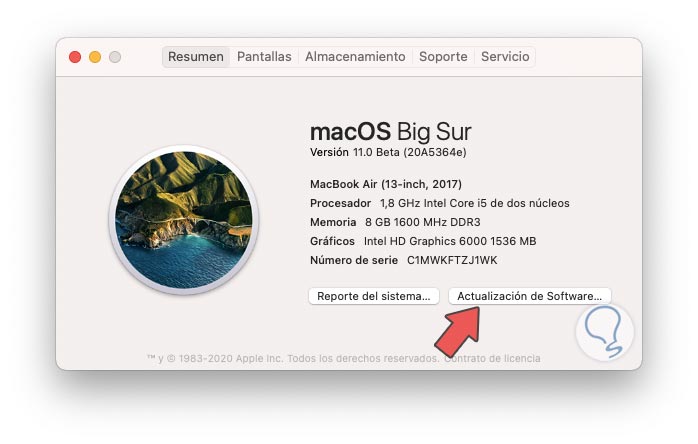
The following window with details of macOS will be displayed:
Step 3
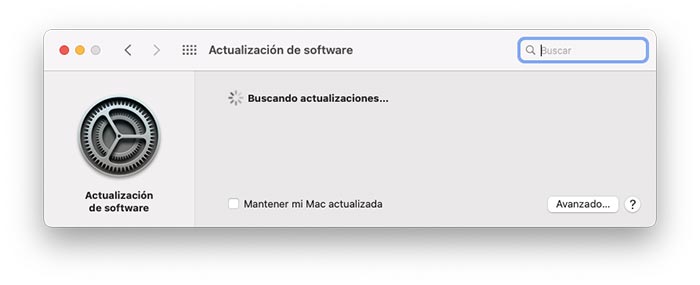
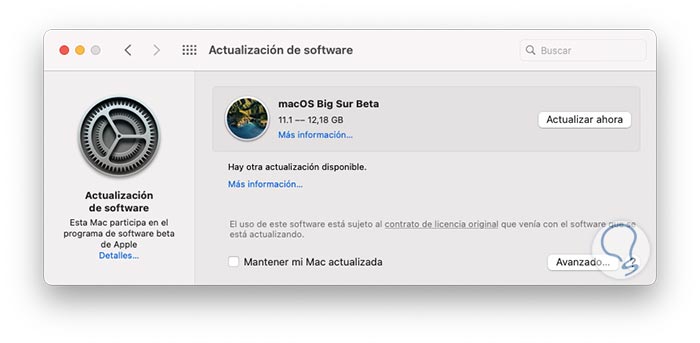
We click on "Software Update" and in the next pop-up window we see if there is an update available:
Step 4
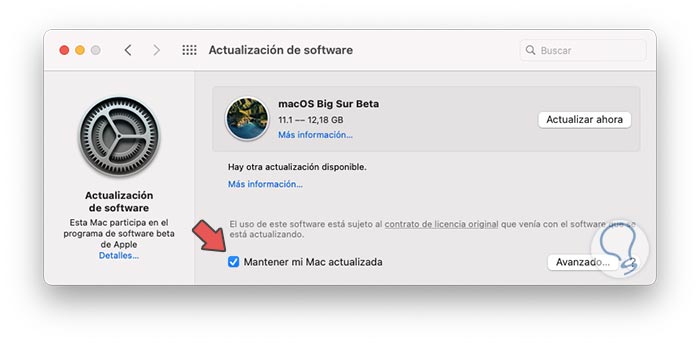
We click on the box "Keep my Mac updated" and it will be necessary to enter the administrator password to activate it:

Step 5
We click on Unlock and we will see the box enabled:
Step 6
To disable automatic updates, simply click on the "Keep my Mac up to date" box and the following message will be displayed:
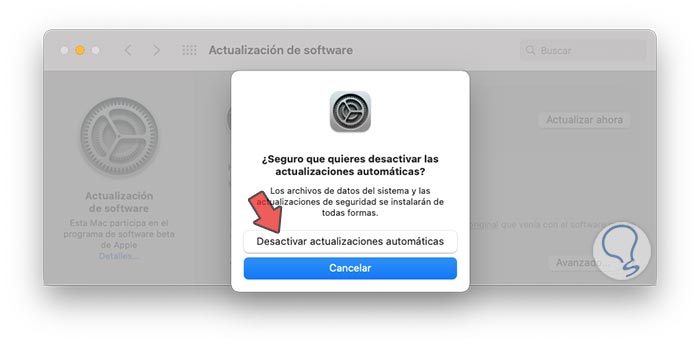
Step 7
We click on "Deactivate automatic updates" to complete the process:
With this simple method we can disable automatic updates in macOS.