Windows is possibly the most versatile operating system currently available for installing on computers or laptops. This versatility is one of the bases of the success of the Microsoft operating system which organizes its folders and files by names that can be assigned by users. These names are important since they are used by the Windows index to locate, copy, open them with programs, etc. This means that Windows does not allow to use any name to any file or folder, especially if a file or folder with that name already exists.
You may also be interested in: Solution: blurred images in the Windows 10 Photos app
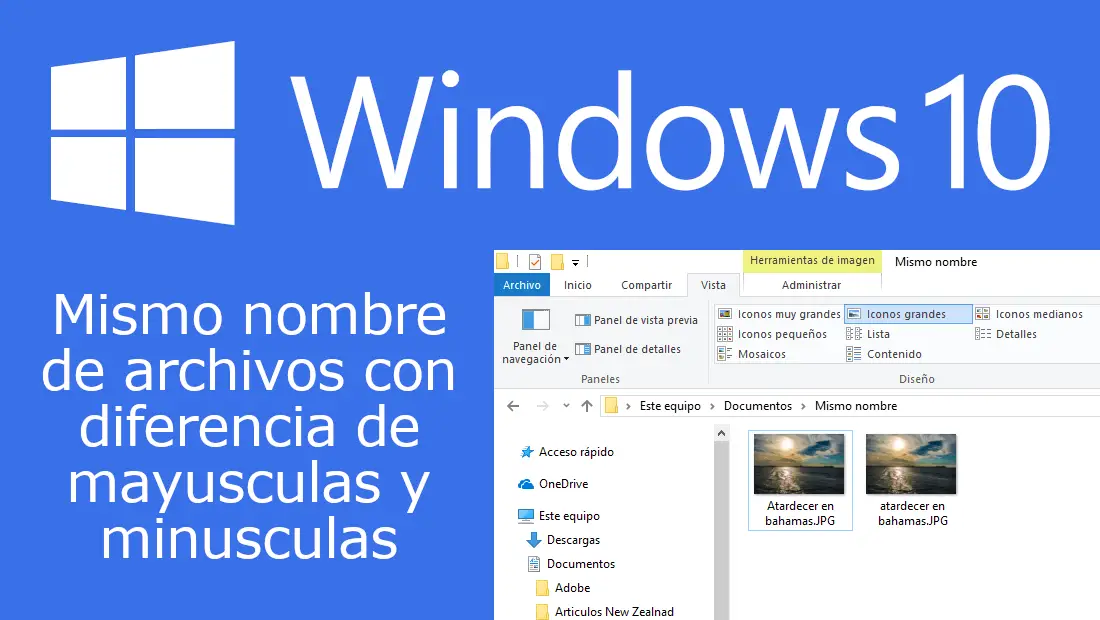
The clearest example of these strict rules when naming a file or folder is the impossibility of naming them in the same way as another file or folder that is within the same directory. This restriction also includes capital letters, that is, it will not be possible to name a file or folder with the same name as another, even though it has some capital letters that differentiate it from the other..
This feature is known as " case sensitive attribute in file names " and that for example if I name a file as photo.jpg I will not be able to create another file with the name Photo.jpg. Actually the name is the same but with an obvious technical difference, even so Windows will not allow us to grant this name and on the contrary will encourage us to add a number to the end of the name of the new file to be renamed.
This security measure of the Windows operating system can be modified and configured so that your operating system allows you to rename files and folders with the same name but with the difference of capital letters . Having said this, we want to show you how to do it:
How to enable case sensitive file names in Windows
Note: Before continuing you should bear in mind that the configuration shown below must be done for specific directories. In other words, disabling the limitation of not being able to name files with the same name even if different capital letters are used, will only affect the folder / path that we specify..
Well, once you know this, the first thing you will have to do is open the PowerShell tool as an administrator, which you can do by searching for that tool, right-clicking among the search results and selecting the option: Run as administrator.
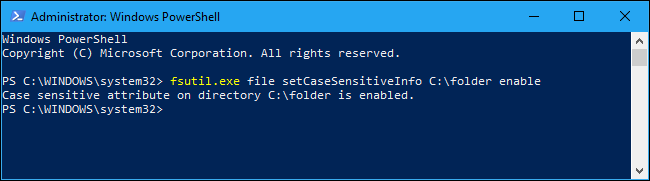
This will automatically open the PowerShell window. Once here you will have to enter the following command:
fsutil.exe file setCaseSensitiveInfo "Path" enable
Important Note: Do not forget to replace in the command the part of: “Path” with the correct path of the folder in which you want to name 2 files in the same way but with the difference of capital letters. For example the path can be: C: \ Users \ juanm \ Documents. In this case the command should be such that:
fsutil.exe file setCaseSensitiveInfo C: \ Users \ juanm \ Documents enable
Another Important Note : in the event that the name of the folder in which you want to allow multiple files to be named the same with the difference of a capital letter, has a space, you must put the path of the command in quotation marks. This means that if the path is: C: \ Users \ juanm \ My Documents, the command should look like this:
fsutil.exe file setCaseSensitiveInfo "C: \ Users \ juanm \ My Documents" enable
After entering the command, don't forget to press the Enter key to execute it. From this moment on, you will be able to close the PowerShell window for row, followed by checking how from that moment on, you will be able to name files with the same name that are distinguished by upper and lower case letters within the folder indicated in the previous command..

Unfortunately, you can only configure a folder using this command, and also subfolders do not inherit the settings from the parent folder. This means that you will need to repeat the fsutil.exe command for each folder in which you want to enable case-sensitive names.
On the other hand, in case you decide to revert the changes, you will only have to go back to PowerShell and type the following command:
fsutil.exe file setCaseSensitiveInfo "Path" enable
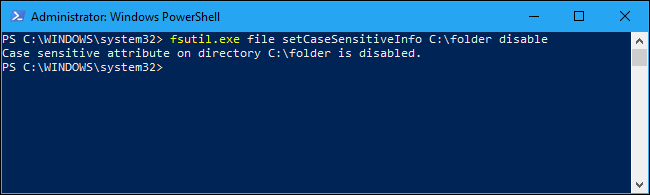
From that moment on, you will no longer be able to name the files in the same way even if they contain case-insensitive differences.