NetBIOS or Network Basic Input / Output System is an API used in the Windows 10 operating system when DNS is not available for use. This makes this type of protocol used in local networks since it allows specific applications or programs to connect to the network. But even if DNS is running, these connections will be made through TCP / IP.

Related: How to restore IPv6 and IPv4 protocols to fix Internet connection problems in Windows 10.
This is really an alternative method of connecting to a network and it is disabled by default in Windows. The reason for disabling NetBIOS in Windows 10 is because it is an alternative and somewhat outdated method of connecting your Operating System to a network. Also, due to their age, the security mechanisms can be limited, which could create a breach for hackers to intercept your connections or even access your computer..
It should also be noted that in addition to the security problems that this protocol can pose, it can also create conflict with other wireless connection protocols and hinder or cause WiFi connection problems, for example.
Although by default this protocol is disabled by default, the truth is that sometimes we may have activated it by mistake or that the installation of some software on our computer has activated it. This can pose a security risk to your Windows 10 operating system..
That is why it is highly recommended to check if your Windows 10 computer keeps the NetBIOS protocol activated. If so, we strongly recommend that you deactivate it. In addition, at any time you can activate it in case they are necessary for its use.
That said, below we show you step by step how to enable or disable NetBIOS over TCP / IP on your Windows 10 computer:
How to enable or disable NetBIOS over TCP / IP in Windows 10
1. Use Windows search to find: Control Panel ..
2. Once in the Control Panel, click on the option: Network and Internet
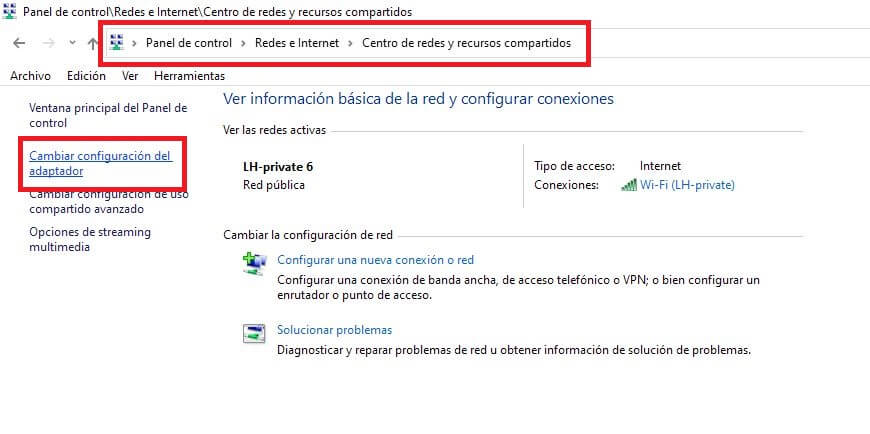
3. Then go to: Network and Sharing Center .
4. Now in the left part of the window you will have to go to: Change the adapter configuration.
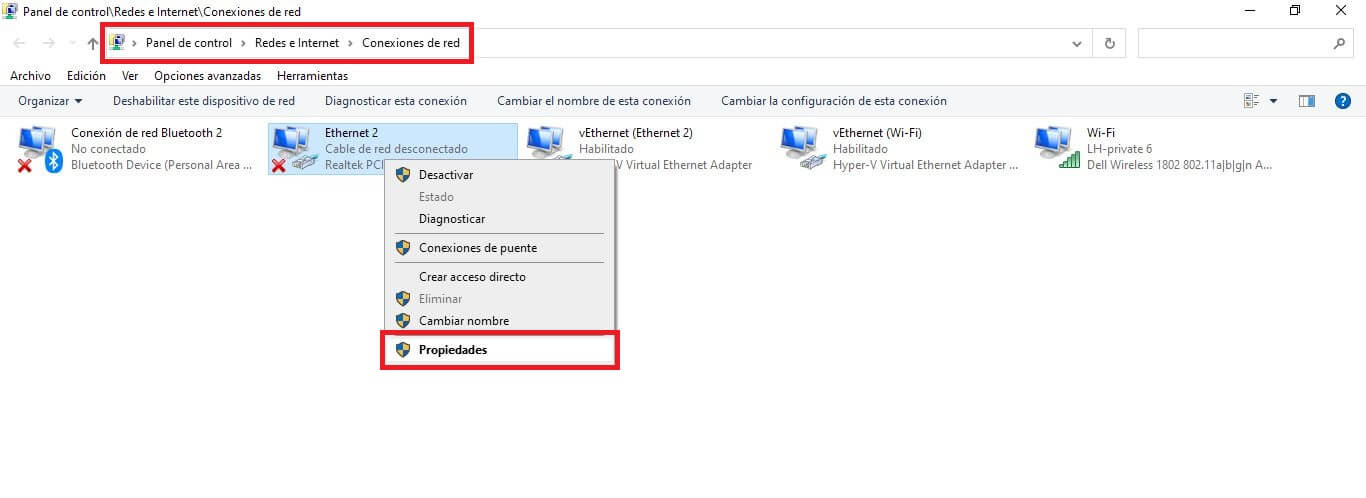
5. Now a new window will open showing all the network adapters available on your Windows 10 computer.
6. Right click on the local network adapter you are using at the moment which usually shows the name of your connection.
7. When the context menu is displayed, select the option: Properties.
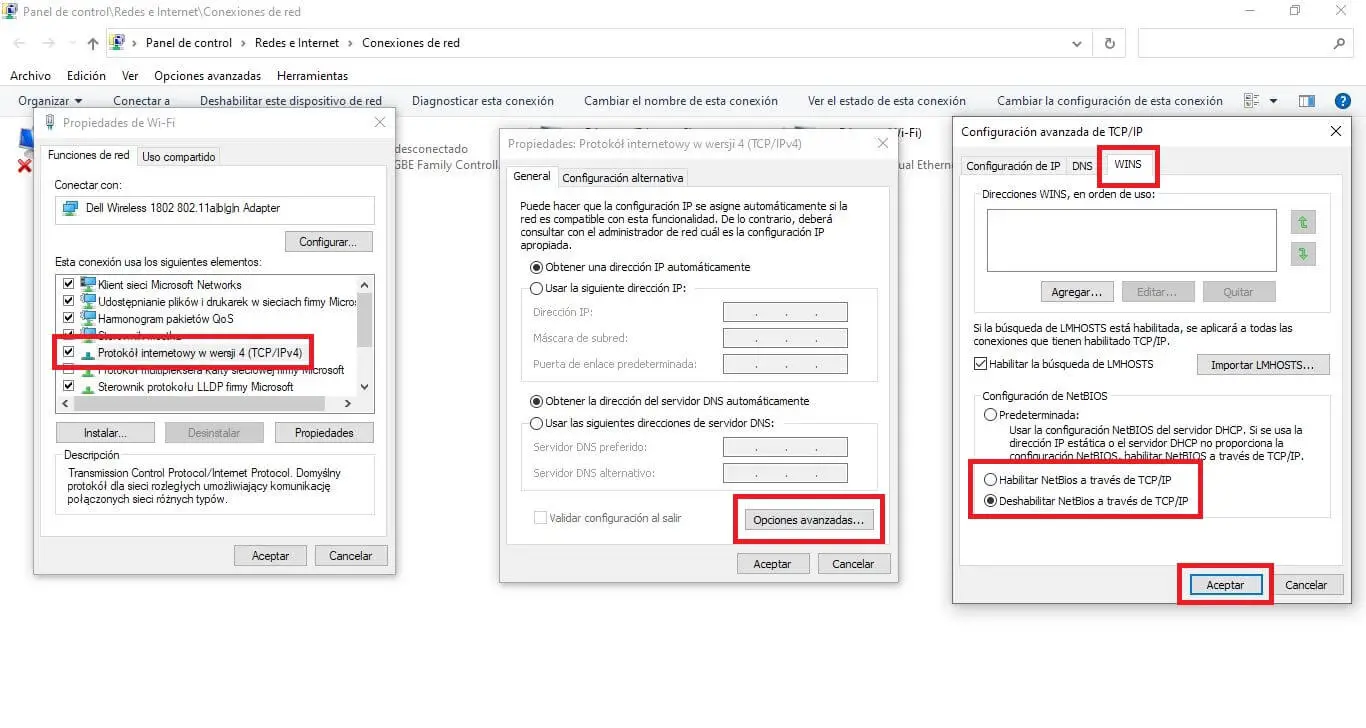
8. In the new window you will have to double click on the option: Internet Protocol version 4 (TCP / IPv4).
9. In turn, in the new window (General tab) you will have to click on the button: Advanced options ...
10. A new window will open in which you will have to go to the tab: WINS
11. It will now be where the options will be shown at the bottom of the screen:
- Enable NetBios over TCP / IP
- Disable NetBios over TCP / IP
12. To save the configuration you will have to click the OK button and that's it.
Important Note : It should be noted that Windows 10 settings are usually Default which means that Windows uses the NetBiOS settings from the DHCP server. In case you are using a static IP address or the DHCP server does not provide the NetBIOS settings, you will have to enable NetBIOS over TCP / IP.