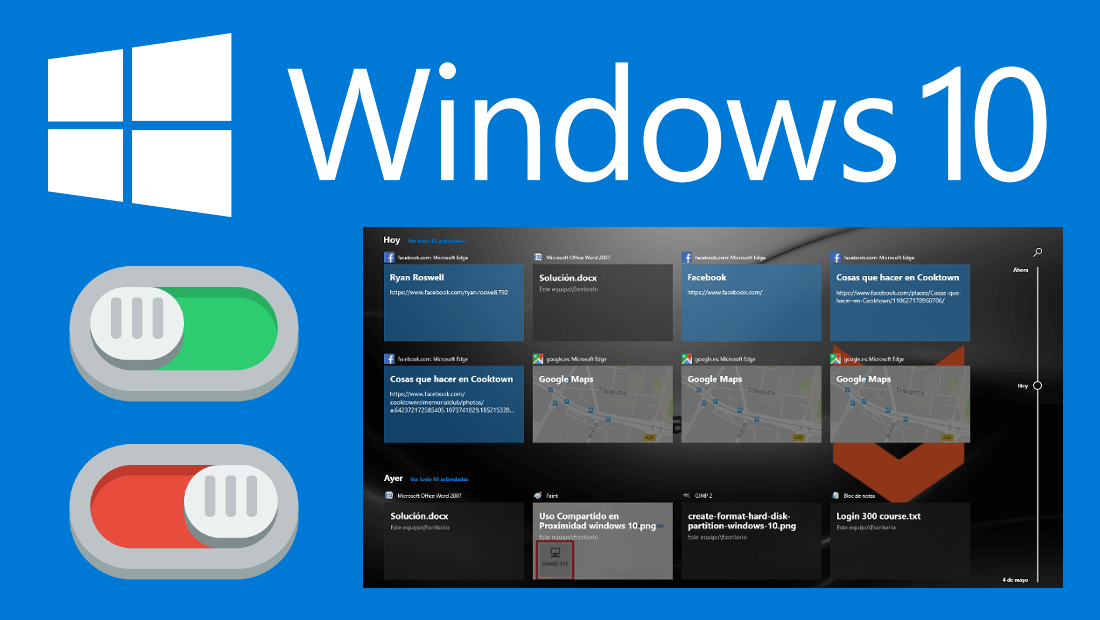
The latest Windows 10 update is now available to all users of the Microsoft operating system. This has been baptized as April Creators and has incorporated numerous and useful functions such as the TimeLine activity line. This function allows you to resume your work or activity from where you left off a few days ago and it is also integrated with multitasking.
You may also be interested: How to eliminate / disable Web search in Windows 10 (Bing)
The TimeLine is usually activated by default when we update our computer when you update to Windows 10 (1803). However, this function can be disabled in case you are not interested in its use. The Windows 10 timeline is designed to allow Windows 10 users to switch between tasks being performed from various devices, including on Android and iOS phones..
As we have mentioned, the TimeLine (timeline) is integrated with the Task Viewer so to access it, you just have to click on the task viewer icon located in the Windows 10 task bar. The operating system will display a timeline view directly in the existing Task View feature for Windows 10 that includes an overview of the applications currently running on Windows 10 computers and iOS and Android devices .
The timeline will allow you to resume your tasks where you left off even if you switch between devices with Windows 10. But this is not all, since thanks to the Cortana integration, this function will be extended even to some Microsoft applications for iOS and Android. . It's really designed to be a quick way to get from one device to another, just like Apple's continuity feature on iOS and macOS..
Having said that, below we show you step by step how to activate or deactivate the TimeLine function of Windows 10 :
How to enable or disable the timeline in Windows 10.
- To enable or disable TimeLine option that we open the Settings application, which can be done by keyboard shortcut: key Windows + R . Once inside the Configuration you will have to select the Privacy option.
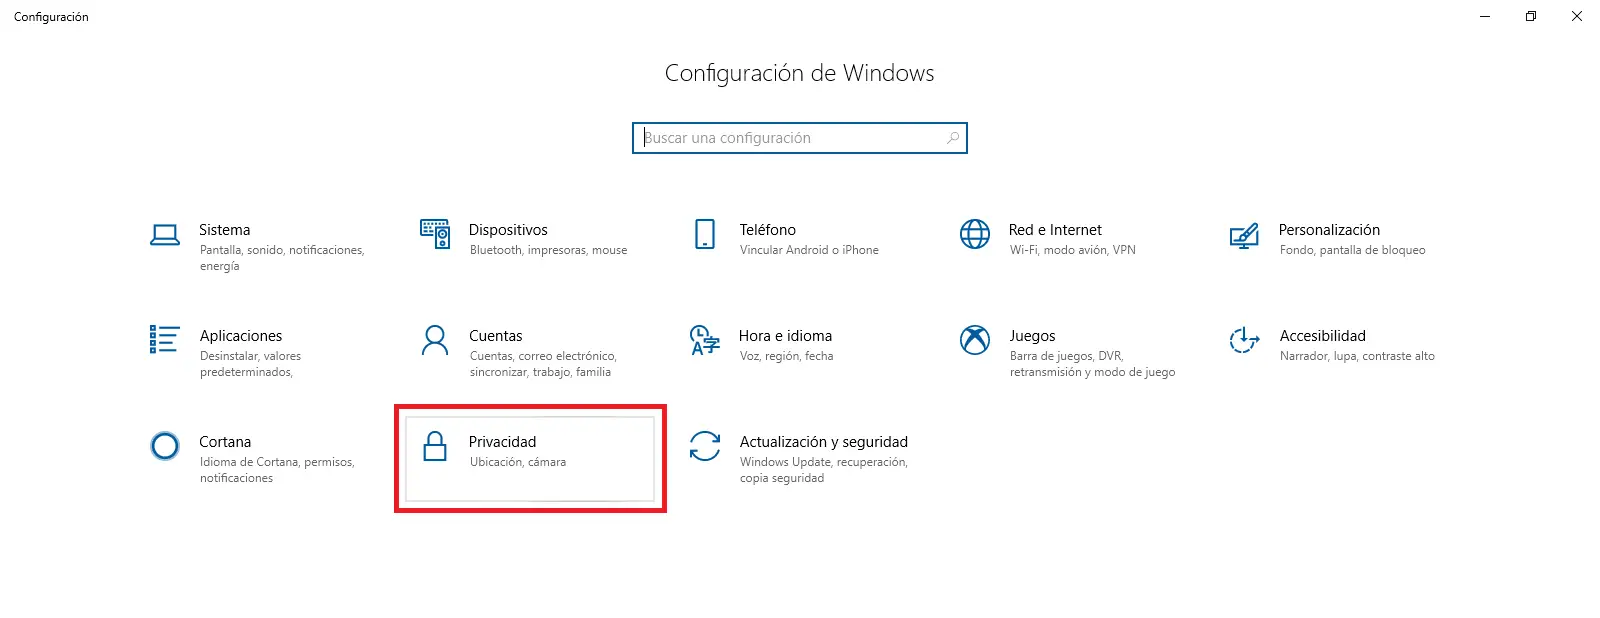
- When you are within the said option you will have to pay attention to the menu on the left side of the screen where you will have to search and select the option that says: Activity History ..
- Now in the main part of the window you will see several settings among which you must locate the one that says: "Allow Windows to collect my activities on this computer". Next to this option you will find a box which you should uncheck in case you want to disable the Timeline function of Windows 10 . If you want to activate this option, the box must be checked.

- Secondly, we should also pay attention to the function: "Allow Windows to synchronize my activities on this computer with the cloud . " If this function is checked, it will mean that all your activities will be synchronized with other computers where you use the same Microsoft account.
- If you have deactivated the Timeline option, from that moment Windows 10 will stop collecting information about your activity and tasks so that at another time you can continue where you left off, even on another device. However, the activity you previously collected will still be displayed. In other words, when we access the task viewer, the activities are still shown in the Windows 10 TimeLine.
- If we also want to delete our TimeLine, you should also go to Settings> Privacy> Activity History . Here we will have to click on the Delete button just below the Delete Activity History section.
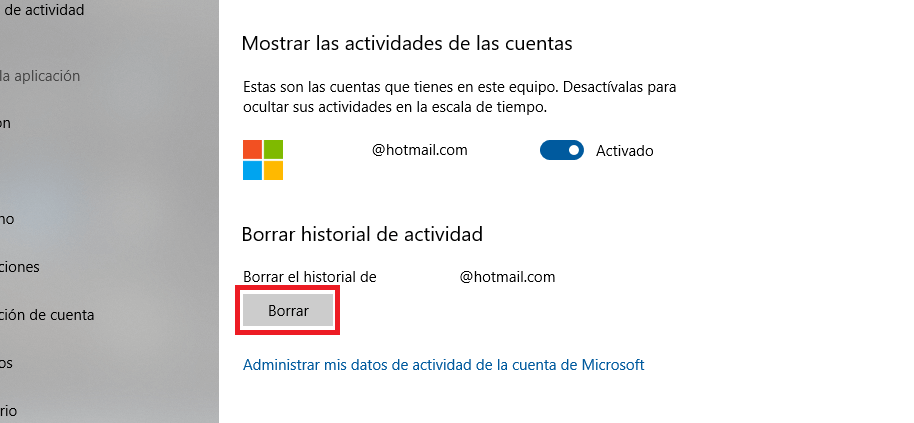
- This will completely remove all activities from the Windows 10 TimeLine within the task viewer.