The world of video games continues to grow, and this means that the amount of content does not stop increasing. This has also made many users wonder how it is possible for youTubers or specialized blogs for example on PS4 to show captures and video clips of their fully edited games. Well, this is because PlayStation 4 has the option to save your screenshots on a USB memory that allows you to export them to your PC where you can edit them.
You may also be interested: How to remove the ads from the PS4 home screen
Until a few years ago, when we wanted to take a screenshot of one of our games or record a video of it on PlayStation , we simply took a photo or recorded a video with our mobile phone or video camera. Well, this has changed considerably since the PlayStation consoles incorporate the option of taking Screenshots and recording video games..
PS4 introduced the Share button on the controller that allows you to record video clips and take screenshots in a very simple way. These screenshots and video clips will be saved in the Capture Gallery app on your PlayStation 4 for later viewing or even share them through social networks or communities within the PS4 network.
However on the Internet we can find video games as well as screenshots of video game games as well as the PS4 console's own operating system. So far so good, but how is it possible that these images can be edited if PS4 only allows you to share them directly on the desired channels but without editing..
PS4 does not have a video or image editor, so if we want to add content, improve images, etc., we will need to transfer the images and videos to our computer in order to use an editing program. In this way we will get an improved and personalized content ready to be published on YouTube, Facebook, Blog, etc.
Having said this, we want to show you step by step how to save the screenshots and video clips of your PS4 games on a USB memory stick so that you can pass them on your PC , where you can edit or share them as you wish:
How to export Screenshots and PS4 video clips to a USB memory to view or edit them on your PC.
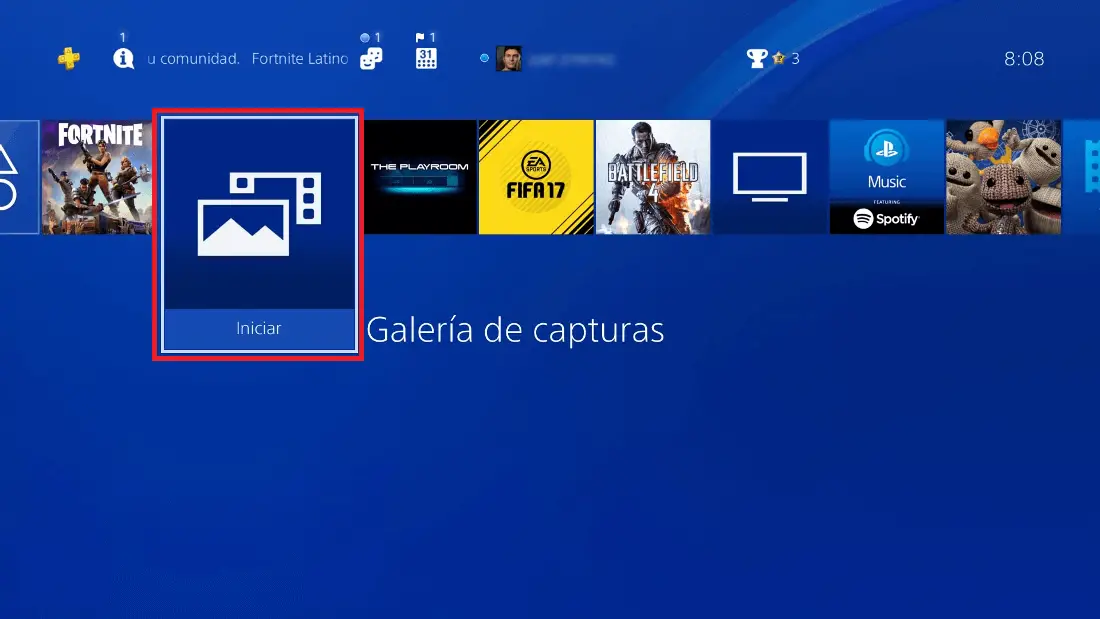
- As we have mentioned when we press the Share button during a game on PS4, the console will save a screenshot in the / app folder: Screenshots Gallery. Obviously you can also record videos of your games and these will also be saved in the same PlayStation 4 app. Therefore, from the PS4 home screen you will have to access the Capture Gallery app..
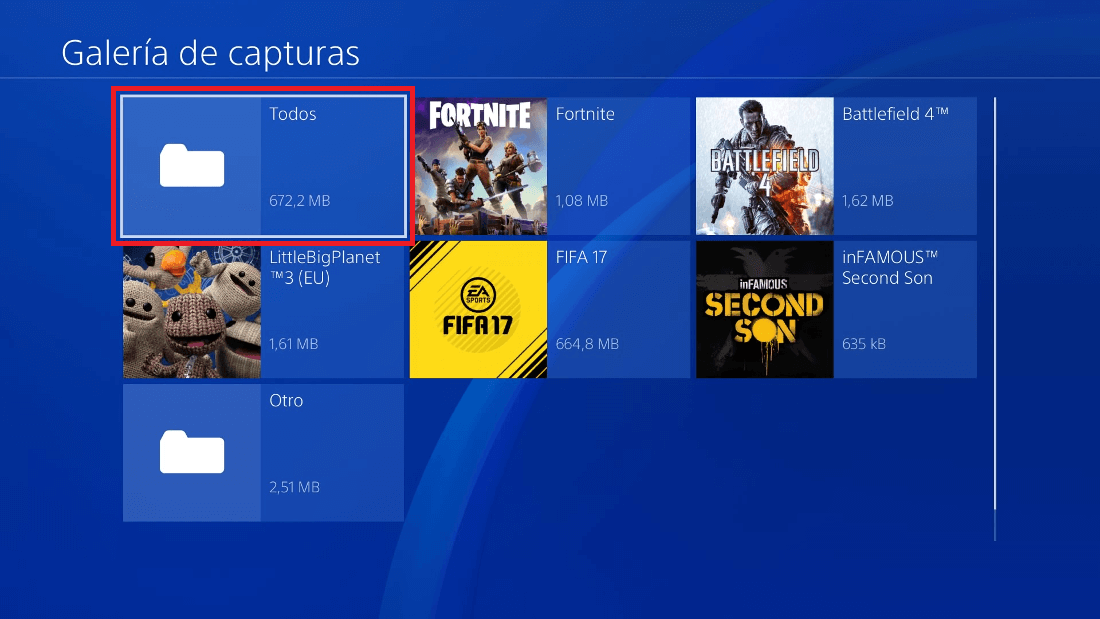
- This will open a new screen where you will see several folders organized by games as well as two more folders: Other and All . The Others folder will contain the Screenshots and video clips taken from the console's system interface. On the other hand, the All folder will show all the screenshots as well as the videos taken on your PlayStation 4 computer by date from newest to oldest.
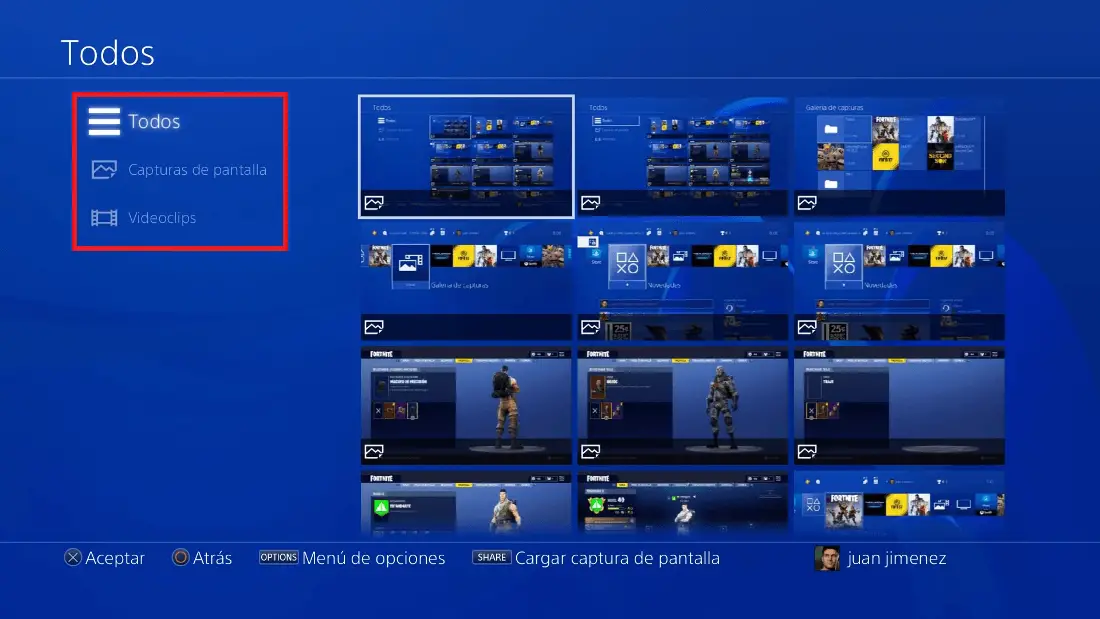
- In our case we will open the Everyone folder . This will show us 3 sections on the left side of the screen. Two of them allow us to apply Screenshots and VideoClips filters. In our case we will place ourselves in everything so that all the saved content is shown.
- Continuous line we will press the Options button which will cause a new menu to be displayed on the right side of the screen where you will find the option: Copy to the USB storage device . Before selecting this option, you must connect a USB memory with enough storage space to accommodate the screenshots and / or video clips you want to export.
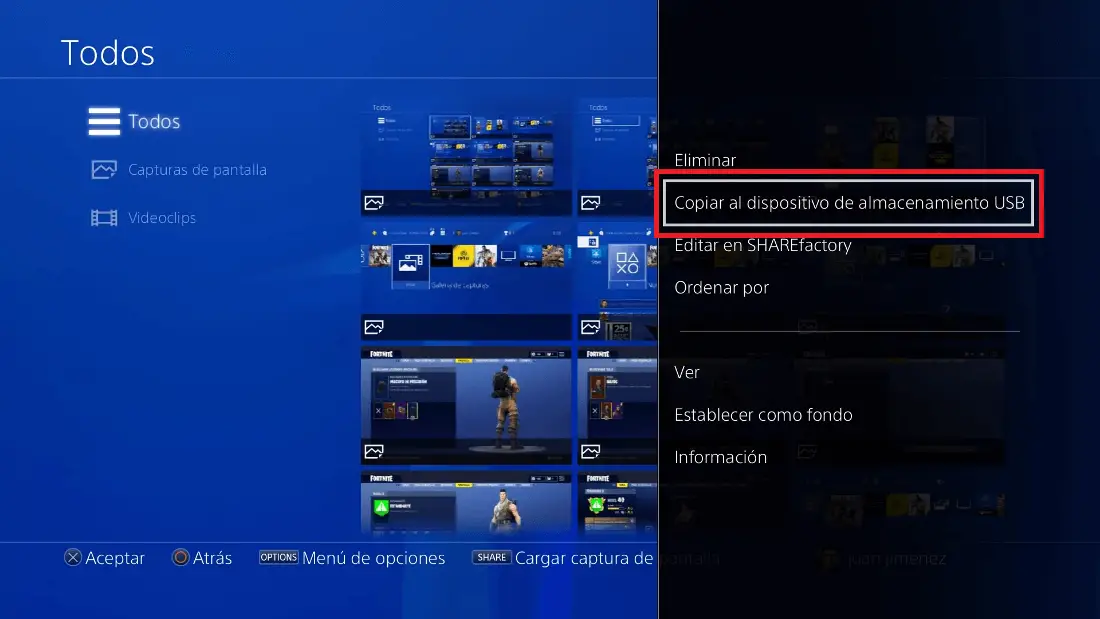
Note: Your USB memory will not be formatted, so there is no risk of losing the information already stored on that device.
- When the PenDrive is connected, select the indicated option and the PS4 will show you a new screen in which you will have to mark the videos and / or Screenshots that you want to export to the USB memory. If you prefer, you can select all the elements at once, using the option: Select All . Line will often have to click on the button: Copy .

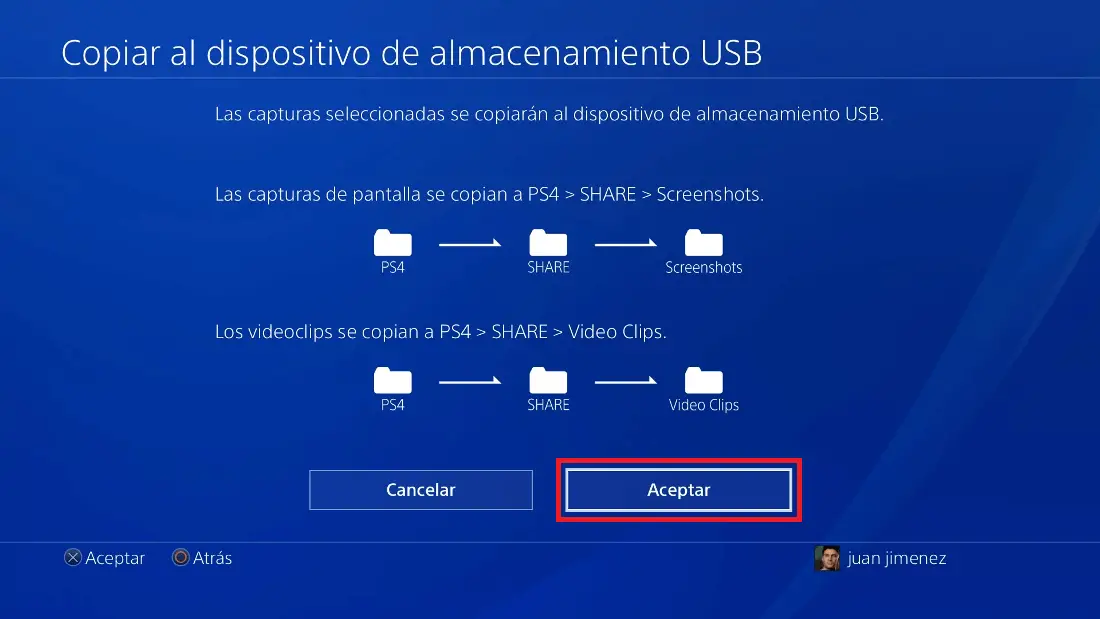
- Now you will be shown a screen that indicates the directory that will be created on your USB memory and therefore in the folders where the screenshots and video clips of your PS4 will be saved. Click on the OK button to start the export process.
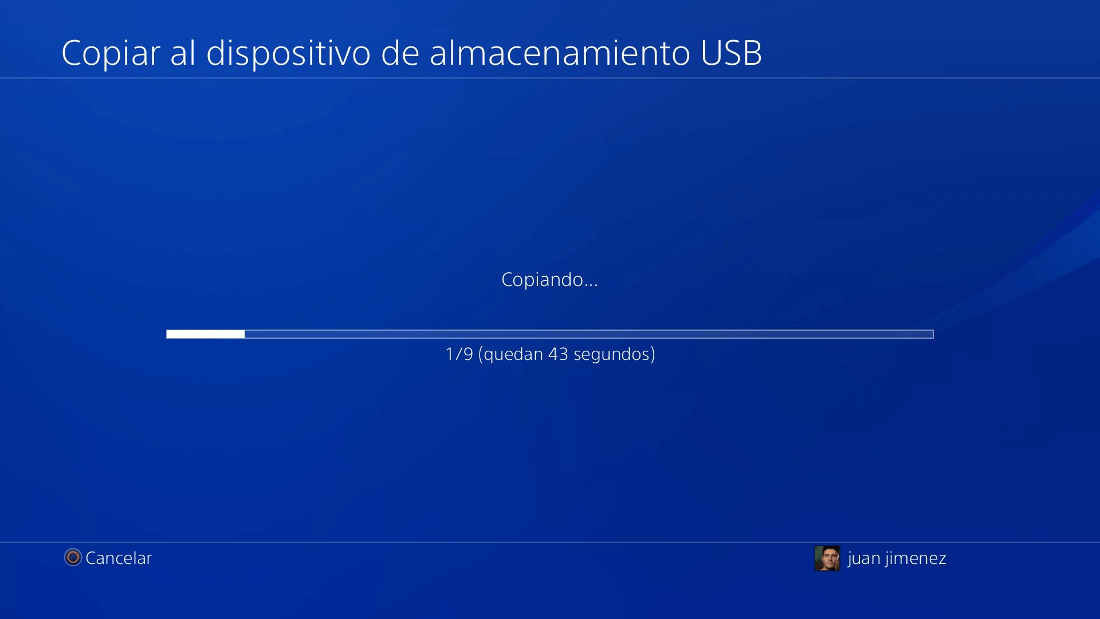
- At this point the progress of the process will be shown, indicating the number of files missing to complete the transfers as well as the time remaining until it finishes. When the process is finished, you can now disconnect the USB memory from your PS4 console.
- Finally you only have to connect the USB memory to your computer and you will see how the screenshots of your PS4 are in .JPG format and the video clips of your PS4 are shown in .MP4 . These files can be copied, pasted, endited and viewed like any other multimedia file on your computer. This allows you to edit your content before showing it to your friends and audience. In this way you can make them more attractive and capture the attention of all who will see them.