Many fans have positively valued the implementations and improvements of the cameras incorporated in iOS devices such as iPhone. It is true that they are very far from the benefits offered by practically any average decent camera on the market, however, great results can be achieved with the camera of your iPhone, so much so that you can even take long-exposure photos.
You may also be interested in: How to stream live video games from iPhone to Twitch.
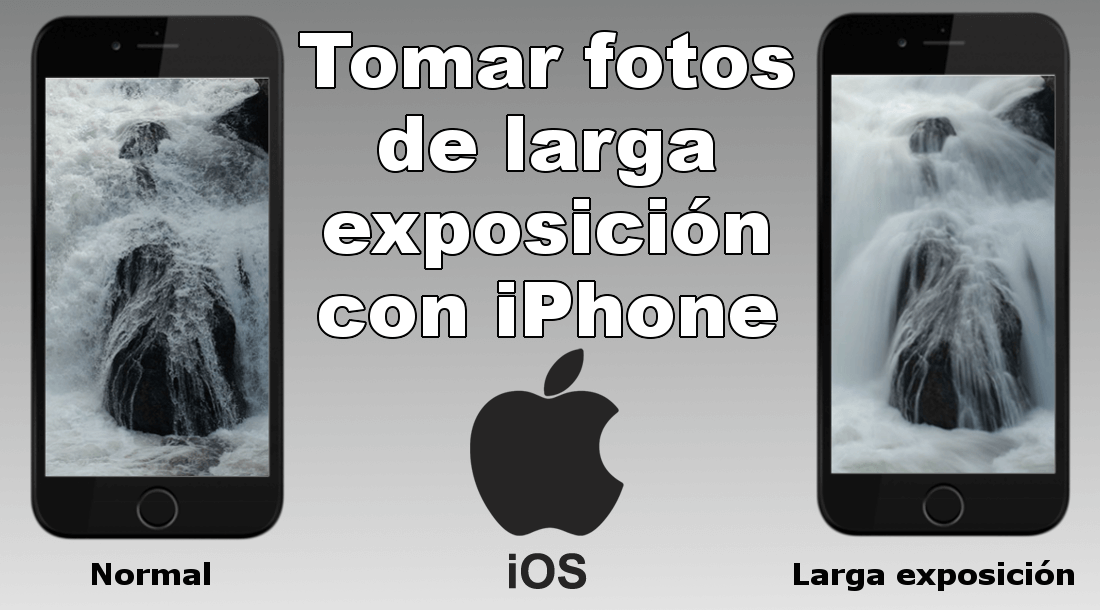
The long - exposure photos is related to the shutter speed at which a photo is taken. For those who do not understand technical terms much, we can summarize it as the time it takes to take a photo. The faster the photo is taken (short exposure), the greater the freezing sensation of the photo. The longer the time taken to take a photo ( long exposure ), the greater the fluid effect of the photo..
Thanks to the exposure time we can achieve various effects. For example, one of the examples in which long exposure is most often used is to photograph waterfalls. With this, the water appears as a fluid "in motion" since during the taking of the photo the only thing that moves is the water.
This effect can also be understood as a blur of those parts of the photo that are in motion, while all those that do not move will remain focused and “ frozen ”. This is the reason why in long exposure photos it is vitally important to keep the camera as static as possible to avoid the moment of the whole set that we want to photograph..
Well, although the camera of your iPhone does not allow you to take long-exposure photos specifically , it does allow you to take Live Photos from which we will be able to create a long-exposure image. Here we show you step by step how to take long exposure photos with your iPhone (iOS) :
How to convert a Live photo into a long exposure photo.
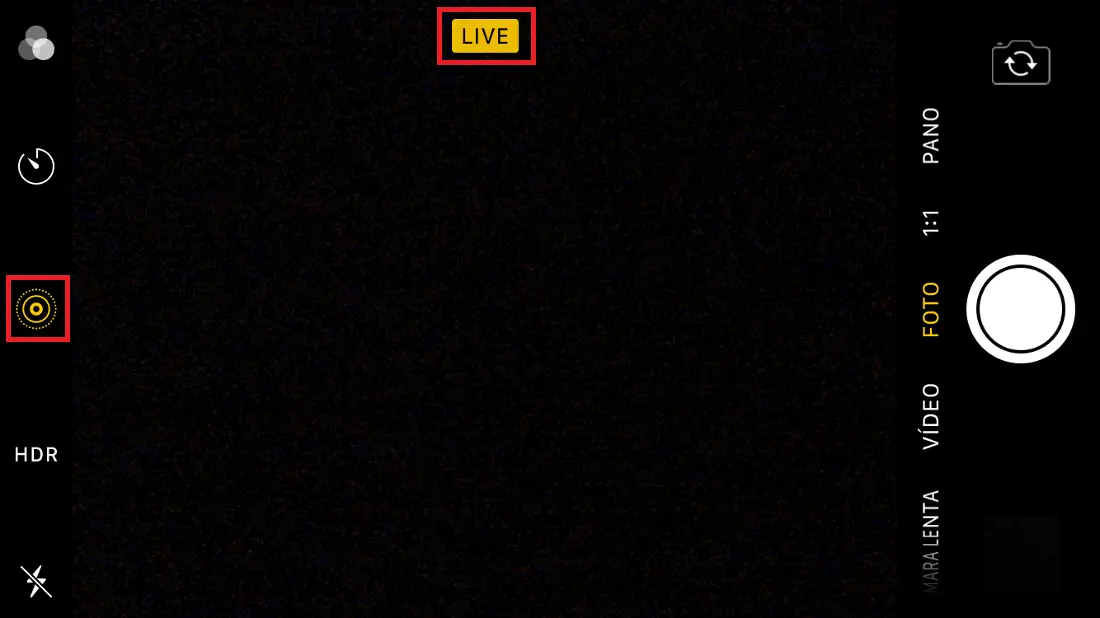
1. The first thing we will have to do is unlock your iPhone for the line followed by accessing the camera. Once the camera interface is displayed on the screen of your iOS device make sure that the Live option is activated. To do this click on the icon in the form of several concentric circles which must be yellow.
2. Once the LIVE option is activated, we recommend that you place your iPhone on a stable surface instead of holding the iOS device in your hand. It may even be a good idea to turn on the timer to prevent the iPhone from moving when you press the shutter..
3. Once the photo is taken, close the camera app and go to the Reel here you will find the image just taken, which you should open in full screen. When it is open, slide the screen from the bottom to the top, which will expose a section called Effect.
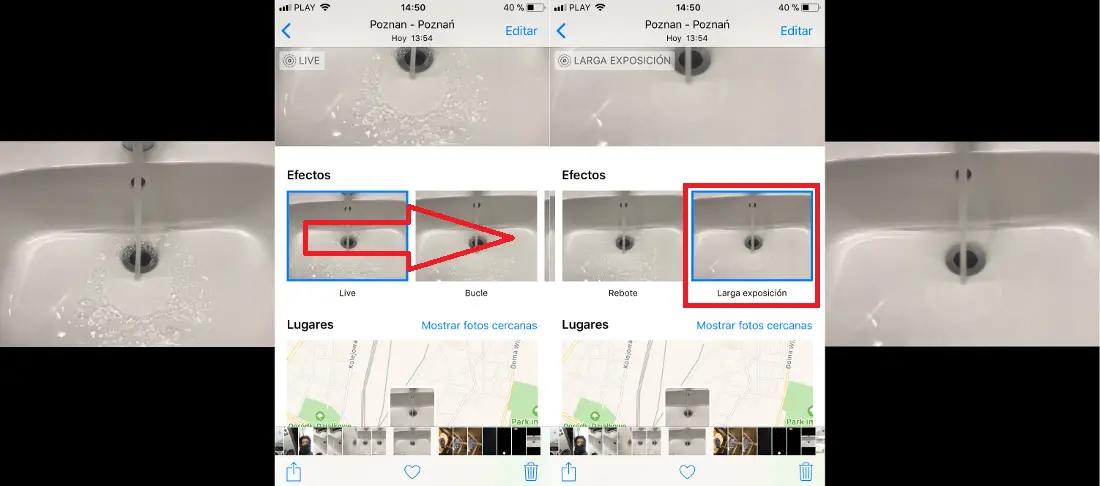
4. Slide the effect carousel from left to right until you reach the last one. Here you will find the long-lasting effect in which you must press. Your photo will automatically be shown as a long exposure image in which what was static is shown in focus and what was in motion when you took the photo is shown out of focus and with a motion effect.