Windows 10 constantly improves with each update that is released and installed on our computer. The latest October update for Windows 10 incorporates a host of useful new features, but it also fixes some bugs and issues with earlier versions of the Microsoft operating system. However there are different bugs or problems that have not been corrected with this latest update. In many cases these errors can be due to the hardware instead of the Windows Fall Creators operating system, such as: CMOS Checksum Error or CMOS Checksum Bad.
You may also be interested: How to solve a problem with font size in Windows 10
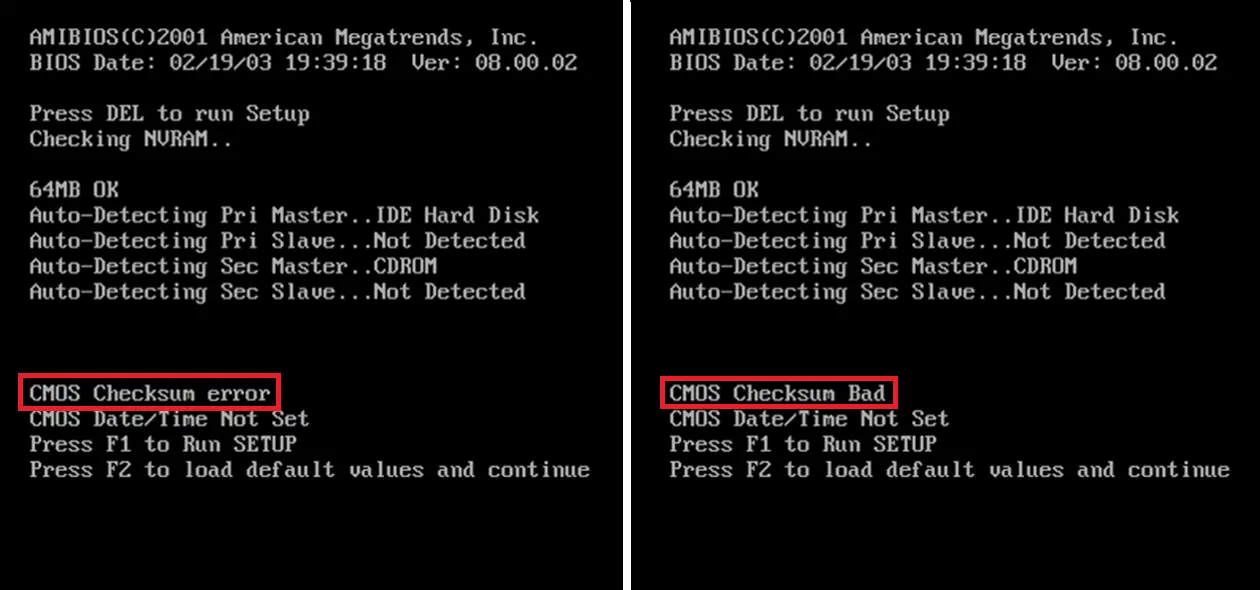
The CMOS Checksum bad error is displayed when your computer is unable to start, that is, it is unable to start the Windows 10 operating system, which truly indicates that the error is not due to the operating system itself. Specifically, this error is more related to the BIOS of your computer (basic input / output system)..
In general, next to the CMOS Checksum bad error in the BIOS of Windows computers , several actions are usually shown, such as Resume if we press the F1 key or load default values and continue if we press the F2 key. That is, if we press the F1 key what we will do is restart our computer so that generally the problem will not be solved and we will end up in the same error.
Every attempt you make to restart your system fails. Pressing F1 also does not solve the problem and the reboot error reappears. If this problem has worried you, read this article to find a solution. With the F2 key we may be luckier since it will restore all the default values which will get Windows 10 started if the error is due to a recent change..
CMOS (Complementary Metal-oxide Semiconductor) is a battery-powered semiconductor chip on the motherboard that stores all information related to the BIOS. Therefore it is the first program that is run when the user turns on their computer. In addition it is also responsible for starting and checking the hardware such as: the CPU, memory, keyboard, mouse, etc.
The CMOS Checksum Bad error on Windows computers normally shows up when the CMOS contents fail to verify the hardware and BIOS information. This could happen if the CMOS cannot retain data due to a malfunction. There could also be other reasons. For example, it could be because a CMOS battery is dead..
If you still have the CMOS Checksum bad error or CMOS Checksum error that prevents the startup of your Windows computer, here are several methods on how to fix it:
Check and / or Change the CMOS battery to fix the CMOS Checksum error.
As we have mentioned, one of the reasons for this error may be the button battery that is connected to the motherboard of your computer. To check if this is the element causing the error, you must press the Del, Delete or Delete key from the CMOS Checksum error screen .
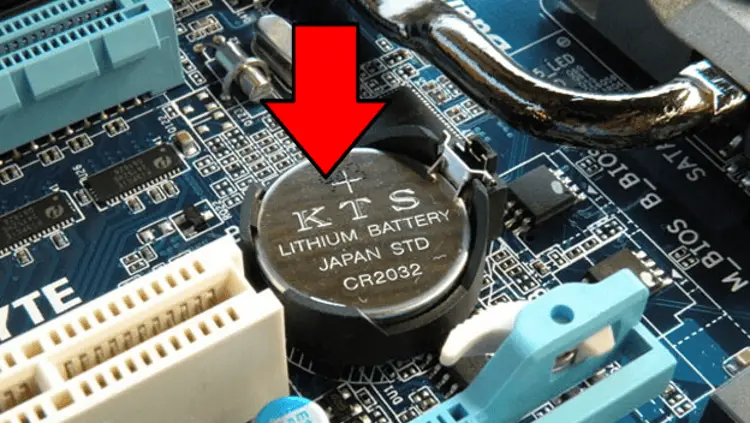
This will allow you to access the BIOS configuration screen where you can verify the date and time that the screen shows. This date and time must match the current date and time. If this is not the case, the button cell battery on the motherboard is exhausted. In such a case, you will have to replace the CMOS battery and check if the problem is resolved. Once everything has been verified, be sure to save and exit CMOS setup.
Restore default BIOS settings to fix CMOS Checksum error.
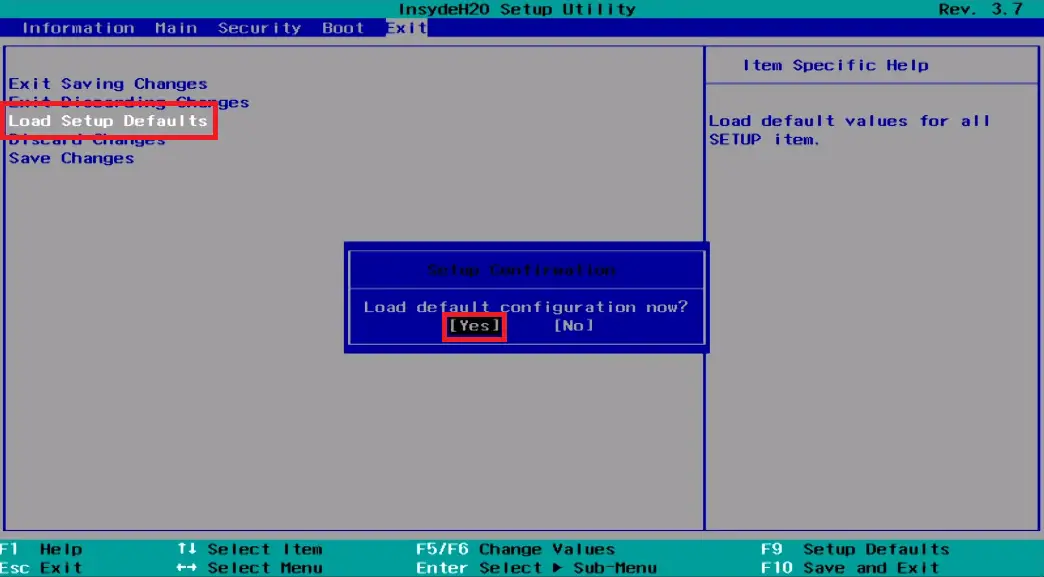
If the problem persists, you may need to reset the CMOS values to the factory default values and reset the configuration data. For this we will have to start our computer and when we are on the black screen of the Checksum error , press the F2 key to enter the BIOS. (You may need to press other keys, for example the Delete key depending on your BIOS key.)
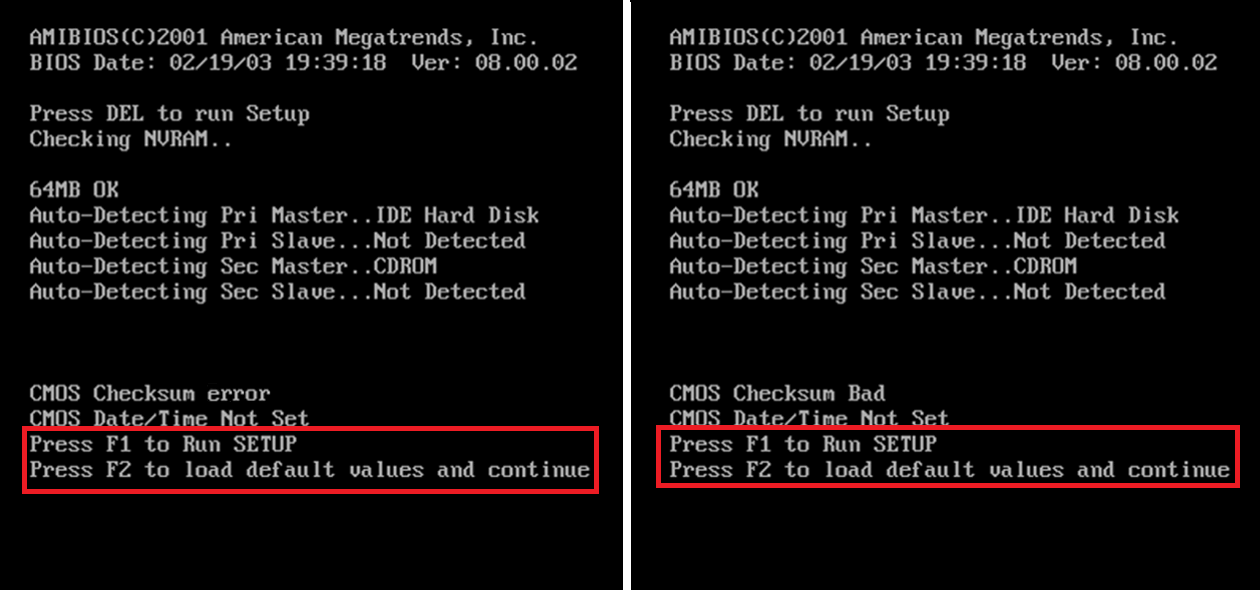
Here you will have to read on the screen the information about the keys to use and select the option similar to: Load Defaults. (Or select the option that allows the BIOS settings to be reset.) The BIOS will display the following question "Load BIOS defaults (Y / N)?" (Load BIOS Defaults (Y / N)?) , Obviously in our case we must press the Y key and then the Enter key.
After accessing the Windows operating system, you must restart your computer to check if the problem persists. Rung followed saves changes and exits BIOS.
Update the BIOS to fix the CMOS Checksum error.
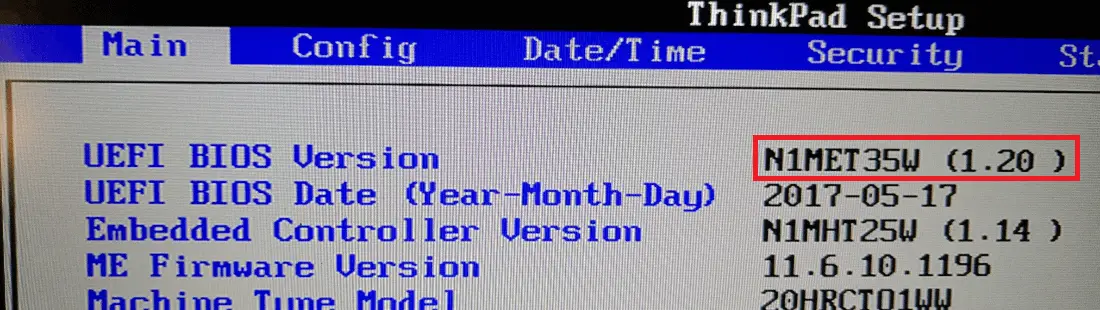
The problem may be caused by an outdated BIOS of your computer. That means that you will have to update your BIOS to be compatible with the hardware and with the Windows operating system. The only problem is that this update is somewhat delicate and you should not make mistakes during it as it can destroy your computer.
The BIOS update that you are going to install must always and exclusively be the one that the manufacturer of your computer or motherboard offers on its official website. During the update you must ensure that the power source does not fail so if you have a laptop, it must be connected to the charger. On the other hand, you should also check that the version of your BIOS update is the following version to the one you currently have installed.
Once you have everything, you can proceed to update the BIOS of your computer, if you do not know how to do it, the following link shows how to do it: How to update the BIOS or UEFI of your computer with Windows 10.
After all these methods, your computer should overcome the error and be able to load the Windows operating system without any problem.