The GPU is one of the many hardware parts that plays an essential role in the way we work on a computer, thanks to the fact that a good GPU guarantees the highest quality graphics and unparalleled performance in games or applications that require these types of segments..
MSI Afterburner has been developed as a more popular graphics card overclocking utility with which we will have full control of the graphics cards installed in the computer. in addition to that, it provides us with hardware details and integrates features such as fan profile customization , benchmarking, and video recording.
MSI Afterburner can be downloaded for free at the following link:
MSI Afterburner
MSI Afterburner Features
Some of its functions are:
- It has MSI Afterburner Overclocking tools with which it is possible to increase the frequency and voltage of the GPU clock, manage the fan speed control and more.
- It integrates the Hardware Monitor function which gives us information about the hardware in real time such as temperature, use, clock speed and voltage.
- Triple surge function which gives us precise control over the core, memory and PLL voltages.
- Create custom fan profiles.
- It has an FPS counter for games.
getFastAnswer will explain how to install MSI Afterburner on Windows 10 to manage your graphics cards..
To stay up to date, remember to subscribe to our YouTube channel! SUBSCRIBE
How to install MSI Afterburner on Windows 10
Step 1
In the MSI URL we find the following:
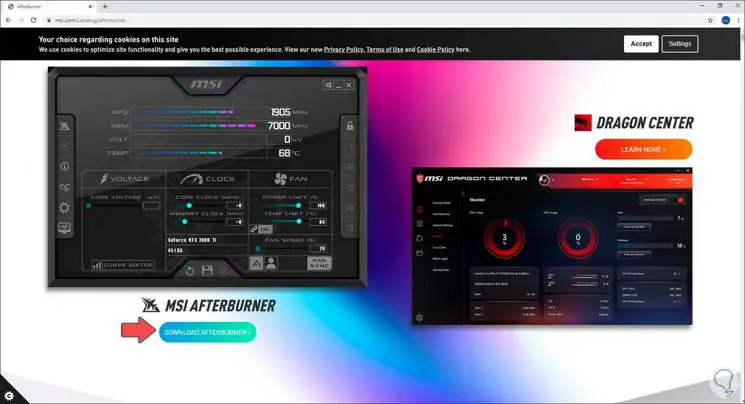
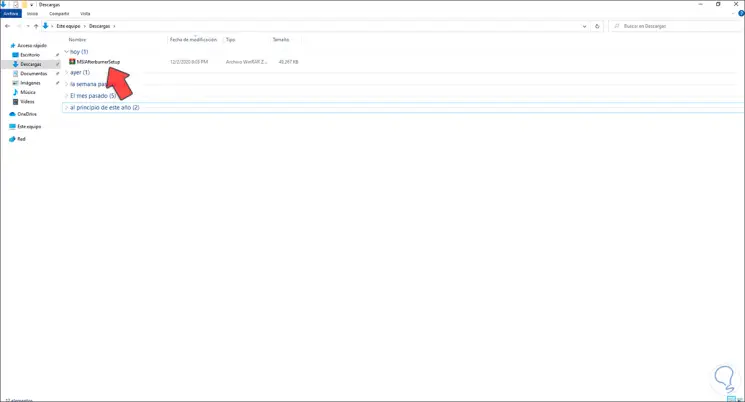
Step 2
There we download the MSI Afterburner utility, after this we check the download:
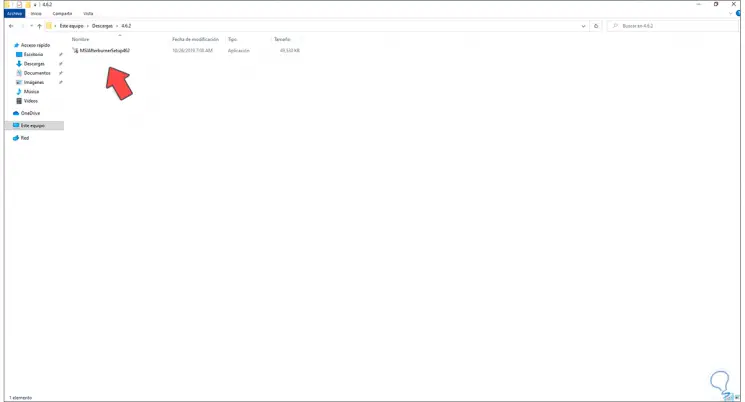
Step 3
There we extract the content of the ZIP file, we see the folder created:
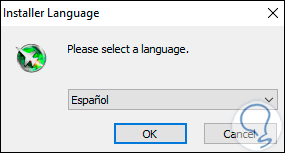
Step 4
We double click on the installer and first we define the language to use:
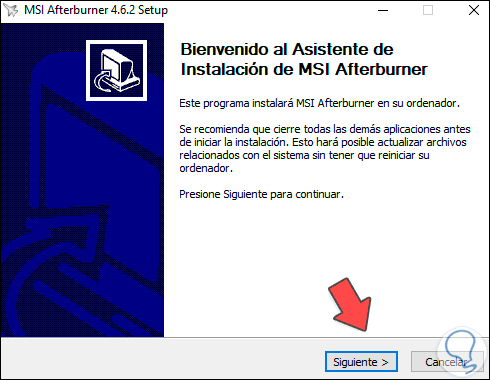
Step 5
We click OK and the installation wizard will open:
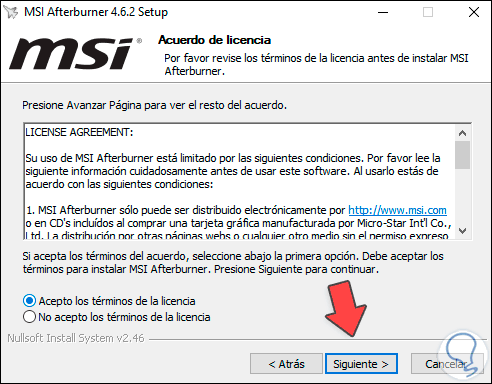
Step 6
We click Next and we must accept the license terms:
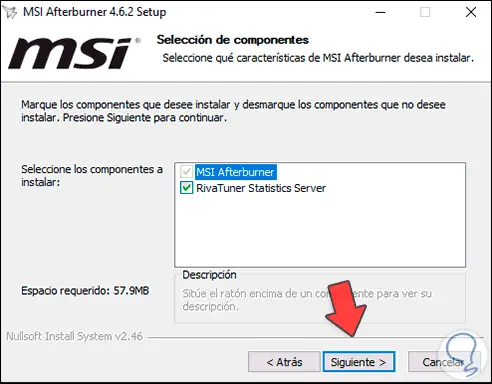
Step 7
We click Next and then define which components are to be installed:
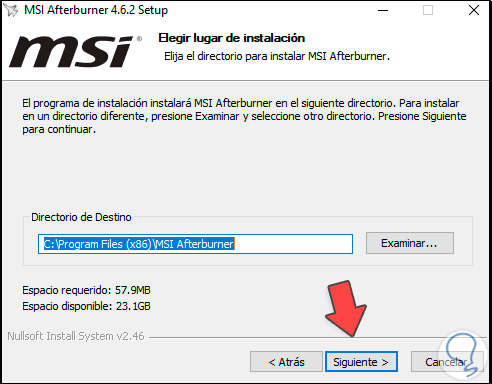
Step 8
We click Next and define the installation path:
Step 9
Click on Next and now we define in which folder the direct access must be integrated:
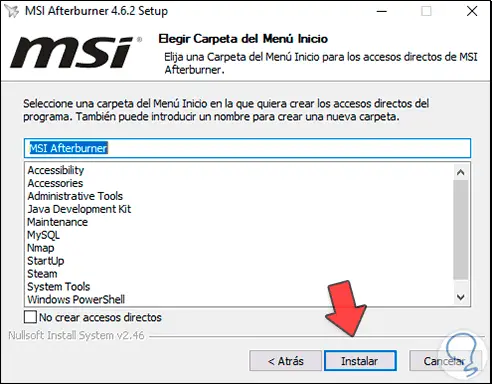
Step 10
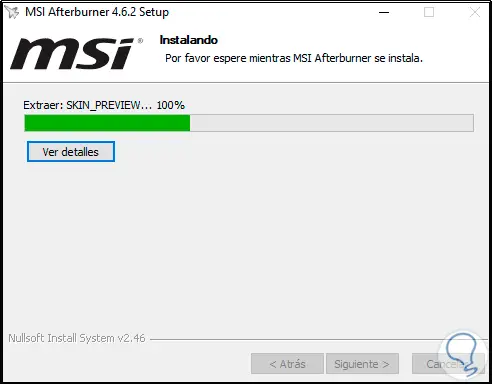
We click Install to start the installation of MSI Afterburner in Windows 10:
Step 11
After this an additional component (RivaTuner) is installed, we select the language:
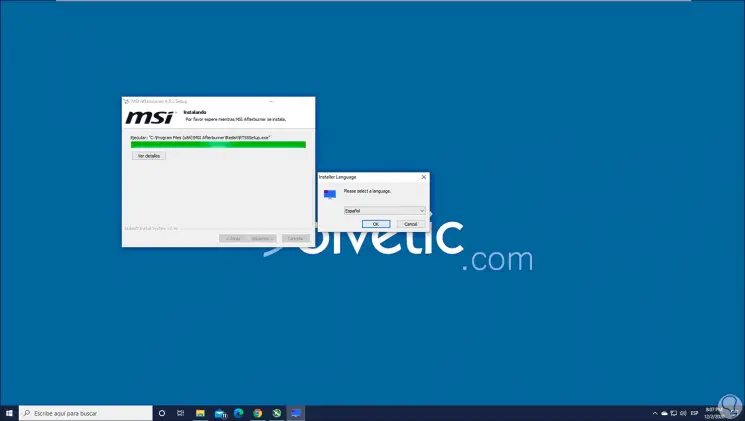
Step 12
We click OK and we will see the wizard:
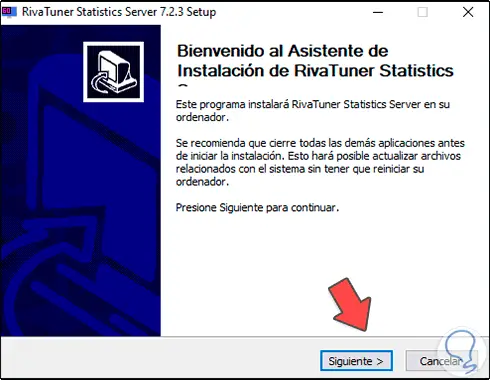
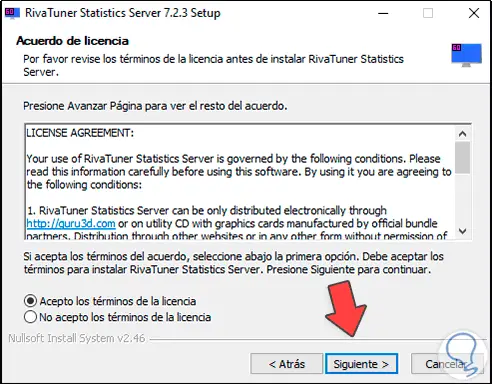
Step 13
RivaTuner allows access to statistics on the status of the components in real time, click Next and accept the license:
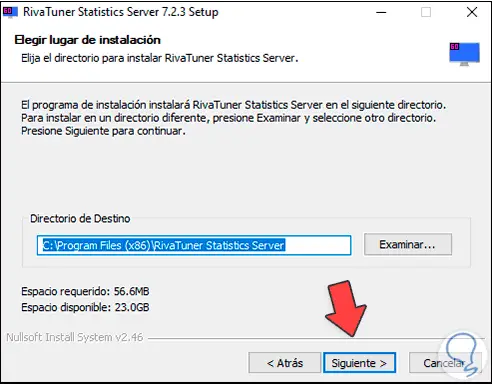
Step 14
In the next window we select the path where MSI Afterburner will be installed:
Step 15
Click on Next and define the folder in which the access will be added:
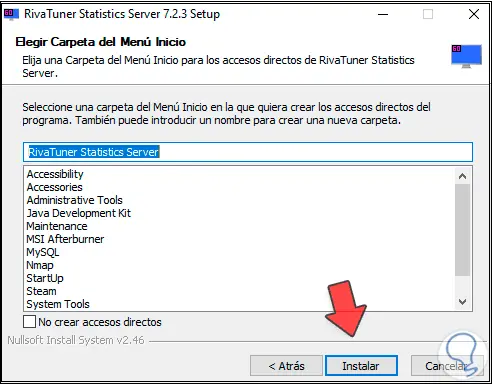
Step 16
We click Install to run the process:
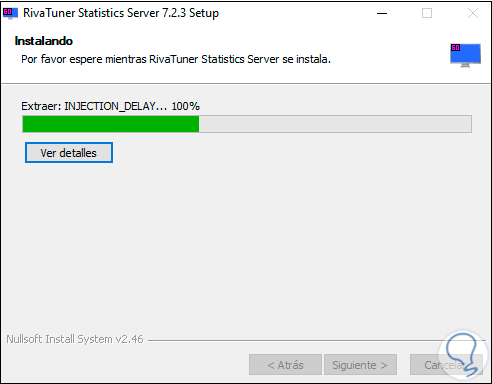
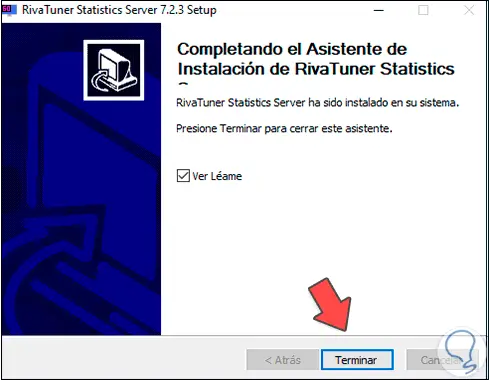
Step 17
When this process ends we will see the following:
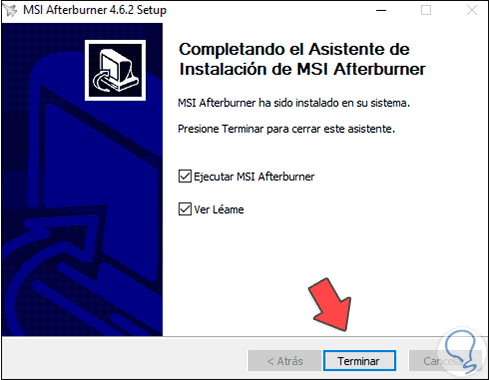
Step 18
We click on finish and we will be redirected to the initial wizard:
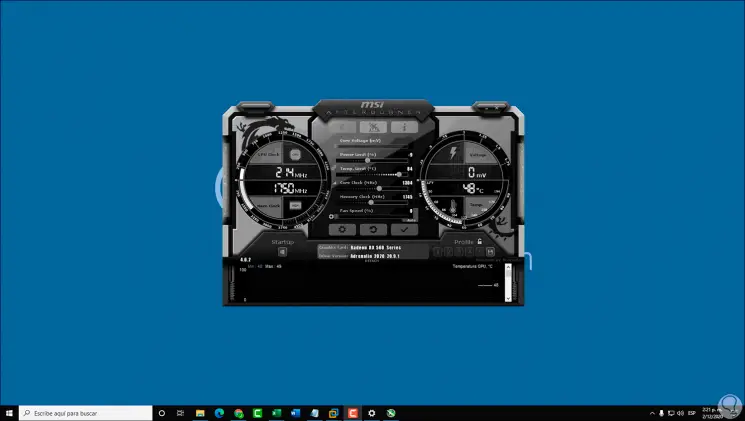
Step 19
We click Finish and when we run MSI Afterburner we will see the following:

Step 20
There we find the details in real time of the GPU and in the central panel we find the options that we can set as necessary for Overclock or global settings such as:
Step 21
At the bottom we can see the model of the graphics card used if as the driver version:
MSI Afterburner is one of the most comprehensive solutions for comprehensive work on Windows 10 GPU.