Screen sharing is one of the most common tasks that we can perform in the systems environment for other users in order to automatically configure a VNC server to share the desktop screen and this task in Linux Ubuntu can become really complex for a series of extra parameters to configure..
That is why Ubuntu gives us this possibility to share the screen but getFastAnswer clarifies that it is only possible to use Screen Share with the Ubuntu Gnome desktop environment , if you use an environment such as Mate, XFCE, KDE Plasma 5 they may have access failures or an incorrect Login.
In case of working in desktop environments other than Ubuntu, we can install this Ubuntu environment, which is the default value, using the following command in the terminal :
sudo apt install ubuntu-desktop
getFastAnswer will explain how to share screen in Ubuntu in a simple way.
To stay up to date, remember to subscribe to our YouTube channel! SUBSCRIBE
How to share screen in Ubuntu
Step 1
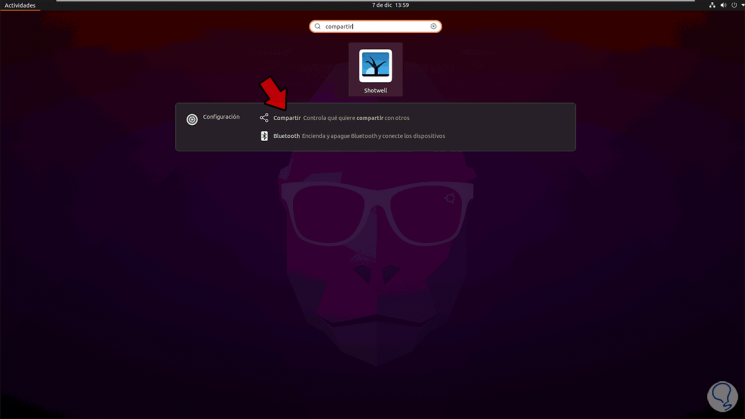
We open Activities and there we enter "share", we will see the following. We click on the Share configuration option
Step 2
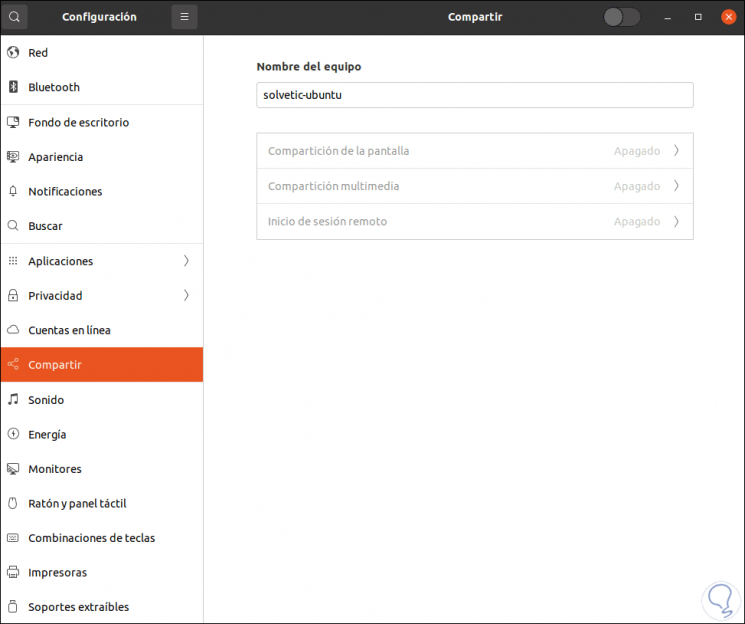
The following will be displayed. In the "Team name" field we see the name with which we will connect from VNC, we activate the Share switch located at the top to enable the options:
Step 3
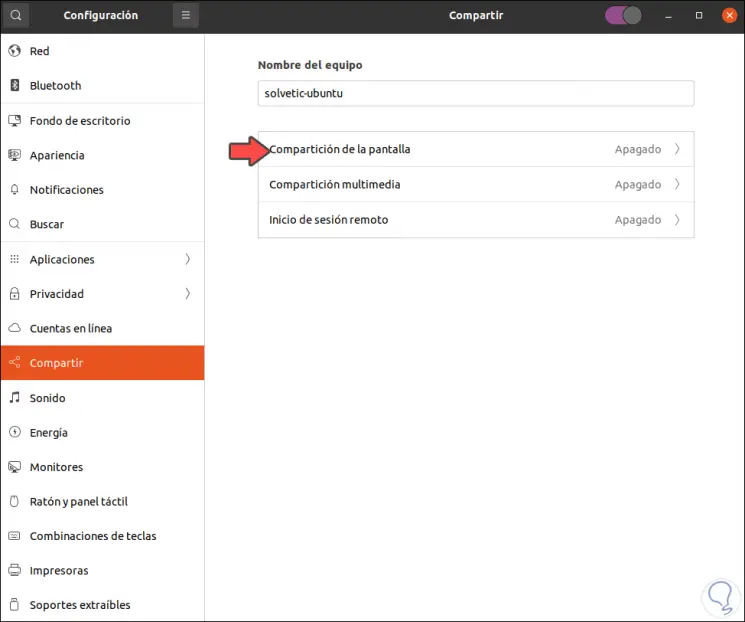
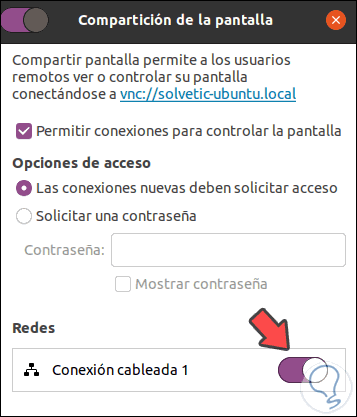
We click on "Screen sharing" and the following pop-up window will be displayed:
Step 4
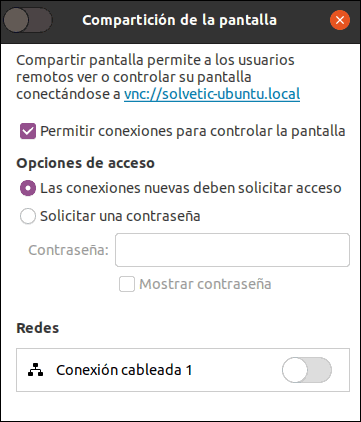
There we can define:
- Password that users must enter when connecting
Step 5
To complete the process, we activate the network connection switch, which is the means through which the connection will be made:
Step 6
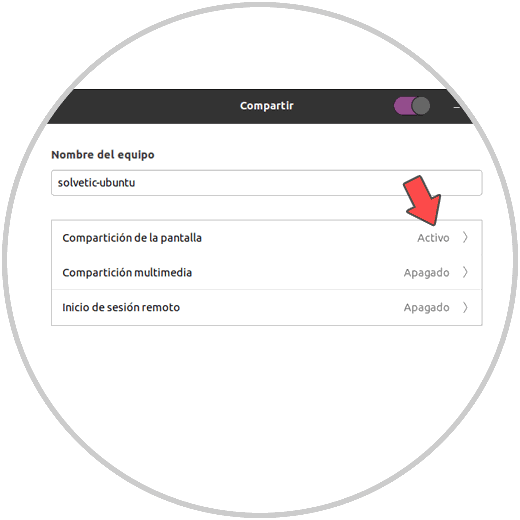
We close this window and we will see that the screen sharing option has been activated:
Step 7
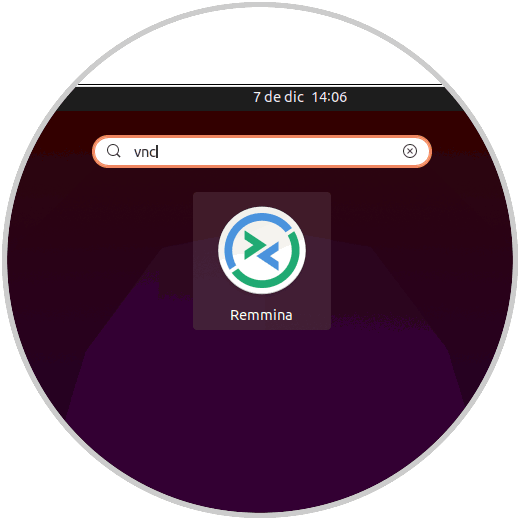
We open activities and enter VNC, there we select Remmina which is the utility integrated in Ubuntu for remote connectivity tasks:
Step 8
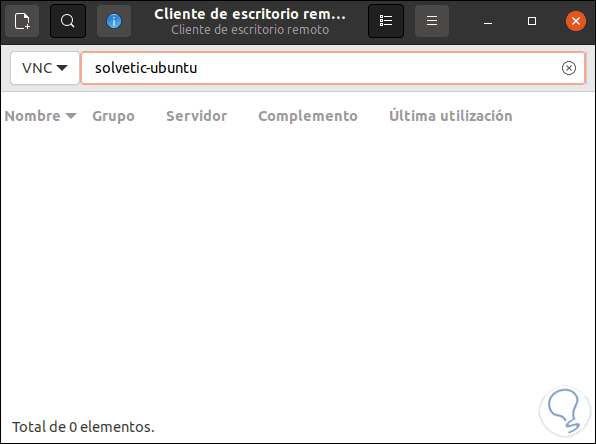
When accessing this we select VNC and enter the team name without the .local, we will see the following:
Step 9
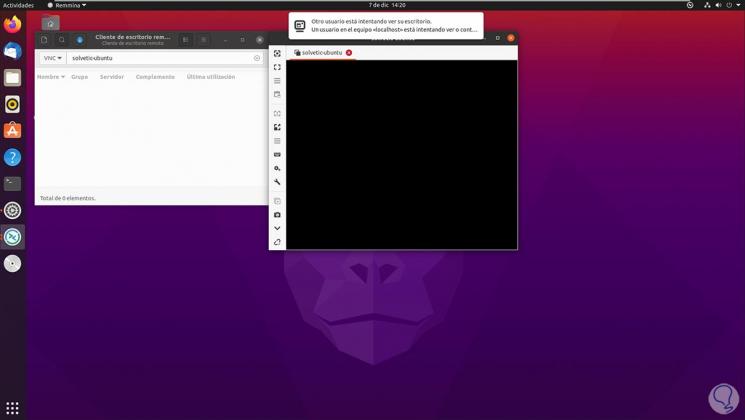
We press the Enter key and the connection process will take place, at the top we must click to accept the connection to the screen:
Step 10
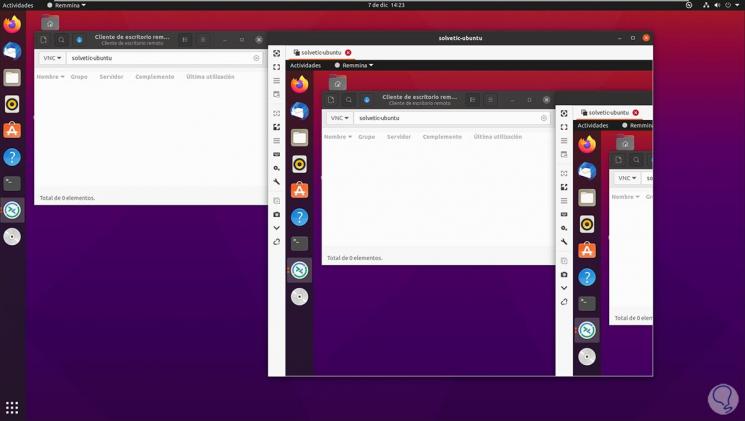
Once it is accepted we can see the Ubuntu screen shared there:
Step 11
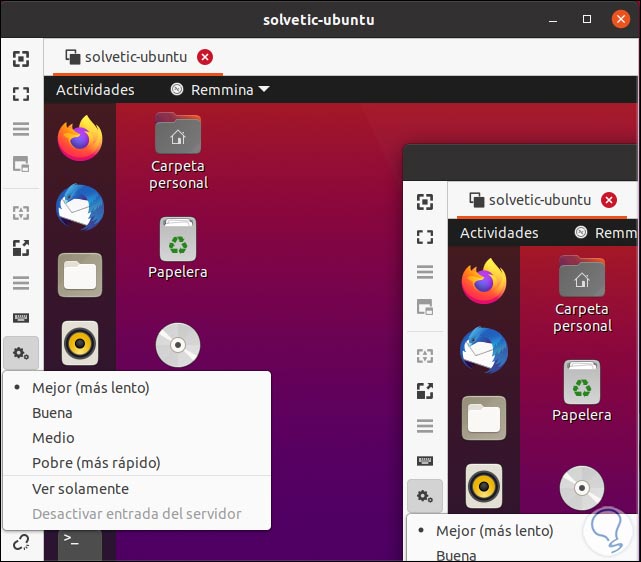
Remmina offers us different options to manage connectivity such as full screen, keyboard integration, etc:
With this process we can share the screen in Ubuntu safely and easily..