The hard drives solid state drive (SSD) are a special type of disk which offers the better user safety, performance, functionality and performance to start or shut down the system, charging processes and tasks, open applications much faster and Generally deliver a new dynamism of working in current operating systems..
Undoubtedly, SSD surpasses in many things the HDD mechanism but still in terms of capacity, not since most SSD disks have capacities of 32, 64 or 128 GB affecting storage, and with the passage of time the useful life an SSD (which is one of the best that exist) may be affected.
For this reason, at getFastAnswer we will teach you the use of a free utility to see the status of the SSD hard drive, and other additional details, in real time..
To stay up to date, remember to subscribe to our YouTube channel! SUBSCRIBE
How to view SSD hard drive status
Step 1
To access this information we are going to download the CrystalDiskInfo utility from the following link:
CrystalDiskInfo
CrystalDiskInfo has been developed as a disk utility that supports various types of USB, Intel RAID, and NVMe connections.
Step 2
Its job consists of carrying out an analysis and in case of detecting an anomaly, generating a text or voice message with said error to be aware of its correction, this utility is compatible with HDD and SSD hard drives.
Provide details like
- How many times was the energy disk fed
Step 3
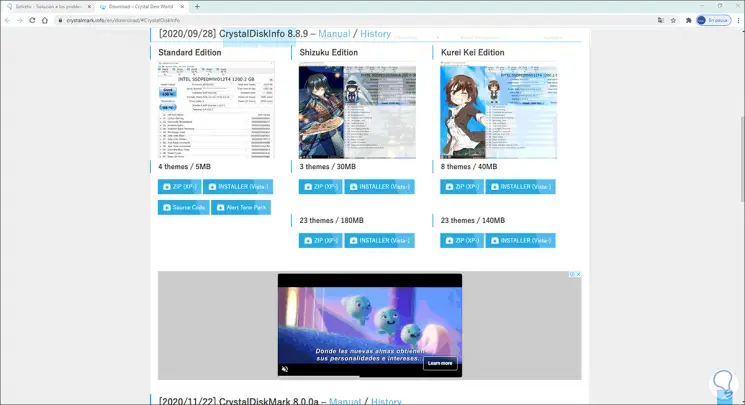
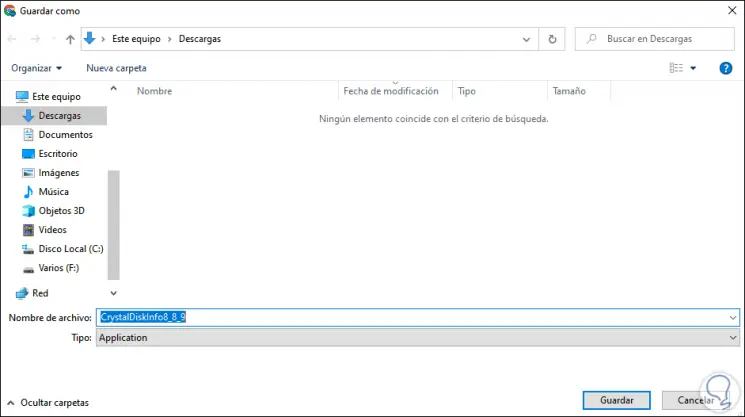
There we must download the Standard version which is the free version of CrystalDiskInfo, we save it locally:
Step 4
Once downloaded we double click on this file and we must accept the license terms:

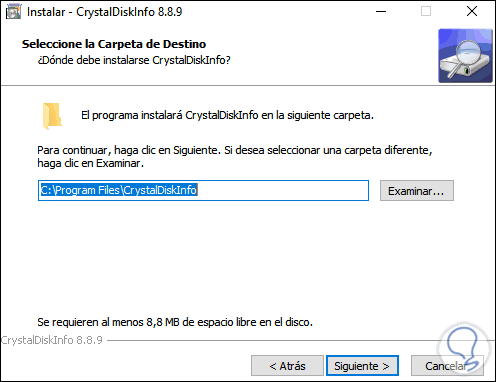
Step 5
We click Next and select the path where the application will be installed:
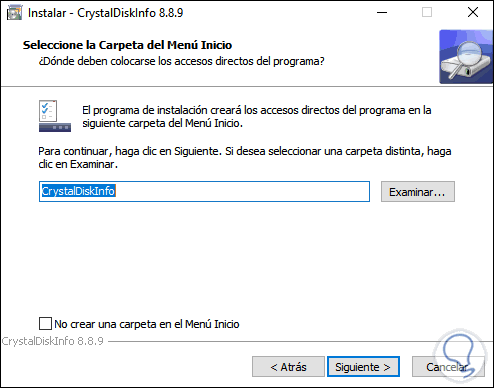
Step 6
In the next window we define the accesses:
Step 7
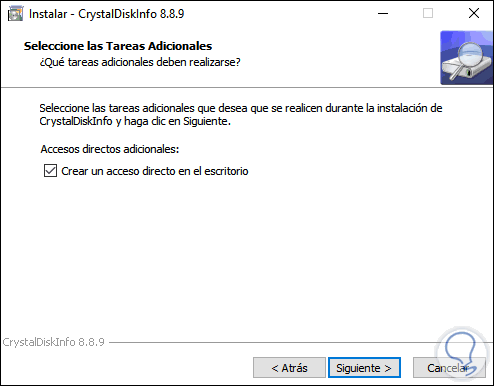
Click Next and we can create a shortcut on the desktop:
Step 8
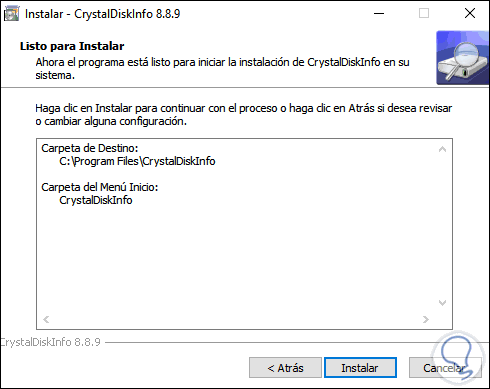
After this we will see a summary of the process to be carried out:
Step 9
We click Install to start the CrystalDiskInfo installation process:
Step 10
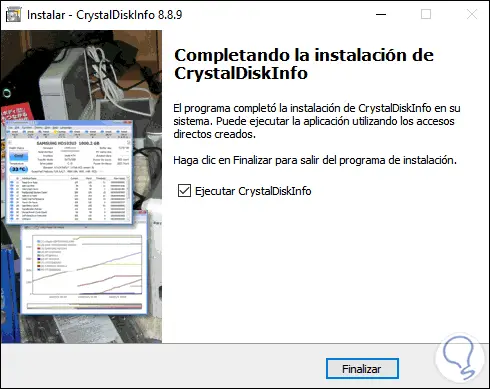
There we can leave the box activated to immediately open the utility, when we open it we will see the default disk of the computer:

Step 11
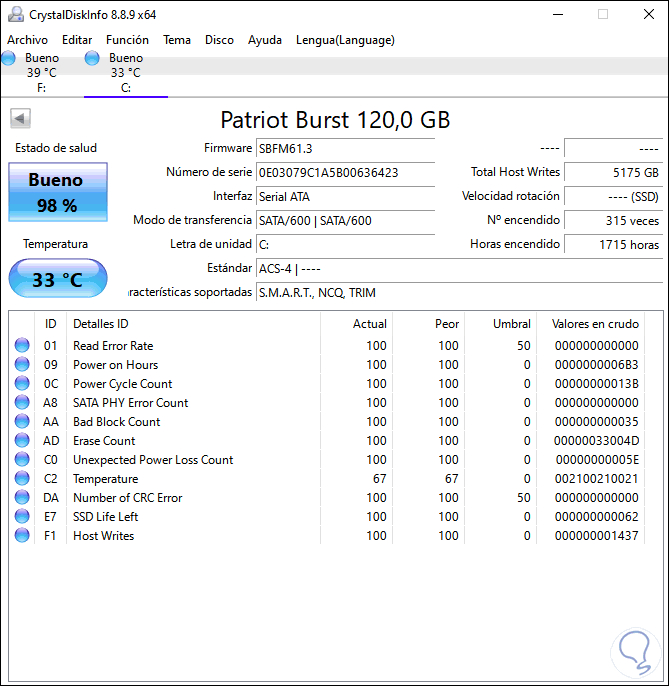
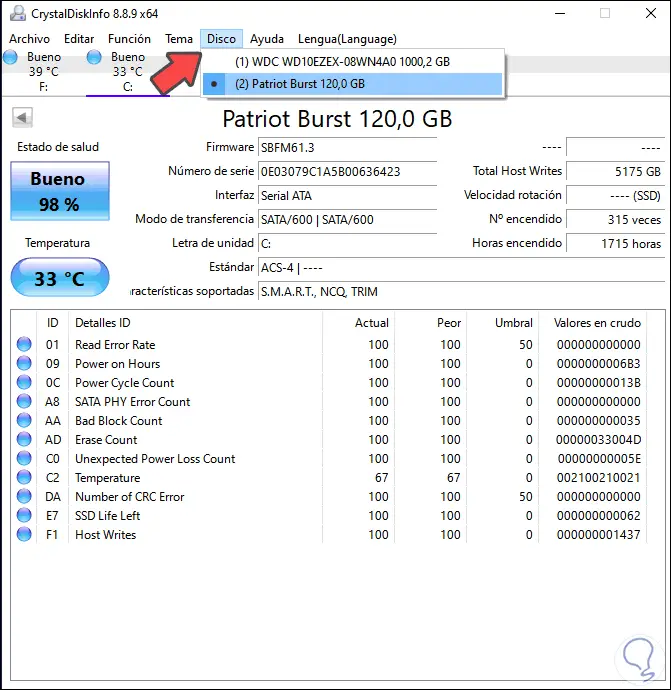
In the case of HDD mechanical disks we can see details such as transfer and rotation speed of the heads, to select the SSD disk we go to the Disk menu and there we select it, in real time we will see the following:
Step 11
There we see details such as:
- How many times has it been turned on
Remember that from Disks we can see each of the disks to be analyzed:
Step 12
By clicking on the health status of the disk we will see the following:
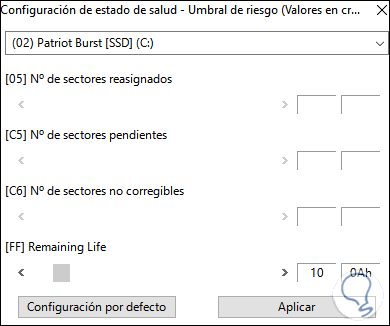
There we can define custom values or leave the default configuration.
With CrystalDiskInfo it is possible to access complete details about the status of the SSD hard drive..