Discord is a platform that provides us with text and voice channels to be able to start conversations with thousands of users around the world, integrating special functions that will make these experiences truly enriching..
It is possible to create our own Discord server to create communities and share elements, among the most outstanding features of Discord we find:
- Allows you to stream games with Go Live
- Screen sharing possible with Go Live - Screen Share
- Supports Discord XSplit Streamkit overlay
- Discord's OBS Streamkit Overlay Feature
- Streamer 101 mode and more
Now we will see how to install Discord on macOS in a simple way with the steps that getFastAnswer will give you.
To stay up to date, remember to subscribe to our YouTube channel! SUBSCRIBE
How to install Discord on macOS
Step 1
The first thing will be to go to the official Discord link:
Discord
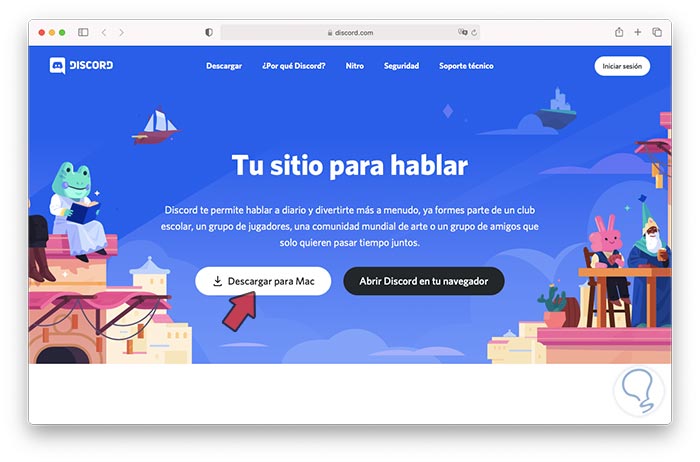
We will see the following. Ali click on the "Download for Mac" button and wait for the download to complete
Step 2
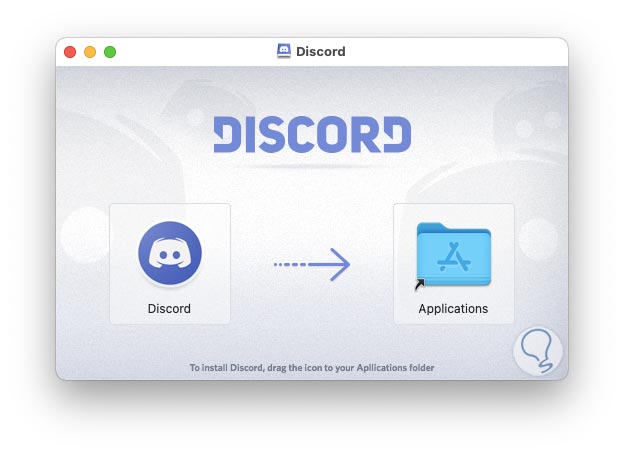
Then we double click on the download file and after a brief analysis we will see the following. There we move Discord to Application and we also move it to the desktop, once copied we double click on the installer and we will see the following:
Step 3
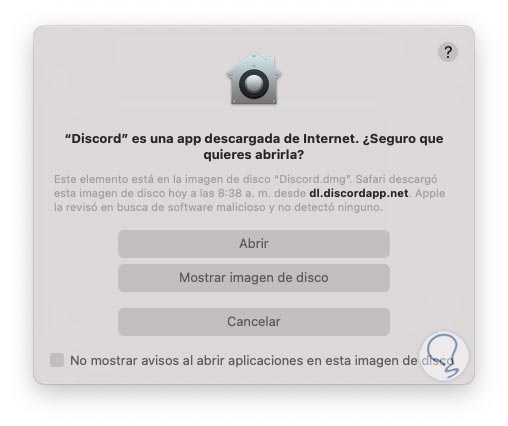
We click Open to accept the process
Step 4
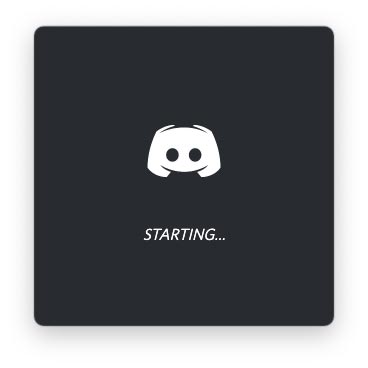
After this the Discord updates will be downloaded and the application will start on macOS:
Step 5
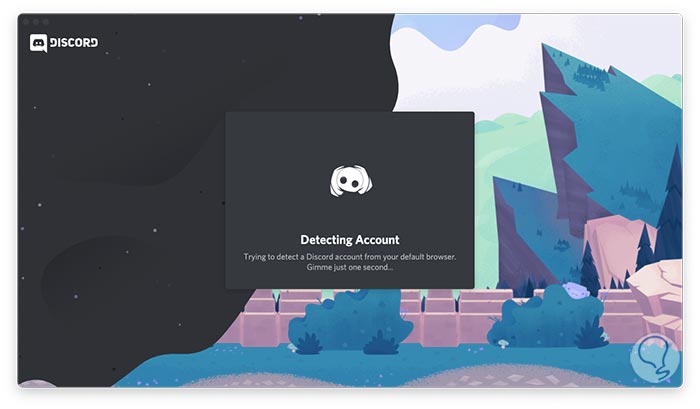
The account detection process will automatically take place:
Step 6
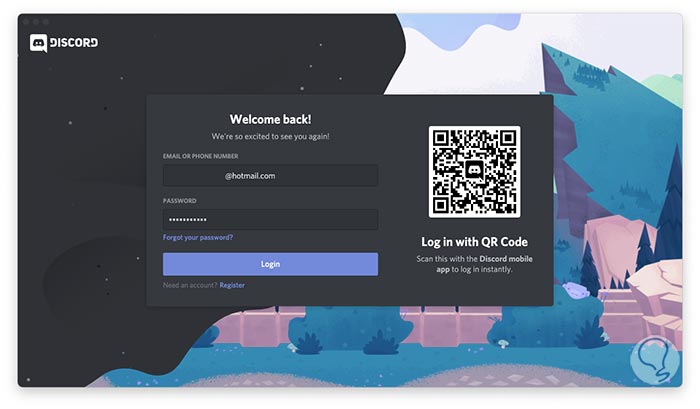
If it does not detect an account, it will launch the login window, there we register Discord username and password:
Step 7
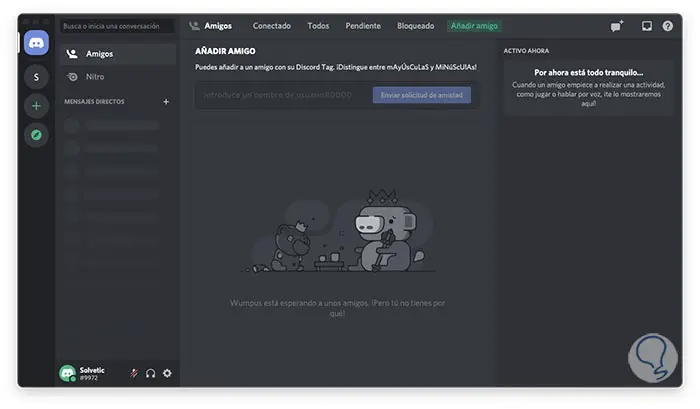
We log in and access Discord on macOS:
This is the step-by-step process to install Discord on macOS..