Steam is one of the current platforms most used by millions of people to access thousands of games (paid or free) and thus share these games with other users or create special servers to make the games something unique..
Steam is available for different operating systems but without a doubt it has a special focus on Windows, more game availability and better application features than on macOS. That is why many Mac users wonder, is it possible to play Steam games for Windows on macOS? getFastAnswer gives you the answer and it is yes.
Let's see how to achieve this in macOS, in this case with macOS Big Sur..
First of all you should know that macOS has a function called System Integrity Protection which is a security technology to protect equipment from malicious software which may be able to edit both protected folders and files, this function protects:
- Apps previously installed with OS X
This function can be disabled in order to install the utility, which we will see shortly, to be able to play our Windows games on macOS. However, macOS Big Sur does not require this deactivation due to other security and protection parameters of the folders and files. If you still want to disable the system integrity protection, for this we restart macOS and during the restart process we press the Command + R keys for 10 or 15 seconds to access recovery mode, this will display the following:
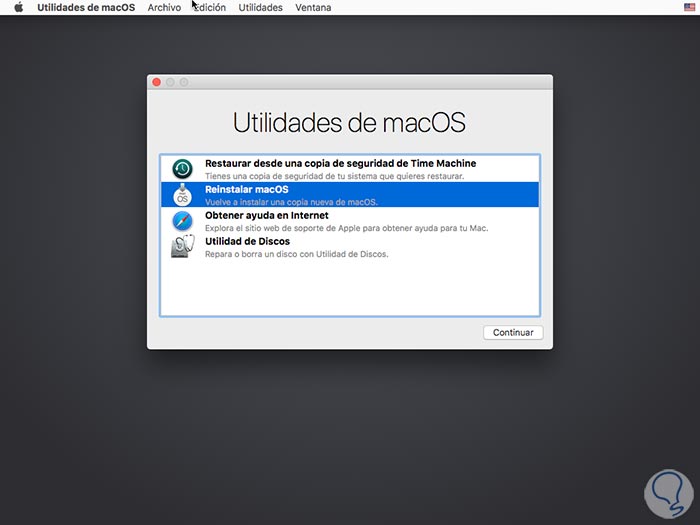
There we go to the Utilities menu and select Terminal, then we will execute the following:
csrutil disable
We reboot the system to complete the process.
To stay up to date, remember to subscribe to our YouTube channel! SUBSCRIBE
How to play Windows games on macOS on Steam
Once macOS has been restarted, we are going to use the Wineskin utility. This is a utility that helps us to use all the functions of Wine in macOS and in those systems where official Wine is not supported.
Wineskin Features
Some of the features of Wineskin are:
- Retina mode can be enabled from the Display Options window
- GPU auto-detect feature has higher accuracy
- Retina mode can be enabled from the Display Options window
- LNK files should be selectable as a port's execution path
- Winetricks installation can be done in silent mode
- Disable X11 option if XQuartz is not installed and more
Step 1
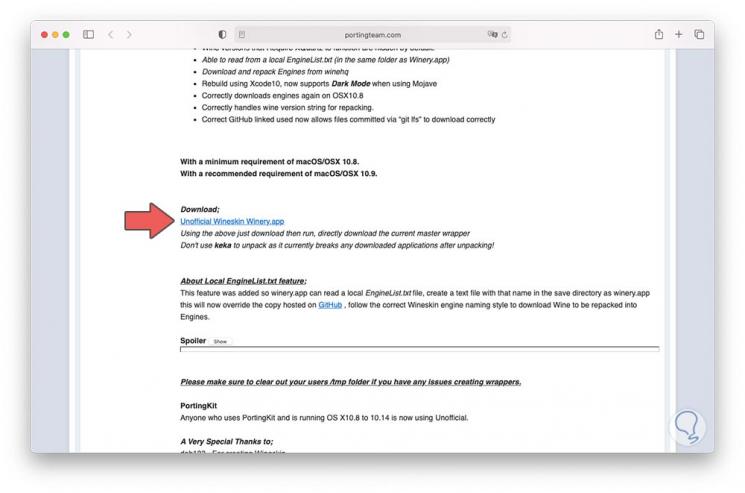
To download it we go to the following link. We click on the line "Unofficial Wineskin Winery app"
Wineskin
Step 2
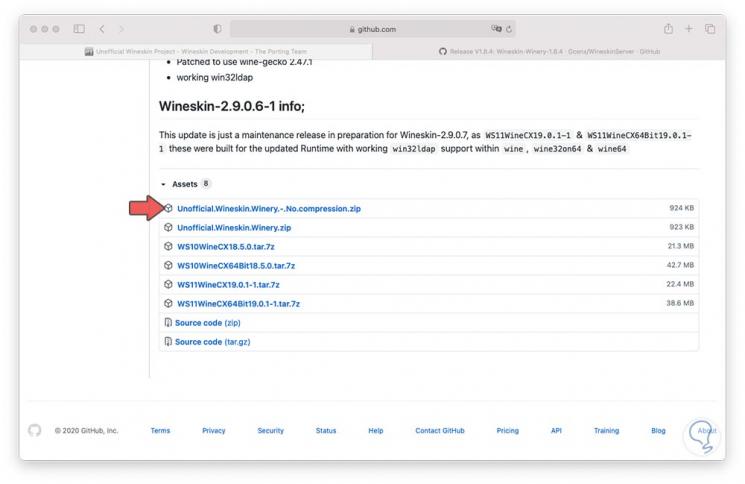
We will be redirected to the download page. We download the .zip file.
Step 3
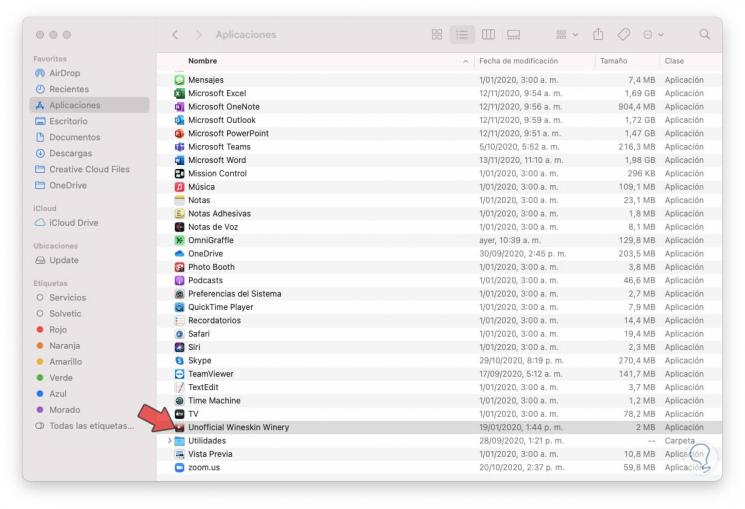
Once downloaded we are going to move it to Applications from the Finder, we can see that the applications is available there:
Step 4
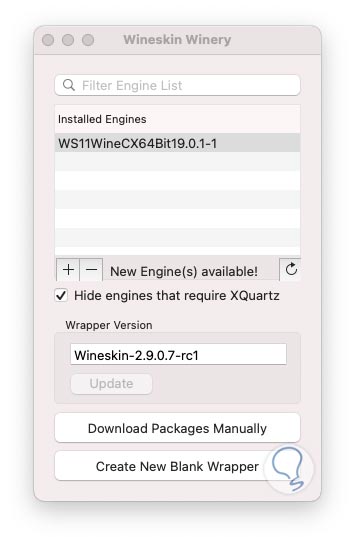
We double click on it and we will see the following:
Step 5
As we can see, in the case of macOS Big Sur, the option "WS11WineCX64Bit19.0.1-1" is automatically configured, which is the version available for the latest editions of macOS and this is the 64-bit version.
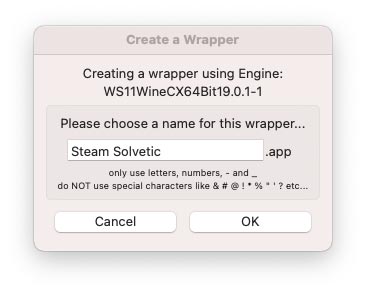
In case of not seeing it available, we must click on “Download Packages Manually” and download it from there, now we click on the “Create New Blank Wrapper” button and in the pop-up window we enter the desired name:
Step 6
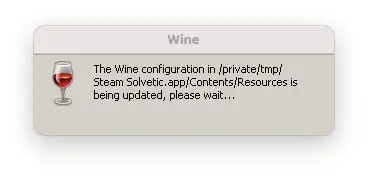
We click on Ok and then we will see the natural process of Wine:
Step 7
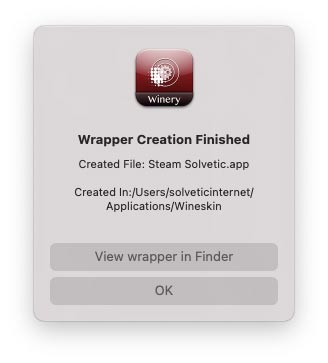
When this process is complete we will see the following:
Step 8
We click on "View wrapper in Finder", we will see the content of the wrapper created:
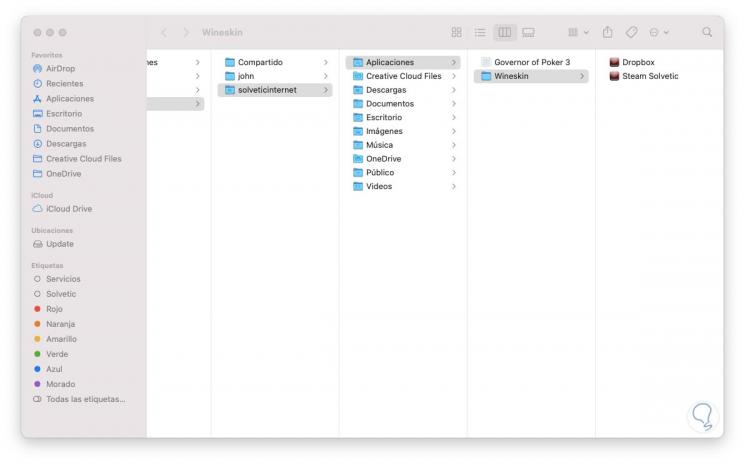
Step 9
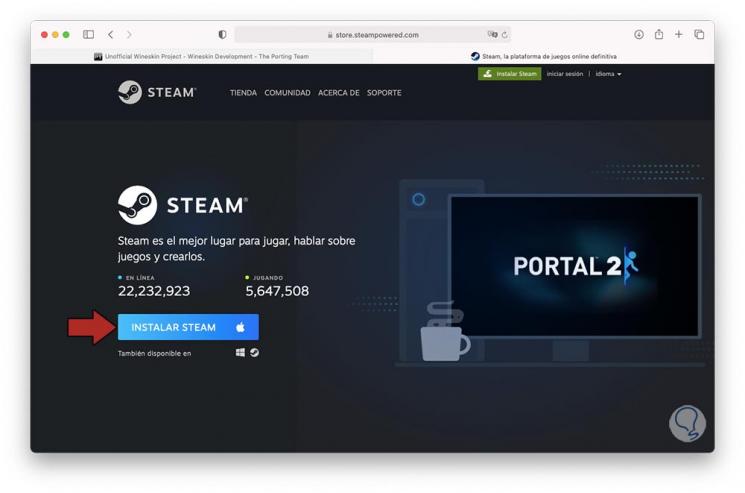
Now we go to the following Steam link:
STEAM
There we download the Steam version for Windows, after this we will move both the Steam executable and the wrapper to the desktop.
Step 10
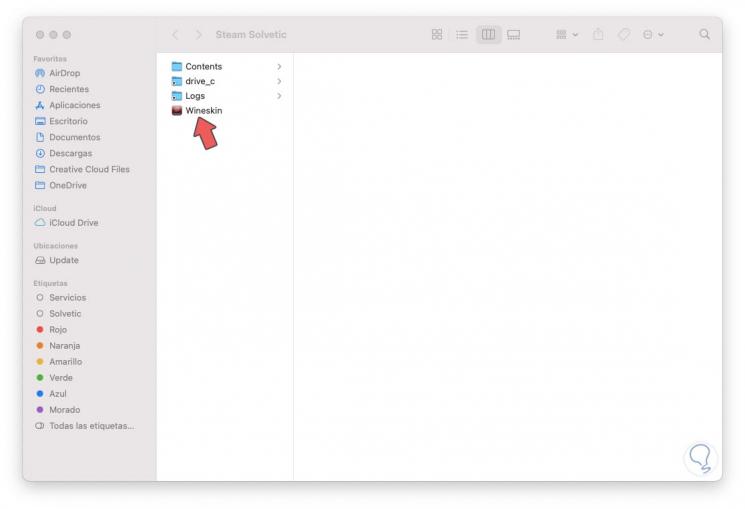
There we right click on the wrapper and select "Show package content":

Step 11
In the displayed window we will see the following. We double click on "Wineskin"
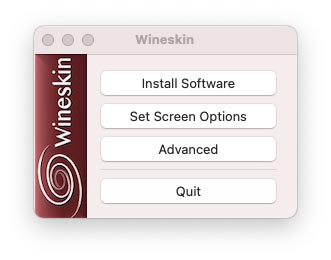
Step 12
We will see the following pop-up window. We click on "Install software"
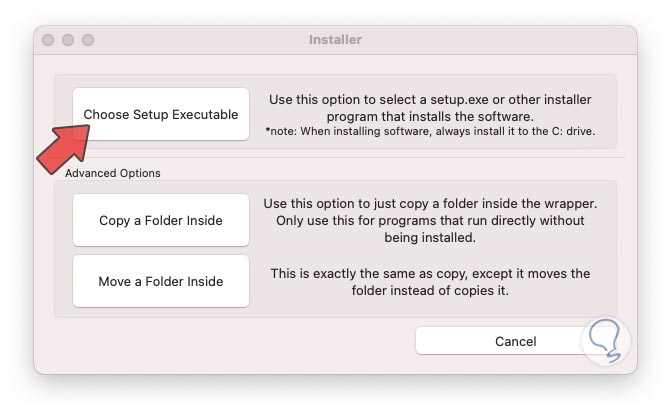
Step 13
The following options to use will be opened. We click on "Choose Setup Executable"
Step 14
We will select the Steam executable that we moved to the macOS desktop:
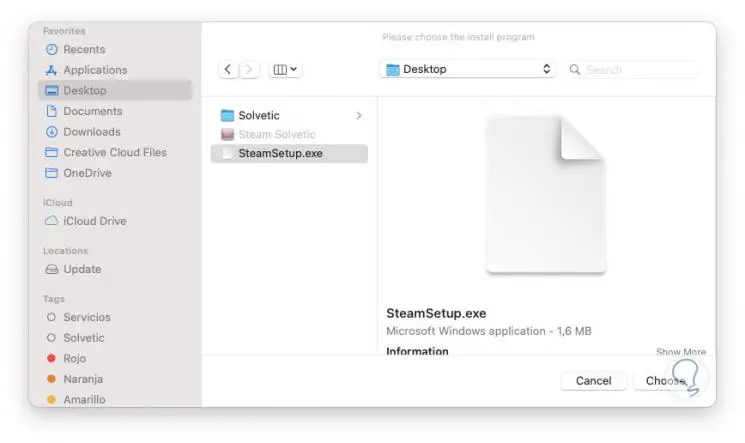
Step 15
We click on Choose and the Steam installation wizard will be opened:
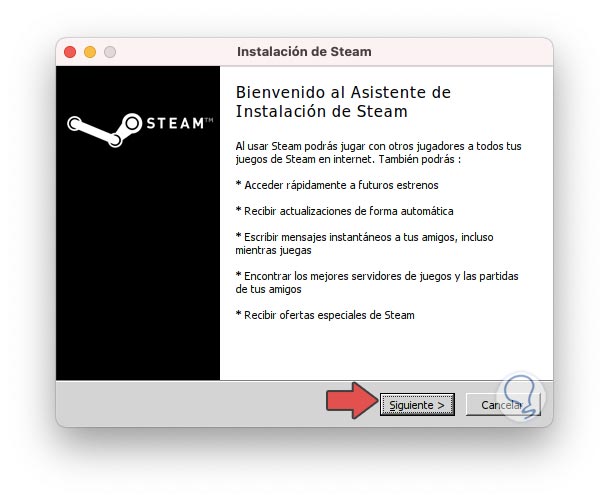
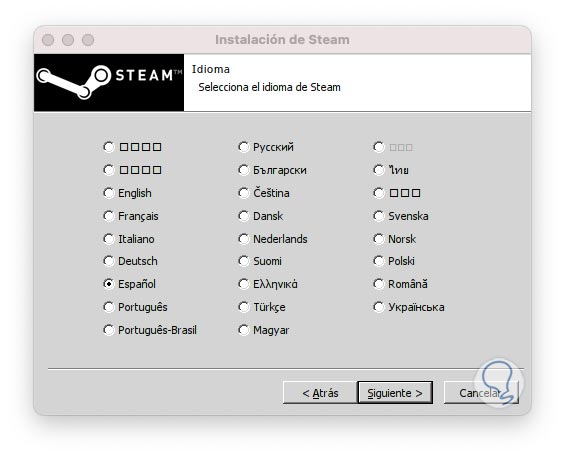
Step 16
We click Next and now we select the language to use:
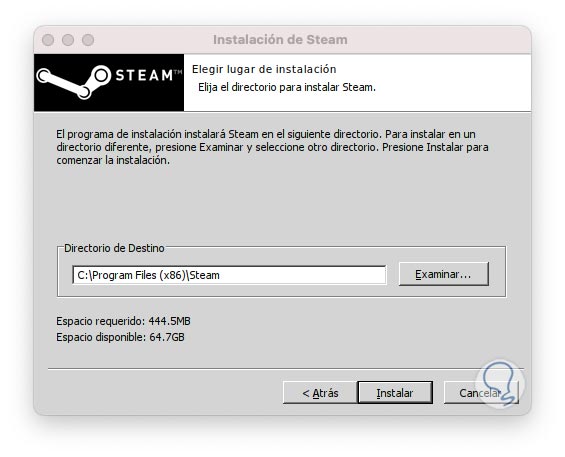
Step 17
In the next window we select the path where it will be installed, we can see that it has the Windows structure since Wineskin establishes it like this:
Step 18
We click Install to start the process and at the end we will see the following:
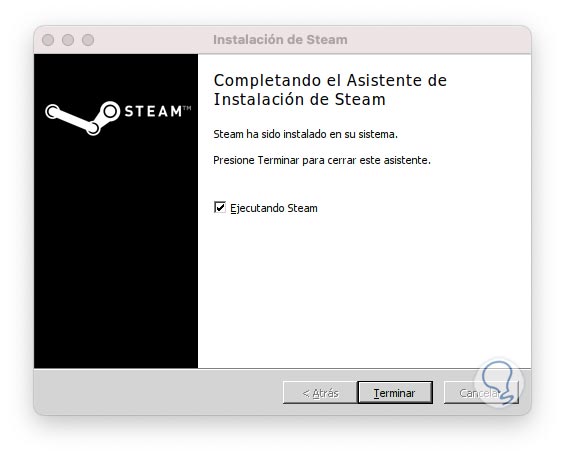
Step 19
We click on “Finish” and the Steam update process will take place:
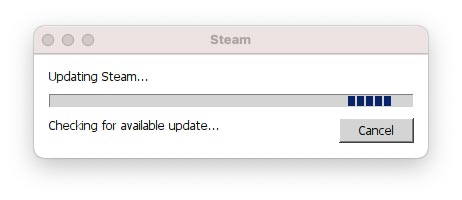
Step 20
Updates download starts:
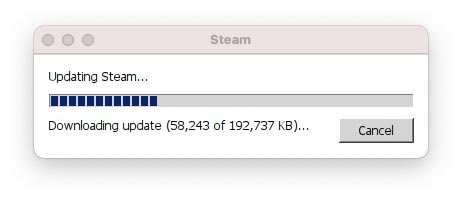
Step 21
After this process we access the Steam login screen:
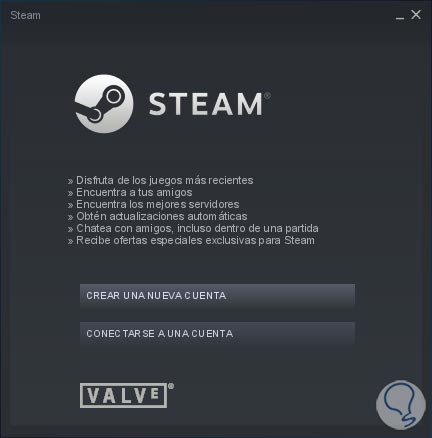
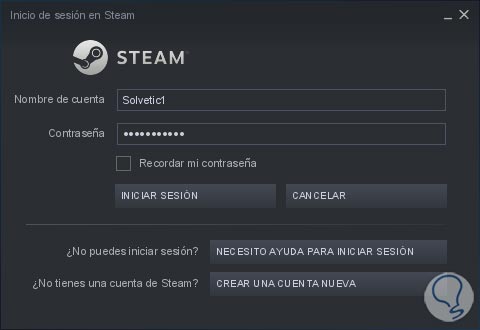
Step 22
We can create a new account or enter if we already have one:
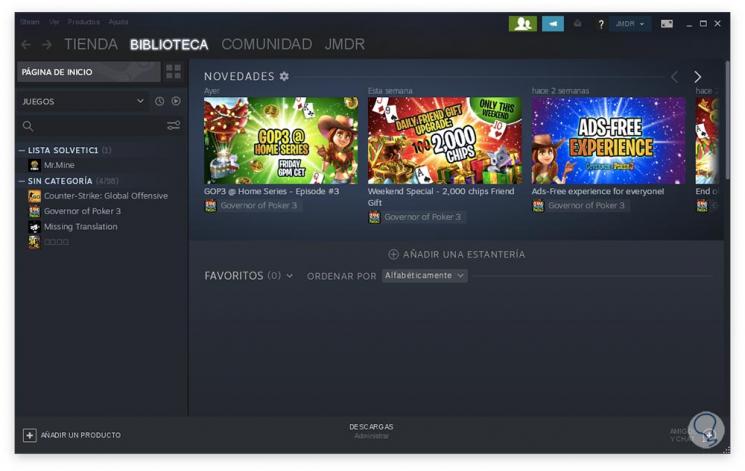
Step 23
There it will already be possible to access Steam in the Windows format to download the desired games and play them without problems on macOS. In the Library we find the different game options:
Finally, we can exit Steam and access it again by double clicking on the wrapper that we have placed on the desktop. For different games getFastAnswer recommends you create several wrappers for each game in general..
With these steps it is possible to play Windows games on macOS.