Ubuntu is one of the most stable systems in terms of performance, stability and the possibility to install hundreds and hundreds of applications and thus increase its productivity, but like any system it can be prone to failures and one of them is that the system is blocked or does not start. Although there are many other administrative tasks that we can perform in the system and in these scenarios the best option is to use Ubuntu's recovery mode..
The recovery mode (recovery mode) is a function where only some basic services are loaded and you have access to the command line , after this you log in as root (superuser) in order to repair the system through command line tools available there.
If you consider that Ubuntu is with errors or a startup failure has occurred, getFastAnswer will explain how to access the recovery mode and thus correct different problems with it..
To stay up to date, remember to subscribe to our YouTube channel! SUBSCRIBE
1. How to access and use recovery mode in Ubuntu 20.04, 20.10 and 21.04
Step 1
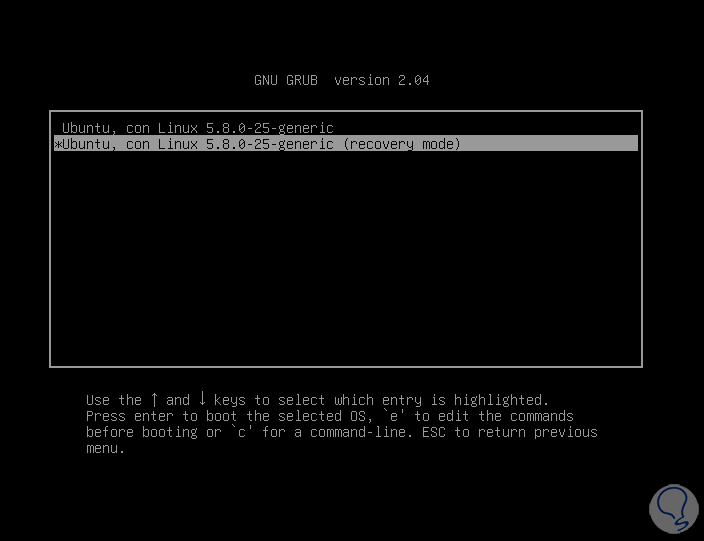
If the computer does not load the session, we can press the Shift or Escape key during startup to access this mode. But if you start a normal session and we want to access recovery mode, just restart Ubuntu and this will load GRUB where we will see the following.
There we select with our keyboard the line "Advanced options for Ubuntu"

Step 2
We press Enter and we will see the following. There we select the option "Ubuntu (recovery mode)"
Step 3
We press Enter and we must wait for the Ubuntu processes to load:
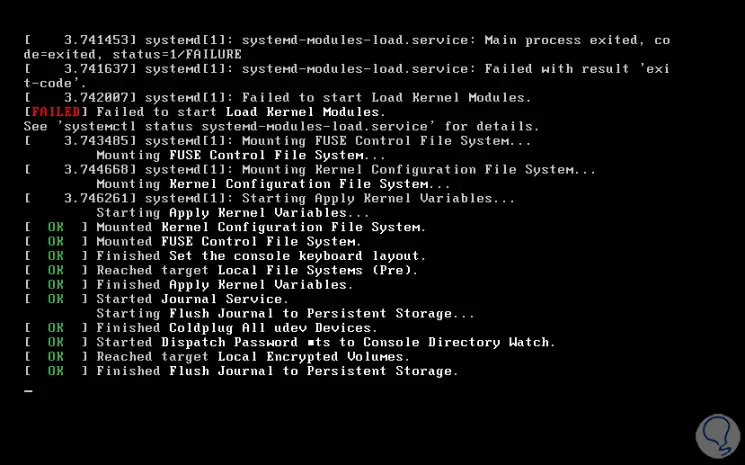
Step 4
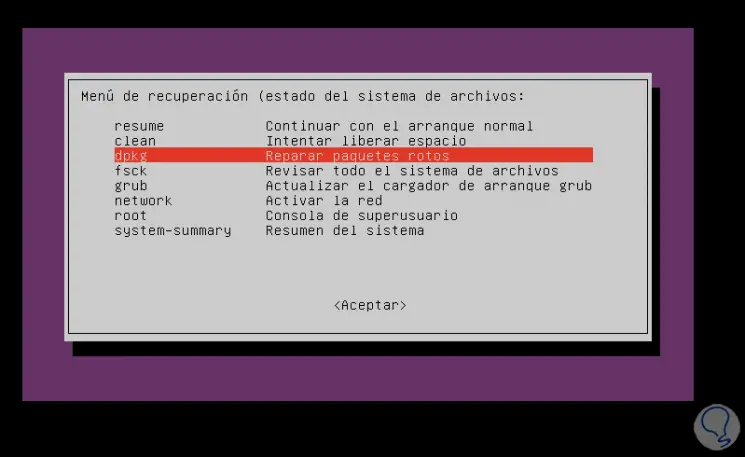
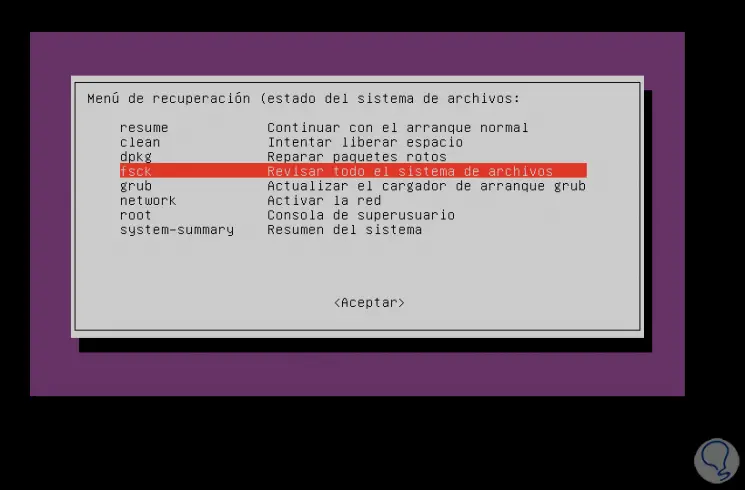
After this we will see the following:
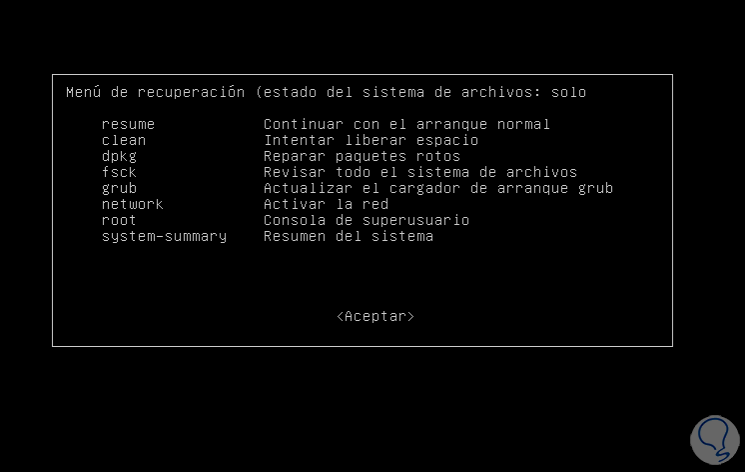
As we can see, this recovery mode gives us different options for use to correct system problems, let's see each of them.
Step 5
First of all we select "Clean":
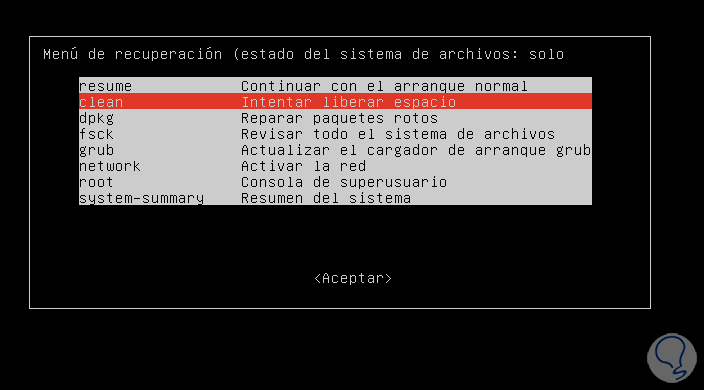
Step 6
As the name implies, this option scans the disk and proceeds to free up space on it. Remember that when the hard drive is full there are different errors in the Ubuntu activity, we select Clean and press Enter, we will see this:
Step 7
There we confirm the operation by clicking Yes to execute the operation:
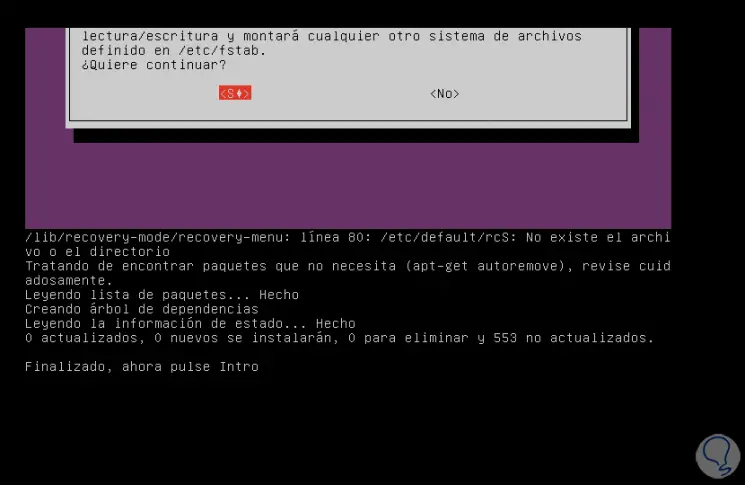
This automatically runs the apt-get autoremove command to remove all packages that affect disk space..
Step 8
Now we select the option "dpkg":
Step 9
This function is in charge of analyzing all the packages that may be affected with the Ubuntu DPKG package manager. When a package has failures, it causes many processes and system services to cause errors, we select dpkg and press Enter, the following happens:
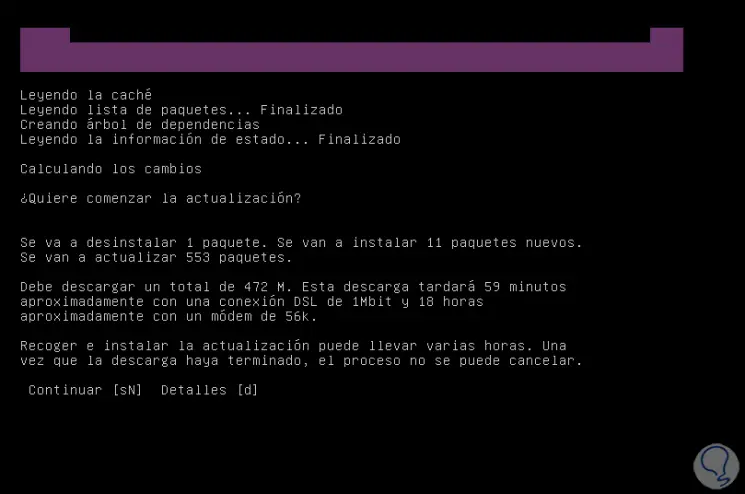
Step 10
There we will see the packages that will be processed (uninstall or install), we confirm the operation by entering the letter "s":
Step 11
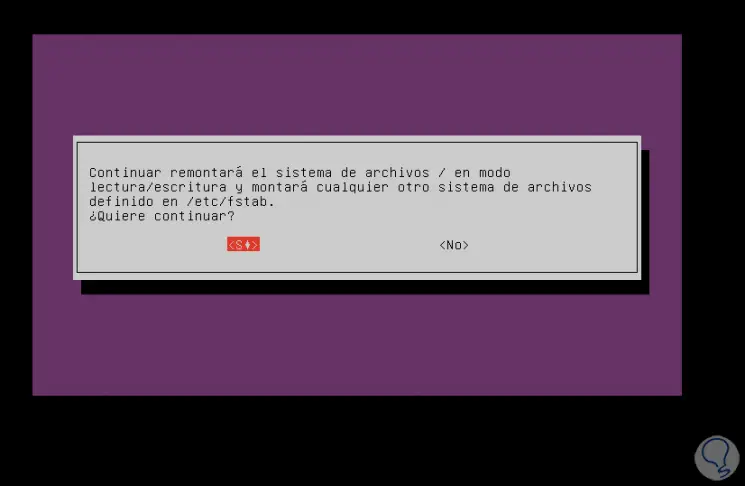
Next we select "fsck", this is a little more delicate since its task is to comprehensively review the Ubuntu file system with which it is possible to read and write the data and that if it logically fails everything will be affected:
Step 12
We press Enter and we will see the following message:
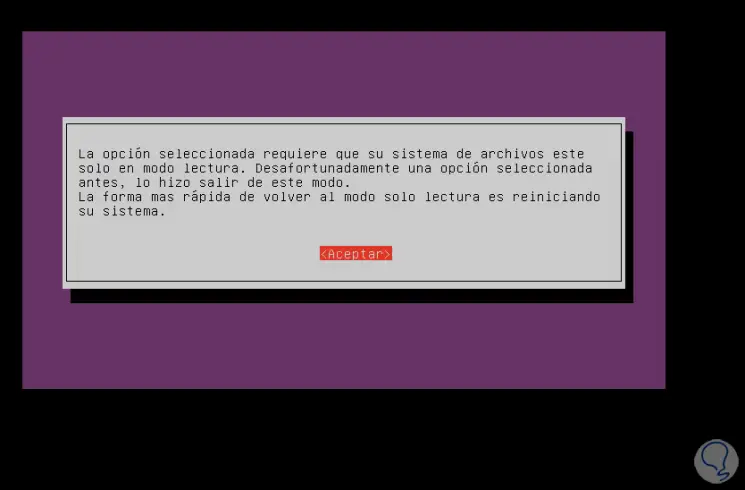
In this case, we must reboot the system so that the fsck analysis is completed and we see if the file system is or not with errors.
Step 13
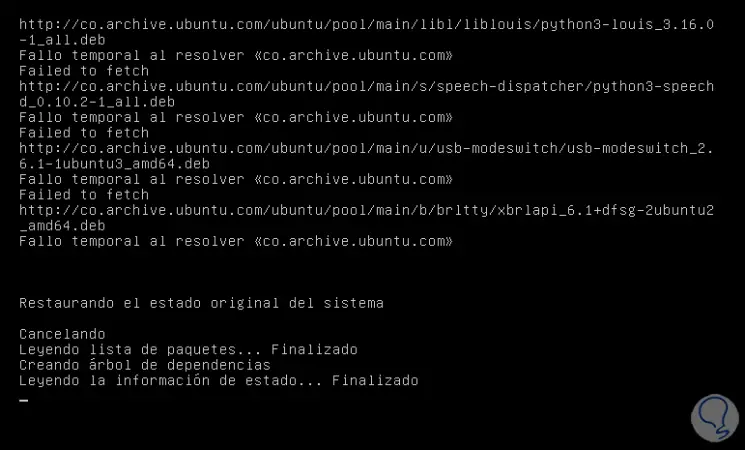
Now we select "grub", GRUB is the Ubuntu boot manager and naturally if the startup has an error we will not be able to log in, we select grub and pressing Enter will make an analysis of the Ubuntu boot parameters:
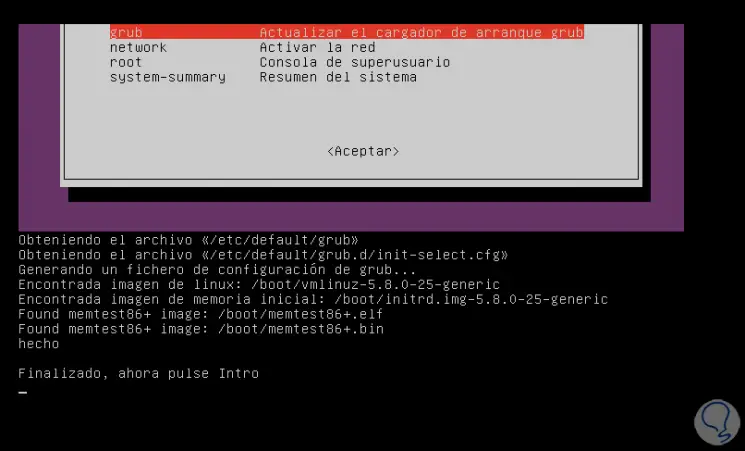
Step 14
We choose "root", this is a command that allows us to execute the tasks from a terminal but with superuser permissions so we must be careful with it, a badly executed command can cause damage to the entire system, when selecting root and pressing Enter we will see:
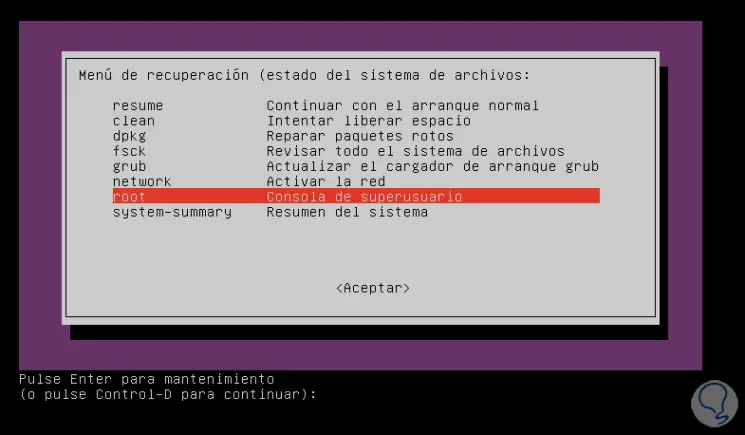
With Ctrl + D we exit this mode or press Enter to access it.
Note
The "network" option is responsible for enabling the adapter and network settings.
Step 15
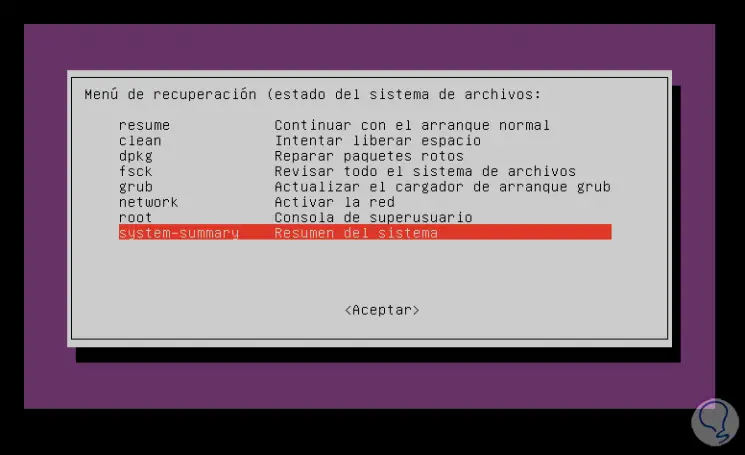
Finally we have the option "system-summary":
Step 16
This is a function that launches a complete summary of system variables, when pressing Enter on the first page we will see:
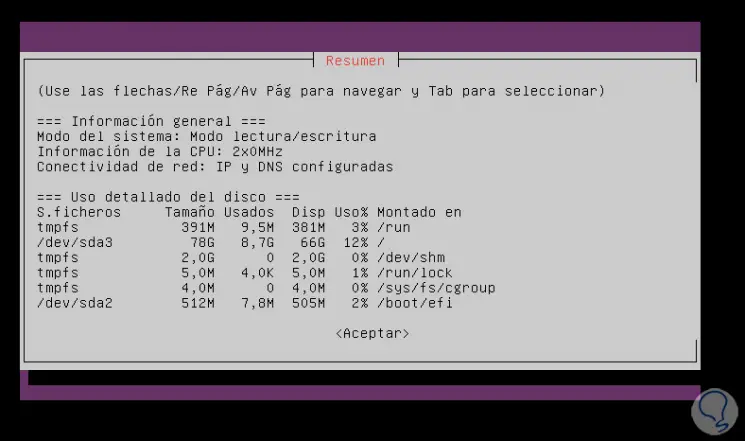
Step 17
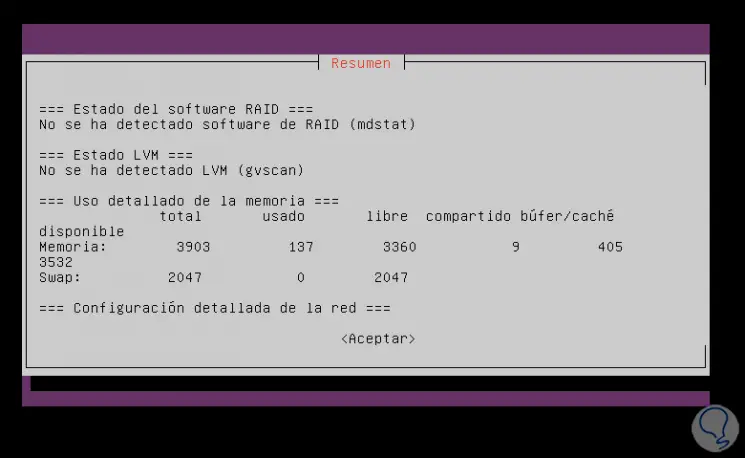
To go to the next page we use the Down Pag key, there we will see:
Step 18
On the next page we find:

Step 19
We go back and the "resume" line allows us to continue with the Ubuntu login process, when pressing Enter we will see this:
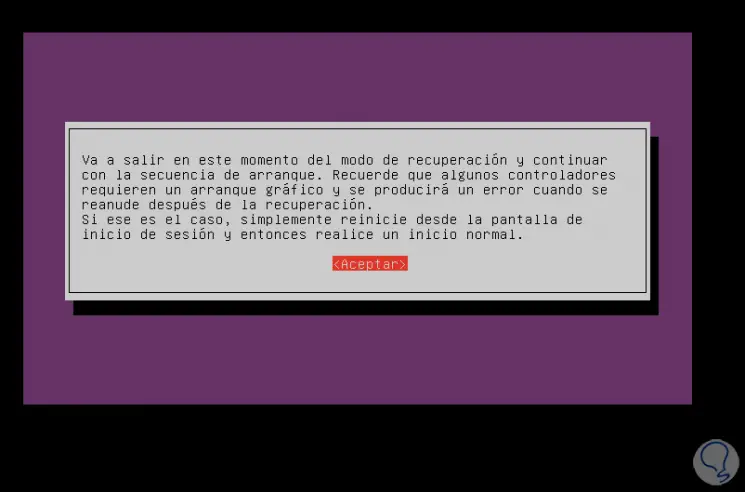
The recovery mode in Ubuntu gives us the opportunity to fully manage the system for its correct operation.