Creating and managing projects can be a tedious task if we do not have the functional tools for it, this must be integrated with modern languages and one of the best options for this is Eclipse 2020.
Eclipse 2020 is part of a group of applications such as They are Eclipse IDE, Jakarta EE and various tools that aim to provide the user with better execution times, multiple tools and frameworks that allow total control over the project to be carried out..
features
Some of the features of Eclipse are:
- Compatible with languages and environments such as Java, PHP, C / C ++, Web, JavaScript
- Current styles in Eclipse IDE
- Compatibility with the latest versions of Java
- Has interfaces to integrate into host environments
- Extensive collection of libraries
- Has a runtime kernel and more
What's New
We can install Eclipse 2020 with the latest version of Java, version 15, to have better features and improved performance, Java 15 has new features such as:
- Cryptographic signatures based on the Edwards-Curve digital signature algorithm (EdDSA)
- Removal of the Nashorn JavaScript engine
- Build support for Solaris / SPARC, Solaris / x64, and Linux / SPARC ports
Next we will see how to install Eclipse 2020 with Java 15 on Windows 10.
Installing Eclipse with Java 15 on Windows 10
To stay up to date, remember to subscribe to our YouTube channel! SUBSCRIBE
Step 1
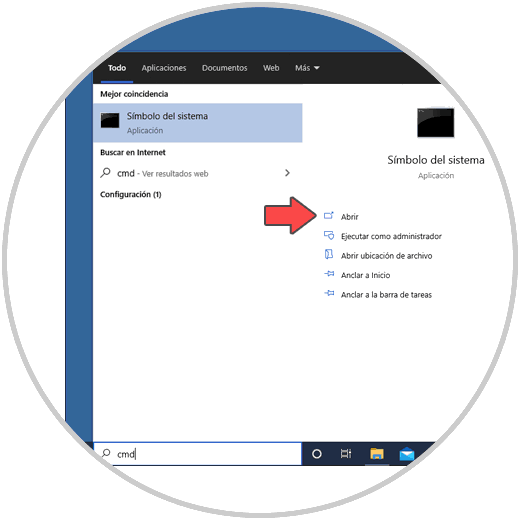
We access the command prompt console as administrators:
Step 2
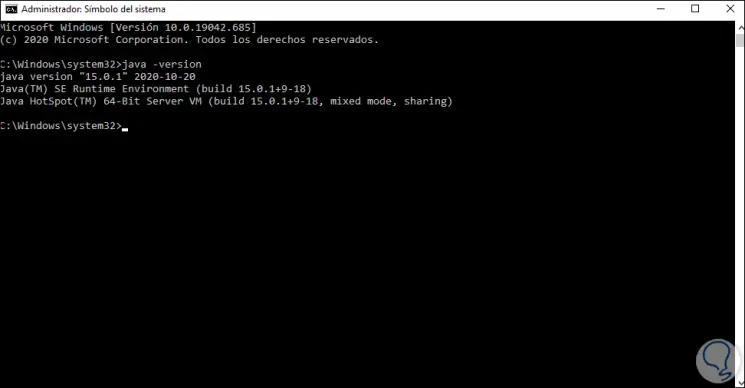
Once there in the console we are going to check the Java version with the following command:
java -version
Step 3
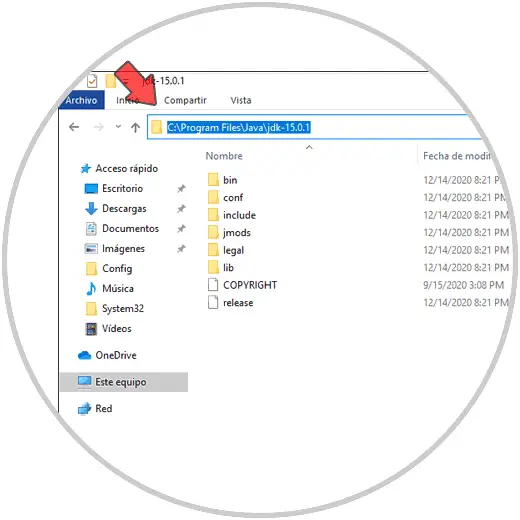
From the Windows 10 file explorer, we can go to the path where Java 15 has been installed, this path is:
C: \ Program Files \ Java \ jdk-15.0.1
Step 4
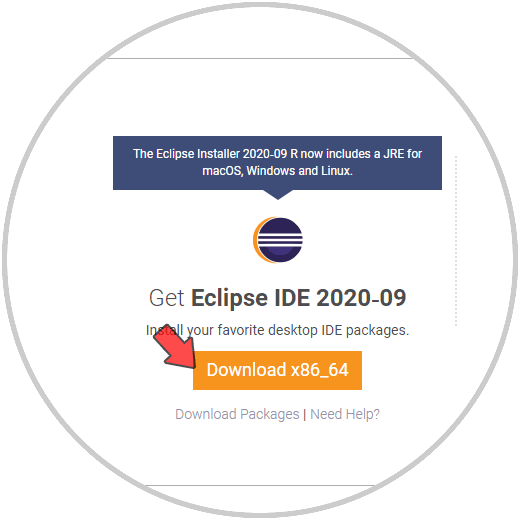
Now we go to the following link to download Eclipse 2020:
Eclipse
Step 5
We click on the "Download x86_64" button and we will be redirected to the following window:

Step 6
We click on “Download” to proceed with the download of Eclipse, once downloaded we double-click on the file and the Eclipse installation wizard will be launched:
Step 7
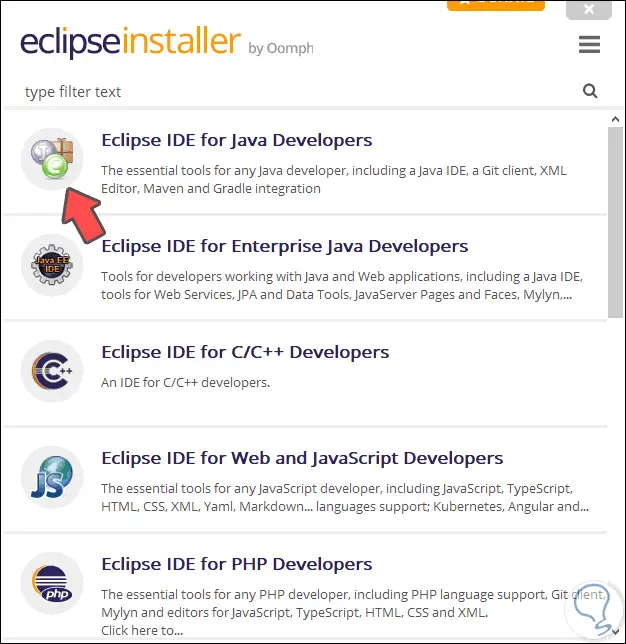
After this we will see the different installation options available:
Step 8
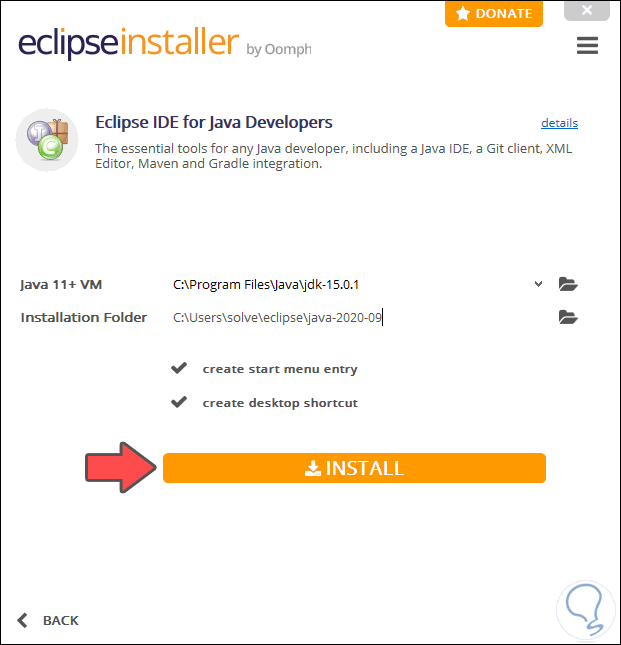
In this case we select "Eclipse IDE for Java Developers" and in the next window we will see:
- The path where Java is installed (it must be the same that we verify in the explorer)
- The folder where Eclipse will be installed in Windows 10
Step 9
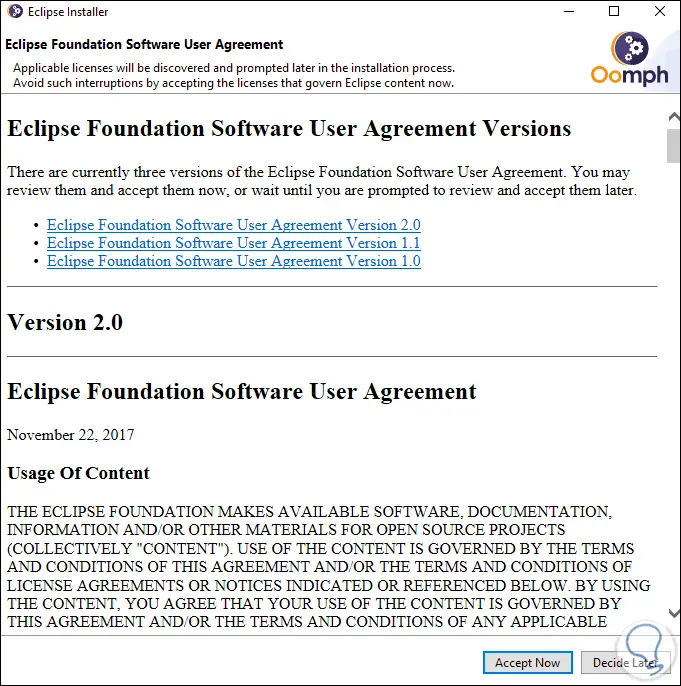
We can activate the boxes to create shortcuts, click on "Install" to proceed with the installation but we will see the following:
Step 10
There we click on Accept Now to continue with the installation:
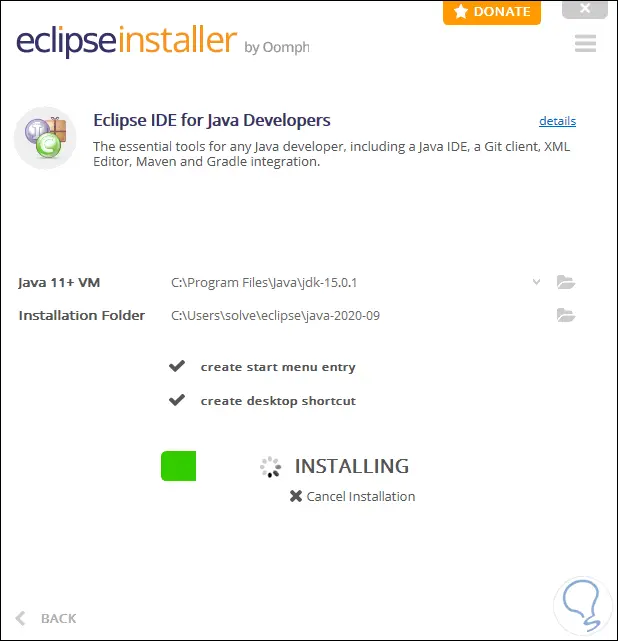
Step 11
When this process comes to an end we will see this:
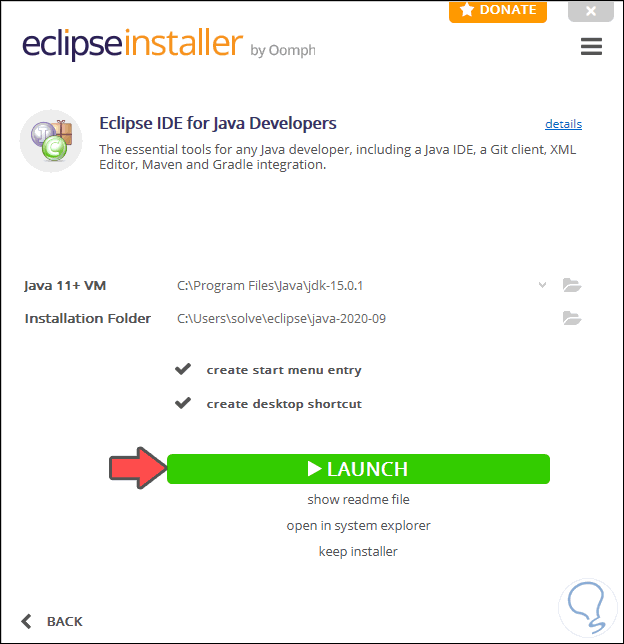
Step 12
We click on Launch to proceed with starting Eclipse:

Step 13
After this the following window will open:
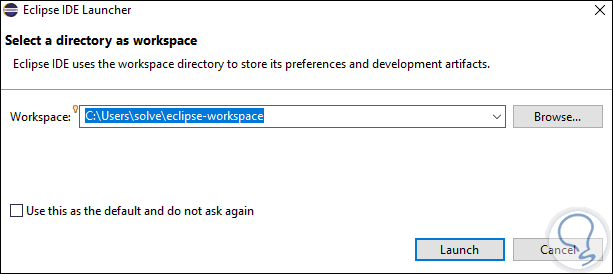
Step 14
There we can see the default path of the workspace, there we can create a new one but leave the default one, click on Launch and the Eclipse loading process will start:

Step 15
When Eclipse loads we will see the following:
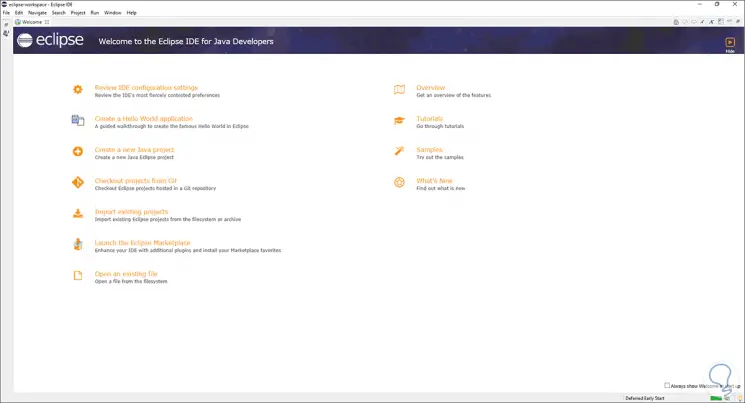
Step 16
There we change the view to be able to have the various functions of this application:
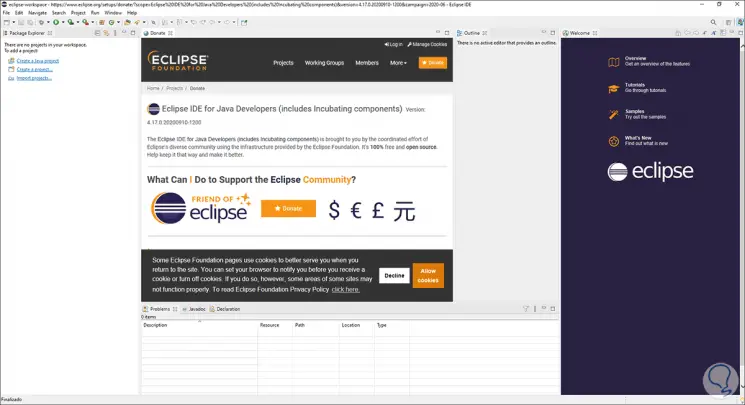
This platform allows us to:
From the File menu
- Create new projects in Eclipse
- Access the properties of a created project
- View recently created files
From Edit
- Undo or redo changes to projects
- Select all items and more
In the Navigate option
- Open resources and object types
- Access the settings of the selected project
- Open, activate or deactivate specific tasks
From Project
- Create new project environments
- Automatically build an environment
- Generate the JAVA documents of the resource
In the Run section
- Use external tools as plugins
- Open the Eclipse instances
Eclipse 2020 with Java JDK 15 will help us to have total control of each project to be carried out with the necessary utilities for its performance and maintenance..