The use of photographic editing tools allows us to make compositions and post-production adjustments that perhaps we had not thought at first. When we take a photograph, we must take into account the different parameters so that the result is as close as possible to our final objective, but you should not worry too much since a bad image can be rectified later..
Many times we find images that we like but that are clouded by a bad background or by someone who has sneaked into it. If you have an image that you like, but you prefer that its background is different, today we will show you a new tool that will allow you to easily put a transparent background in Photoshop CC 2021.
To stay up to date, remember to subscribe to our YouTube channel! SUBSCRIBE
Set Photoshop CC 2021 transparent background
Step 1
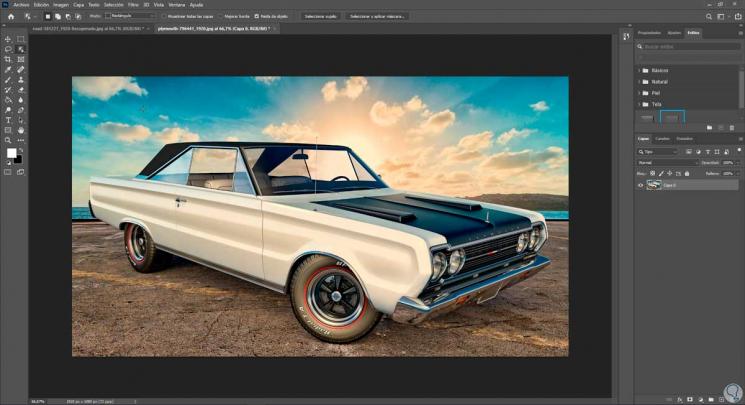
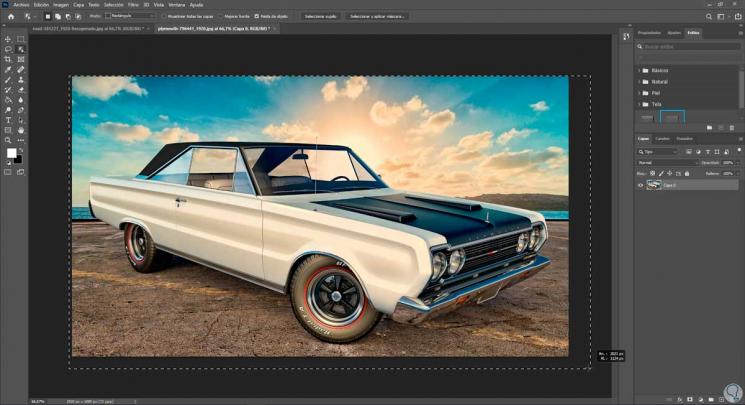
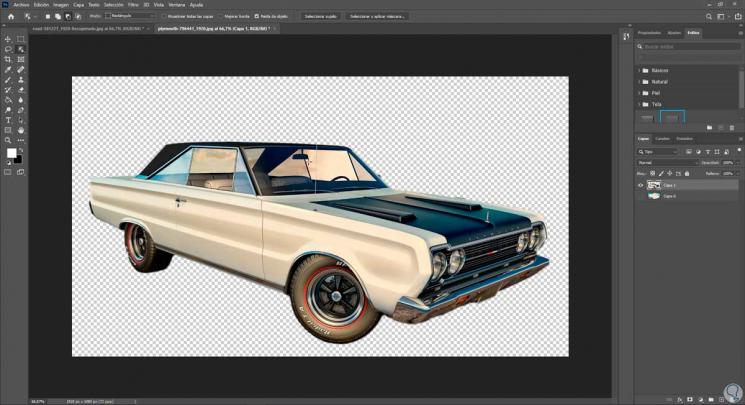
We will open our image within Photoshop
Step 2
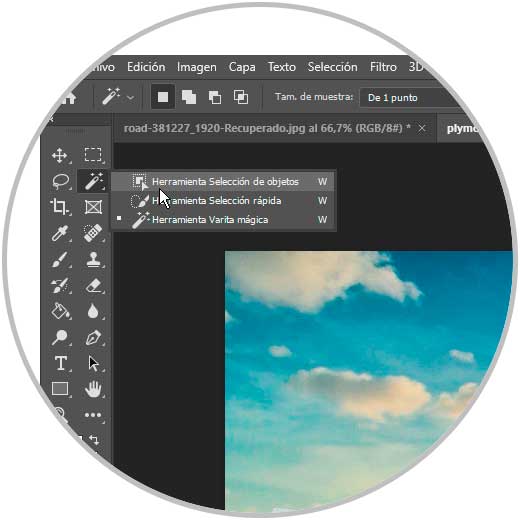
Next, we will go to the tools panel and click on the selection options to display them. Here we will find different options:
Step 3
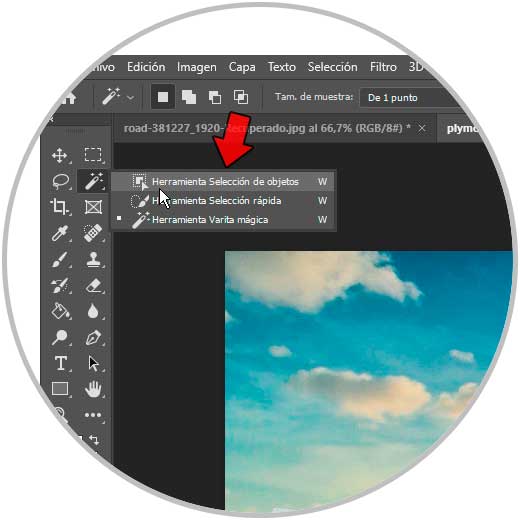
Here surely the option that we know the most in that of "Magic wand" but in this case we are going to use the option of "Object selection tool".
Step 4
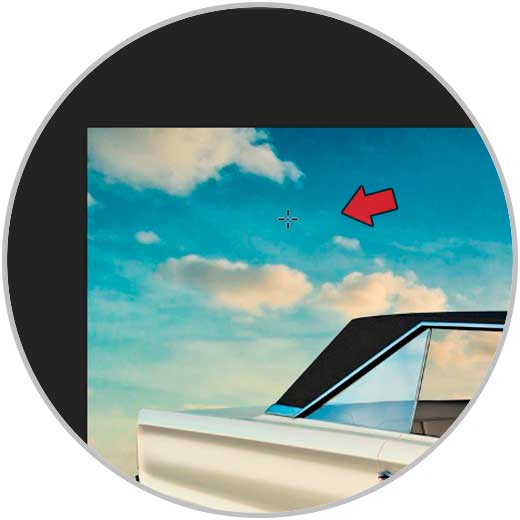
You will see that your cursor turns into a sort of selection rectangle.
Step 5
To select the image, click on one of the corners of the image and drag the cursor, selecting the image completely.
You will see that our object is selected distinguishing itself from the background..

Step 6
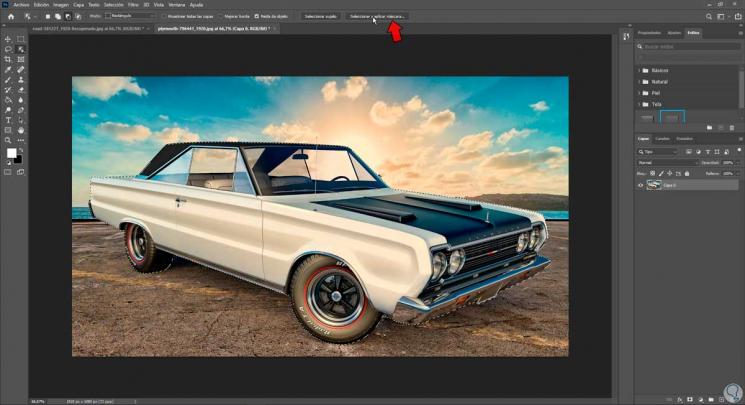
A useful and quick option within the selection of objects to select quickly is the one that we find with the name “Select subject”. Click on it and you will see a much more precise selection.

Step 7
If you need to remove or add any part of your selection, you can use one of the 3 selection tools and then switch between the add or remove selection modes.

Step 8
Once we have our selection, we can adjust it by clicking on “Select and apply mask.
Step 9
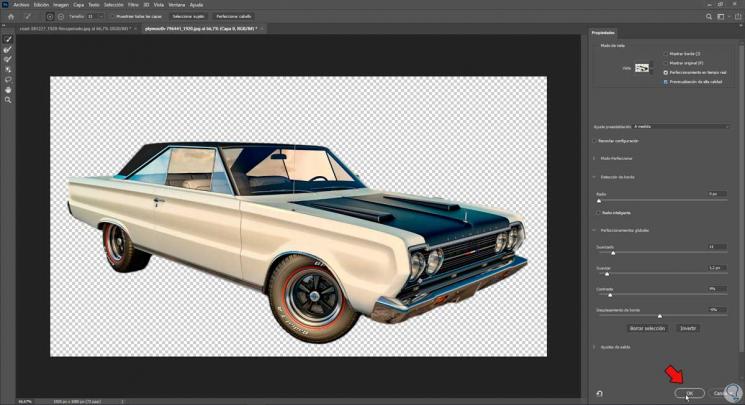
Here we can adjust our selection with different options such as smoothing or contrast. You can preview the result. When you finish click on "OK"
Step 10
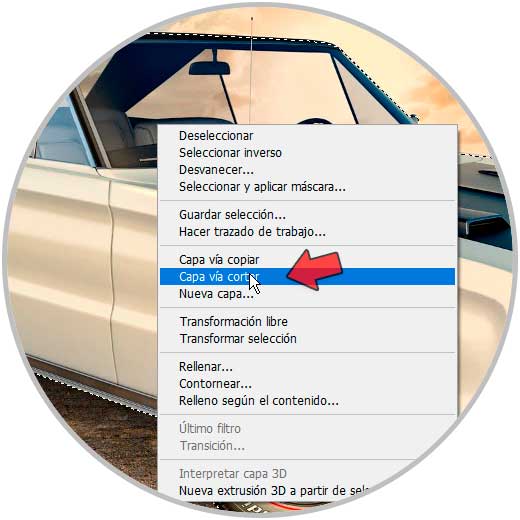
Once we have our selection ready, we right click on it and choose "Layer via cut".
Step 11
We will see that the new layer is created with our selection in transparent mode and without a background.
Step 12
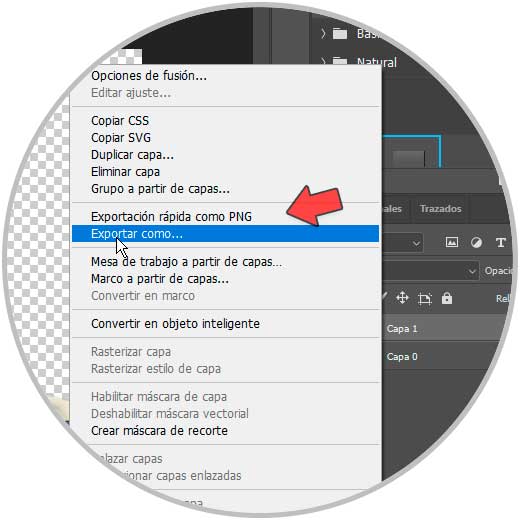
Now we can hide or delete the original layer. To export our image with a transparent background, we right click on the new final layer and choose "Quick export as PNG" or "Export as".
Step 13
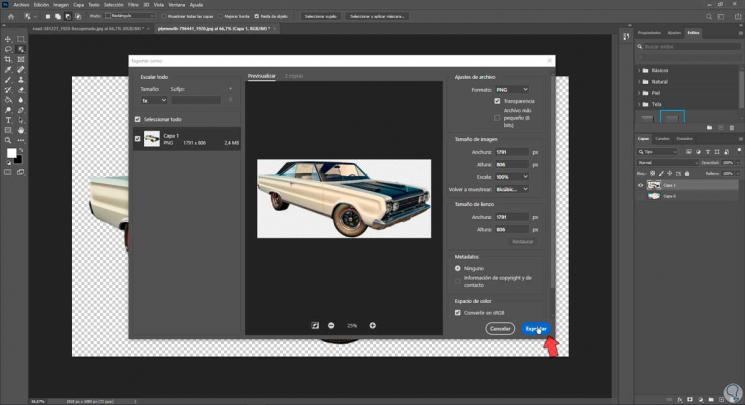
If we choose "Export as" we can configure export options. Remember that you have to choose "PNG" format and activate "Transparency"
Step 14
Click on "Export" and you will see your final image without a background or with a transparent background
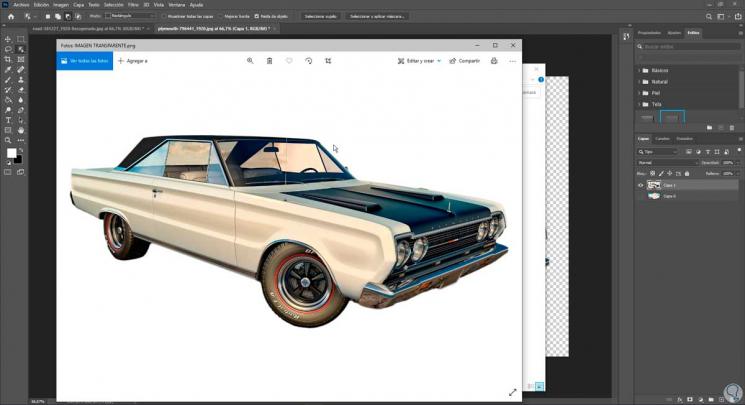
In this way we will have been able to put a transparent background in Photoshop.