Windows 10 works with different folders , libraries and objects to store and from there allow the whole system to function as it is, one of these folders is in the path C: \ Windows \ WinSxS and it is in this directory where DLL files , binaries are stored and XML that allow the installation and operation of Windows 10 global functions..
When the Windows installation process is carried out , the components that are updated are installed on the system, but some updates go to the WinSxS folder so that it is possible to revert to the previous version in case the system crashes .
This folder will continue to grow and it is possible that for some reason we want to reduce the size of this folder in Windows 10, for this we will see the process of how to do it..
To stay up to date, remember to subscribe to our YouTube channel! SUBSCRIBE
How to reduce the size of WinSxS in Windows 10
Step 1
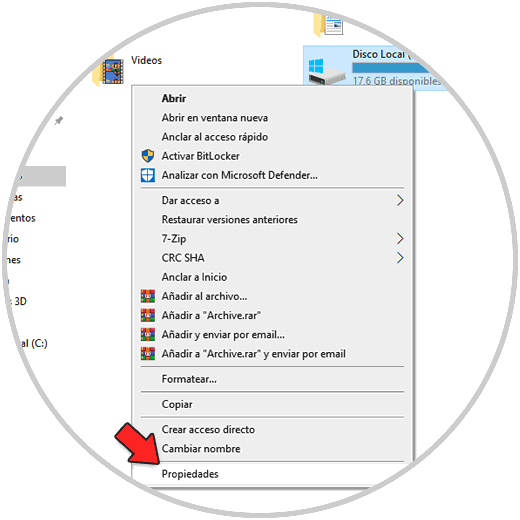
We open the File Explorer, right-click on drive C and select "Properties":
Step 2
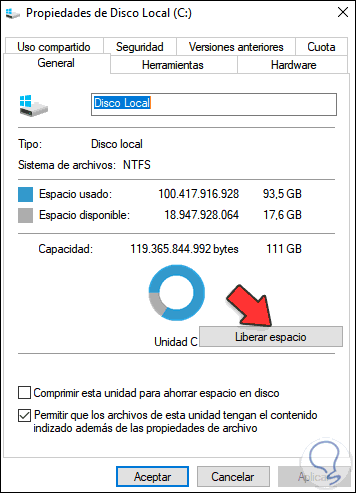
The following window will be displayed:
Step 3
We click on "Free up space" and we will see the following:
Step 4
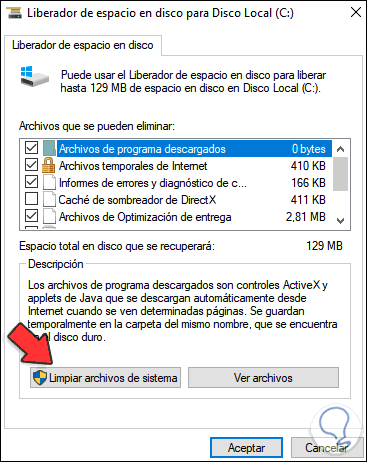
Now we click on "Clean system files" and we will see a broader set of options to use:
Step 5
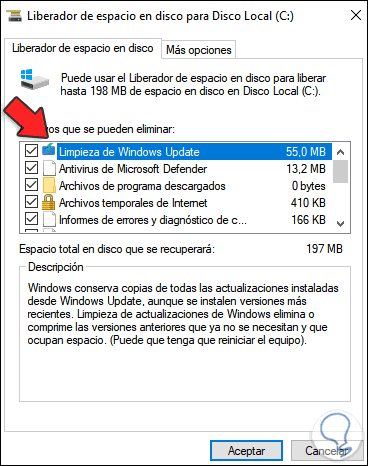
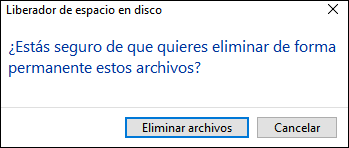
We confirm that the "Windows Update Cleaning" box is active and to free up more space we can activate additional boxes. We click OK to apply the changes, we will see the following:
Step 6
We confirm by clicking on Delete files to start the process:
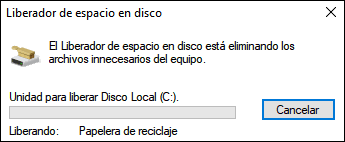
In this way it is possible to free up space in the WinSxS folder in Windows 10.