Creating a system recovery copy in Windows 10 becomes essential due to availability and data integrity issues. At any time the operating system may be affected by software failures, the presence of viruses and much more, which in the end will prevent us from having access to both the system and its applications, in this case having a recovery copy of the system becomes vital as it contains all the essential information of the system for later access in case of failures..
Now, to add security to a backup, it is possible to hide the drive in which the copy was created to prevent other users from accessing its content or deleting it accidentally or not, let's see how to create the recovery drive and protect it by hiding it on Windows 10.
To stay up to date, remember to subscribe to our YouTube channel! SUBSCRIBE
How to create a recovery drive and hide it in Windows 10
Step 1
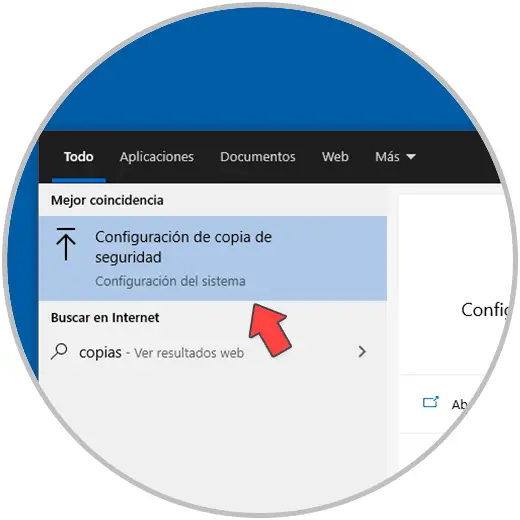
To start this process, we enter "copies" in the search engine and select "Backup configuration":
Step 2
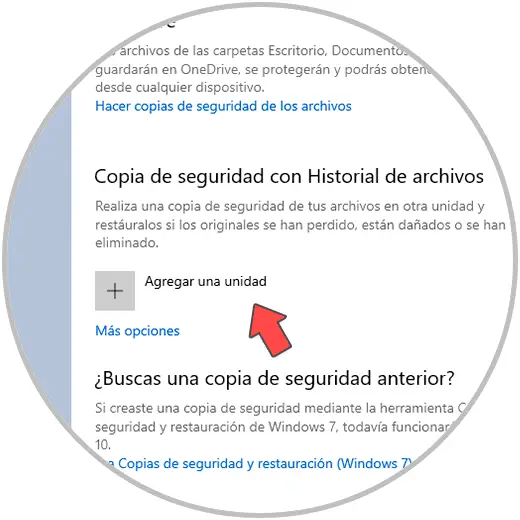
In the displayed window we click on "Go to Backup and Restore (Windows 7)":
Step 3
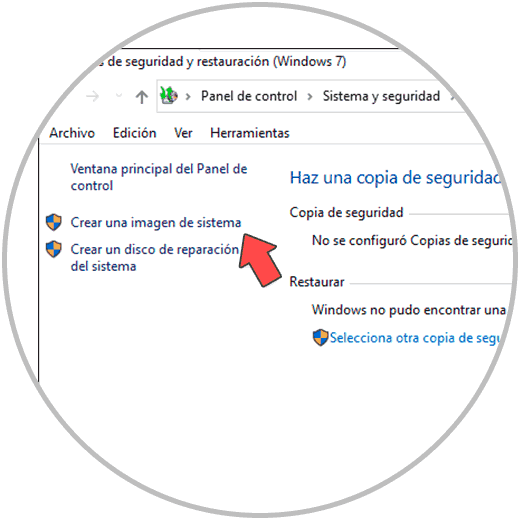
This will redirect us to the following window:
Step 4
We click on "Create a system image" and in the pop-up window we define where the copy will be created, it is possible to use:
- External disks or local partitions
Step 5
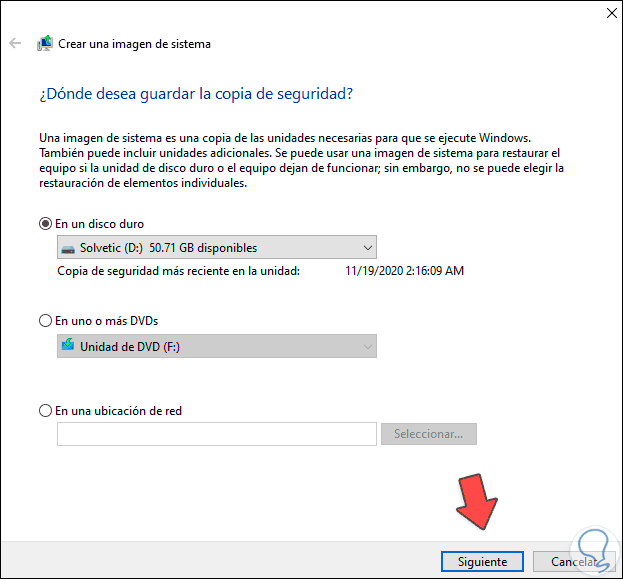
In this case we select a local hard disk, the copy will be hosted on this disk, we click Next and we will see this:
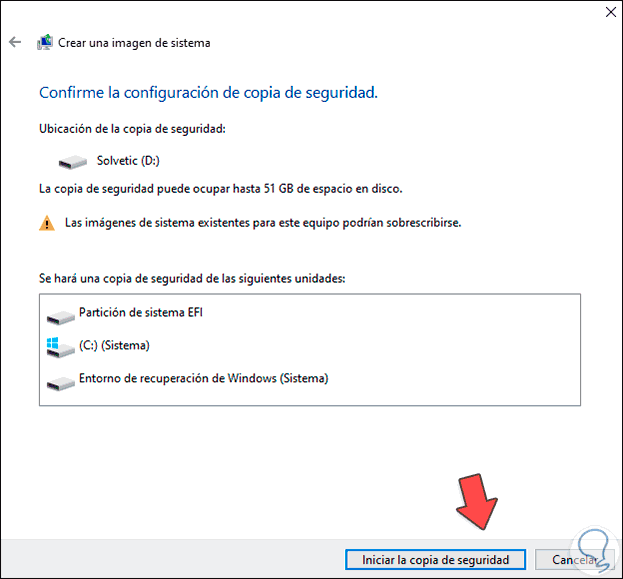
Step 6
There we can see the estimated size of the backup and the data that will be backed up, we give way to the backup by clicking on the button "Start backup":
Step 7
At the end of the process we will see the following message:
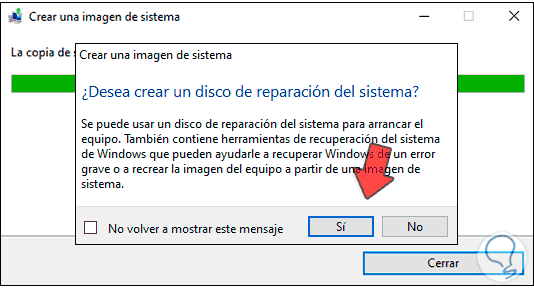
Step 8
There we can define if we create the repair disk or not, in this case we click on No to see that the copy has been created correctly:
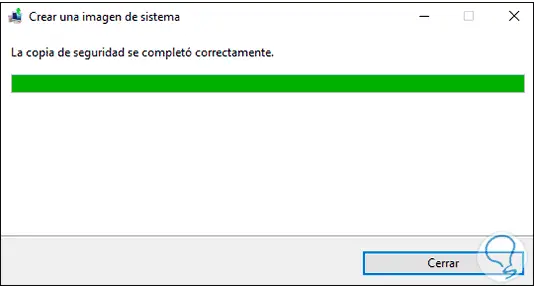
Step 9
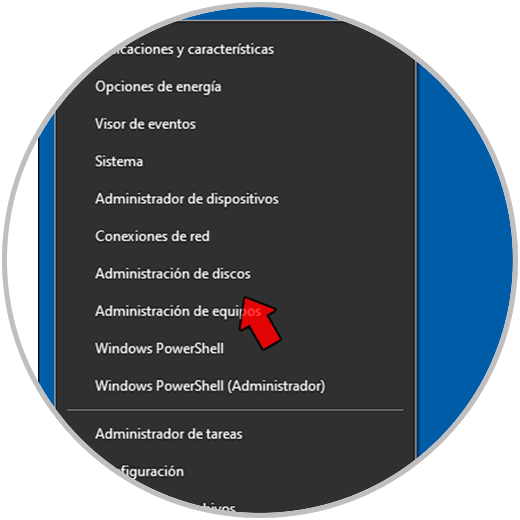
We click Close to finish the process, now we are going to hide it in Windows 10, for this we right click on the Windows button and select "Disk Management":
Step 10
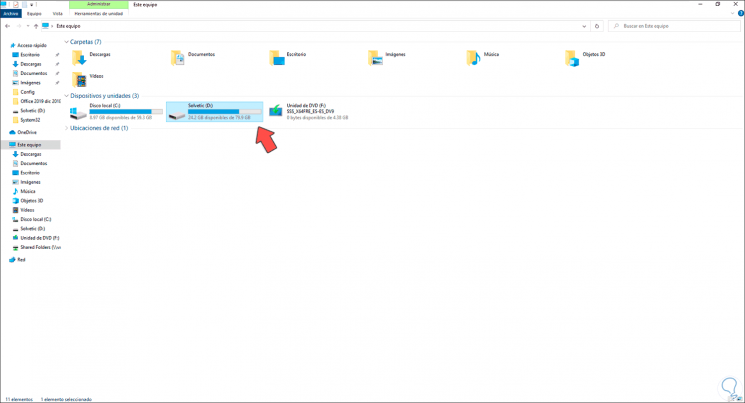
In File Explorer we check the letter of the drive where the copy is located, in this case drive D:
Step 11
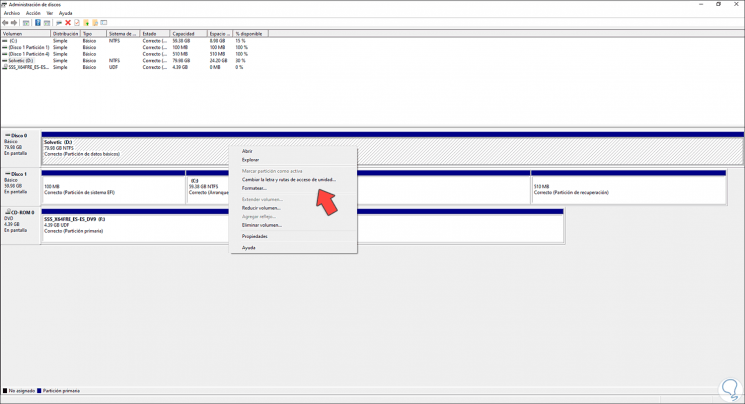
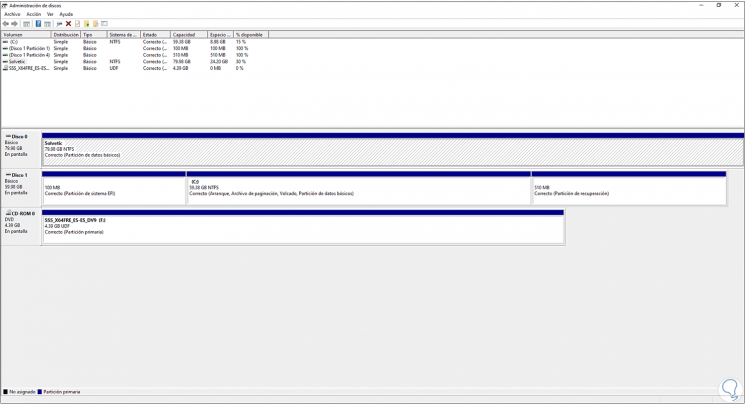
In Disk Administrator we right click on the drive to hide and select "Change drive letter and paths":
Step 12
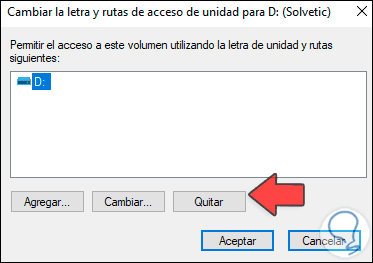
In the displayed window select "Remove":
Step 13
We will see the following message:
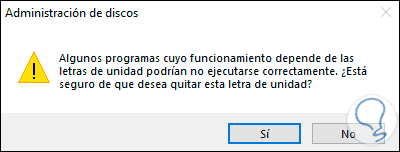
Step 14
Click Yes and apply the changes:
Step 15
We validate that the unit has been hidden in the Explorer:
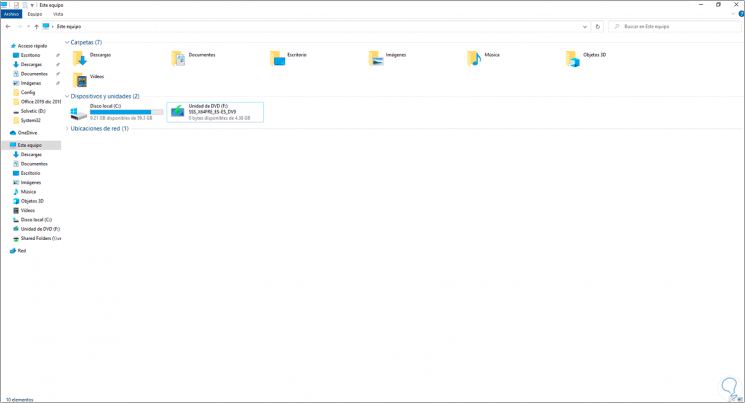
Here are the steps to create Windows 10 recovery drive and hide it to increase its security..