PHP (PHP: Hypertext Preprocessor) is one of the best options today to develop websites and web-based applications thanks to a wide set of integrated functions, that is why it is one of the most used and most popular languages among developers. PHP offers versions 5.6, 7.0 and 8.0 while versions like 5.3, 5.4 and 5.5 are no longer supported..
PHP is used for Apache and Nginx web servers and getFastAnswer will explain the way to install the compatible versions of it in Ubuntu.
To stay up to date, remember to subscribe to our YouTube channel! SUBSCRIBE
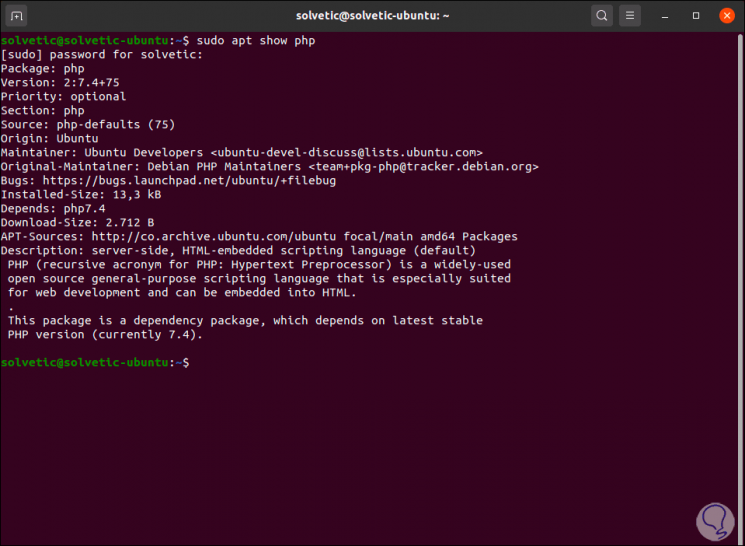
1. View the PHP version in Ubuntu
Step 1
We open the terminal and execute one of the following commands:
sudo apt show php sudo apt show php -a
Step 2
In this case it is possible to install the most recent version of PHP by executing the following:
sudo apt install php Install PHP with PPA
2. Install various versions of PHP on Ubuntu 5.6 7.X 8.0
Step 1
The first step is to install PHP in one of its versions from PPA, for this we install the necessary add-ons:
sudo apt install python-software-properties
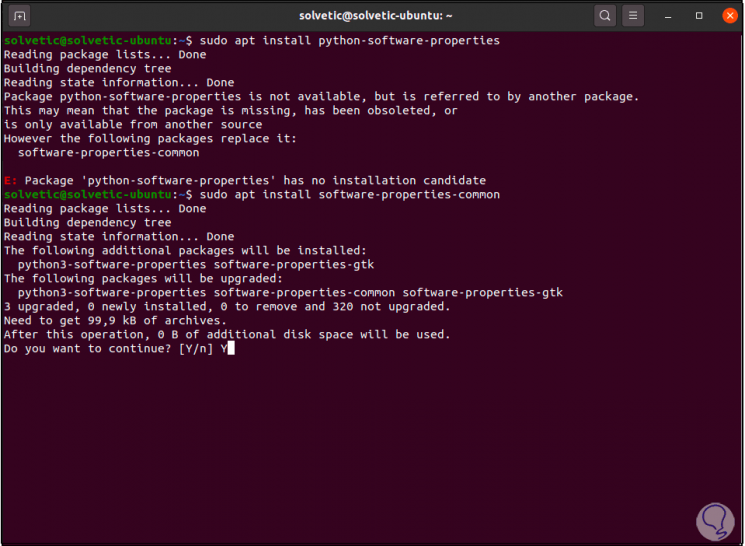
Step 2
In case of any error we execute:
sudo apt install software-properties-common
Step 3
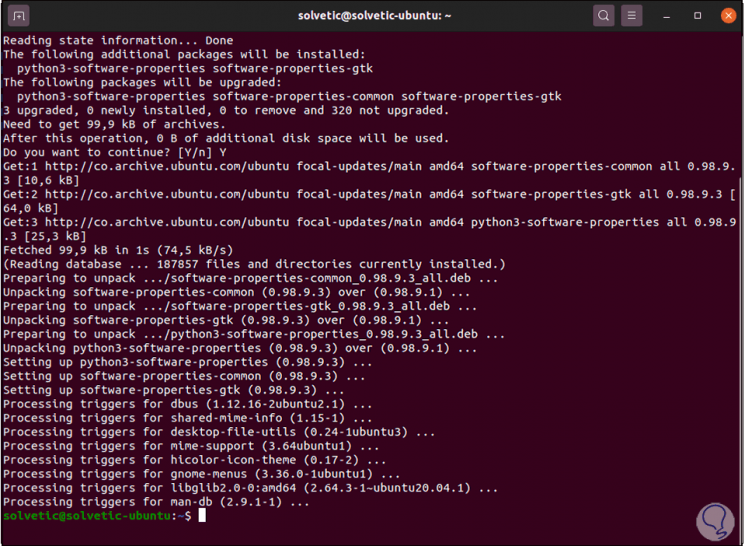
We enter the letter y to apply the changes.
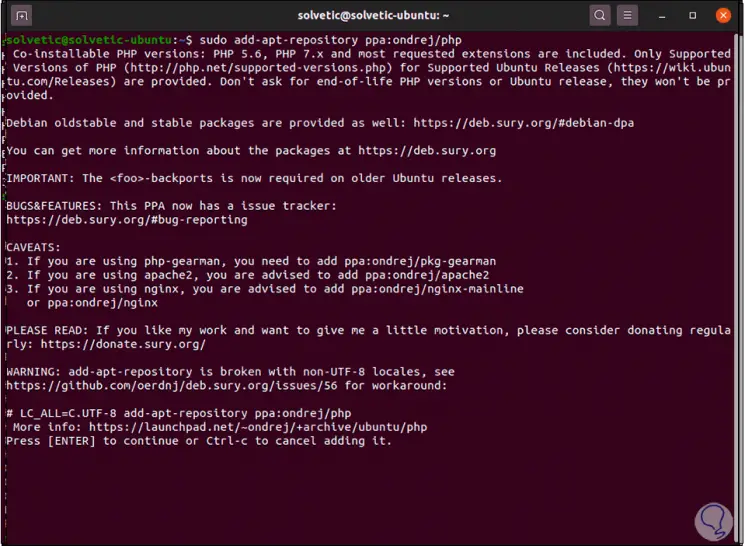
Step 4
Now we add the PPA repository:
sudo add-apt-repository ppa: ondrej / php
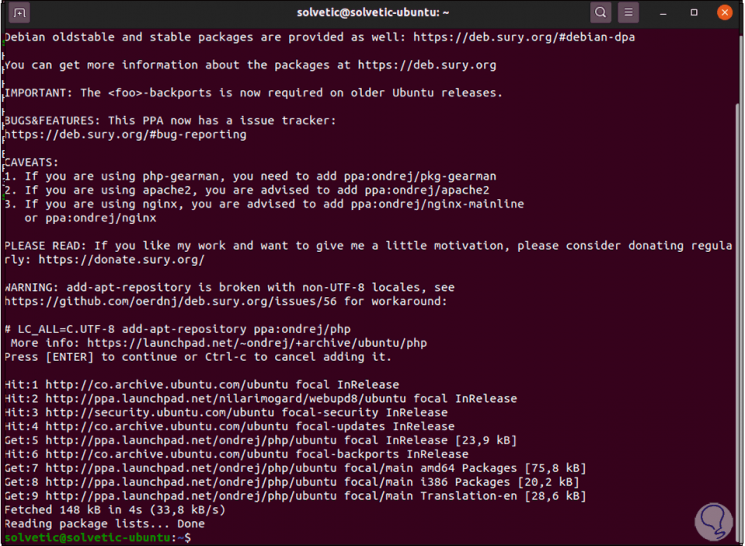
Step 5
We press Enter to confirm and add the repository:
Step 6
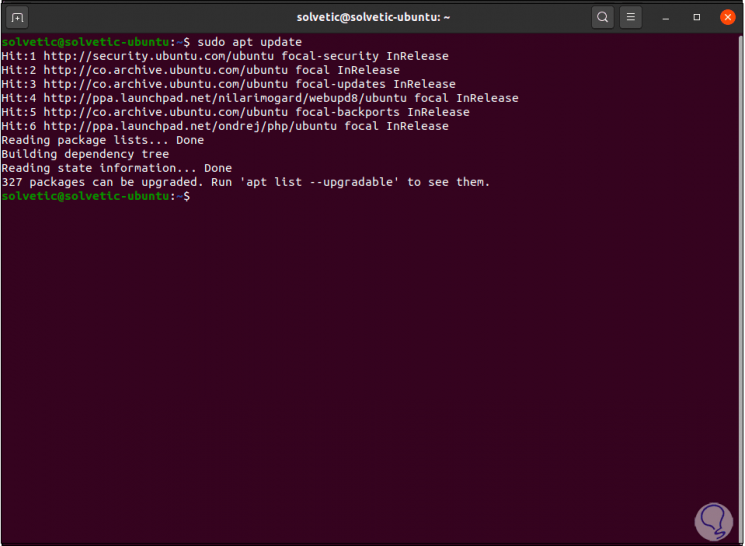
We update the system with the command:
sudo apt update
Step 7
After this we can install the different versions of PHP.
We install PHP 5.6 with the command:
sudo apt install php5.6
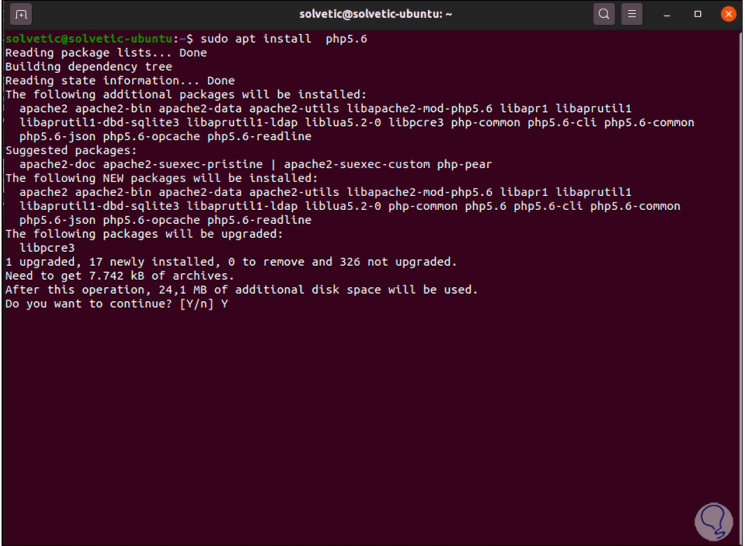
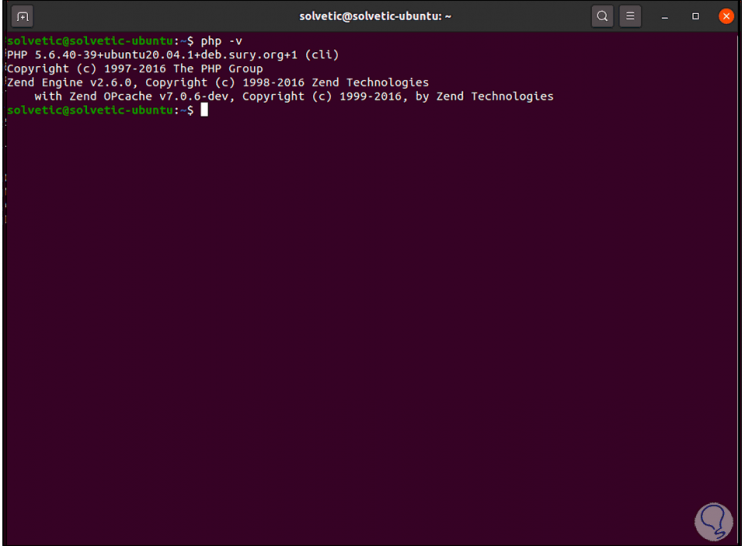
Step 8
We enter the letter Y to confirm the download and installation of this version, after this we validate the installed version with "php -v":
Step 9
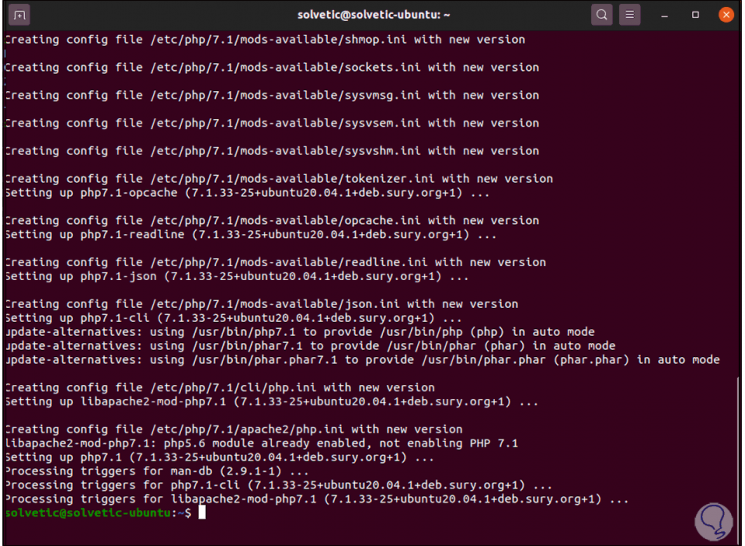
We install PHP 7.1 with the command:
sudo apt install php7.1
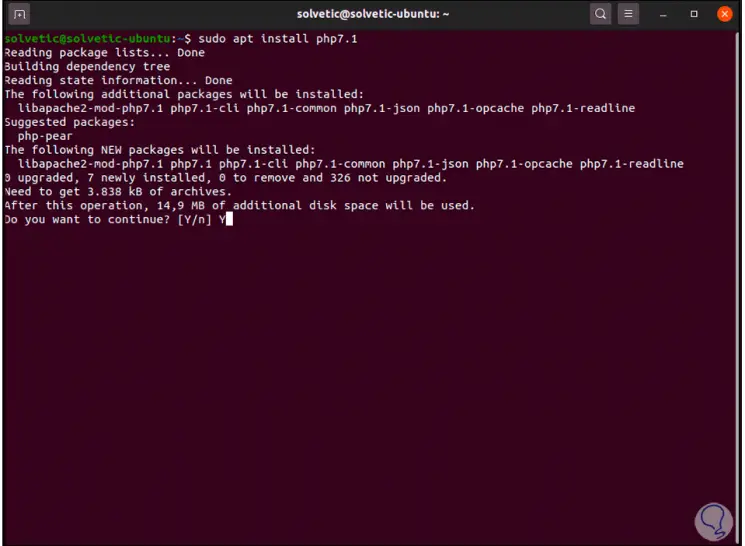
Step 10
We enter the letter Y to confirm the process:
Step 11
We validate the version with "php -v":

Step 12
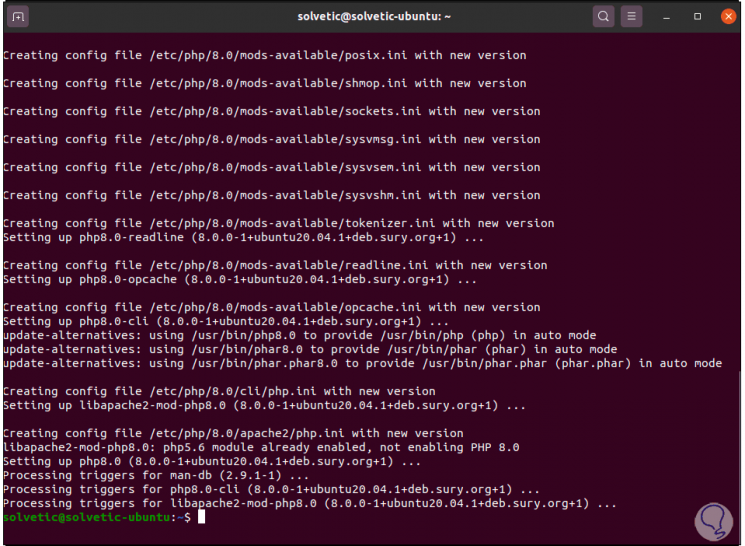
We install PHP 8.0 with the command:
sudo apt install php8.0
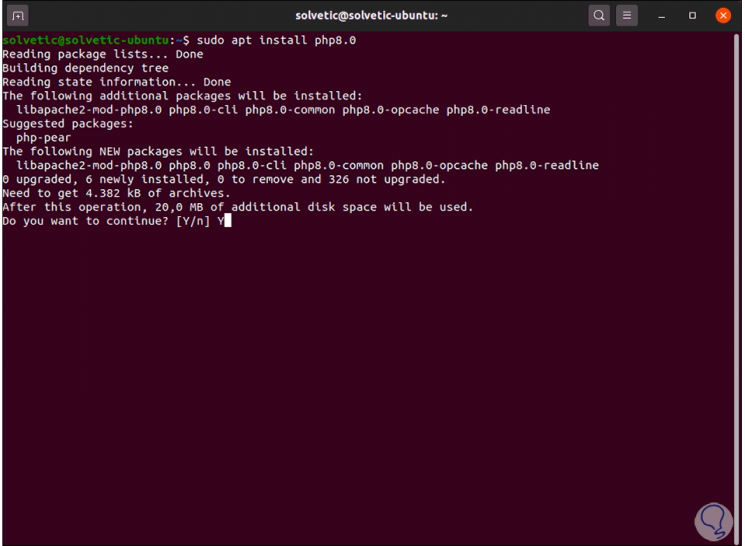
Step 13
We accept the installation by entering the letter Y:
Step 14
We validate the version with the command "php -v":
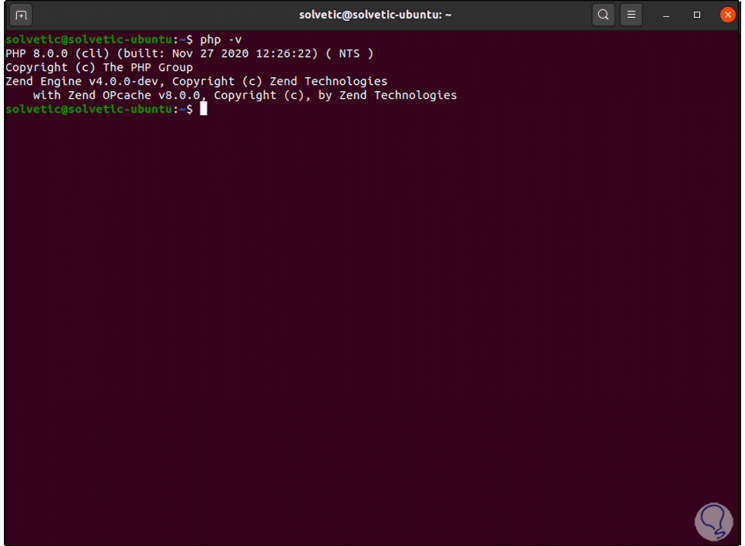
Step 15
For the Apache server we have the following options to install:
sudo apt install php5.6 [PHP 5.6] sudo apt install php7.0 [PHP 7.0] sudo apt install php7.1 [PHP 7.1] sudo apt install php7.2 [PHP 7.2] sudo apt install php7.3 [PHP 7.3] sudo apt install php7.4 [PHP 7.4] sudo apt install php8.0 [PHP 8.0]
Step 16
In the case of Nginx we have the following versions:
sudo apt install php5.6-fpm [PHP 5.6] sudo apt install php7.0-fpm [PHP 7.0] sudo apt install php7.1-fpm [PHP 7.1] sudo apt install php7.2-fpm [PHP 7.2] sudo apt install php7.3-fpm [PHP 7.3] sudo apt install php7.4-fpm [PHP 7.4] sudo apt install php8.0-fpm [PHP 8.0]
Step 17
In addition to this, it is possible to install modules based on the PHP destination:
sudo apt install php5.6-cli php5.6-xml php5.6-mysql sudo apt install php7.0-cli php7.0-xml php7.0-mysql sudo apt install php7.1-cli php7.1-xml php7.1-mysql sudo apt install php7.2-cli php7.2-xml php7.2-mysql sudo apt install php7.3-cli php7.3-xml php7.3-mysql sudo apt install php7.3-cli php7.4-xml php7.4-mysql sudo apt install php7.3-cli php8.0-xml php8.0-mysq
3. Configure default version of PHP in Ubuntu
Step 1
It is possible that we want to establish by default some of the used versions of PHP, for this we must execute the following syntax:
sudo update-alternatives --set php / usr / bin / php #
Step 2
To establish PHP 5.6 we execute:
sudo update-alternatives --set php /usr/bin/php5.6
Step 3
For PHP 7.1:
sudo update-alternatives --set php /usr/bin/php7.1
Step 4
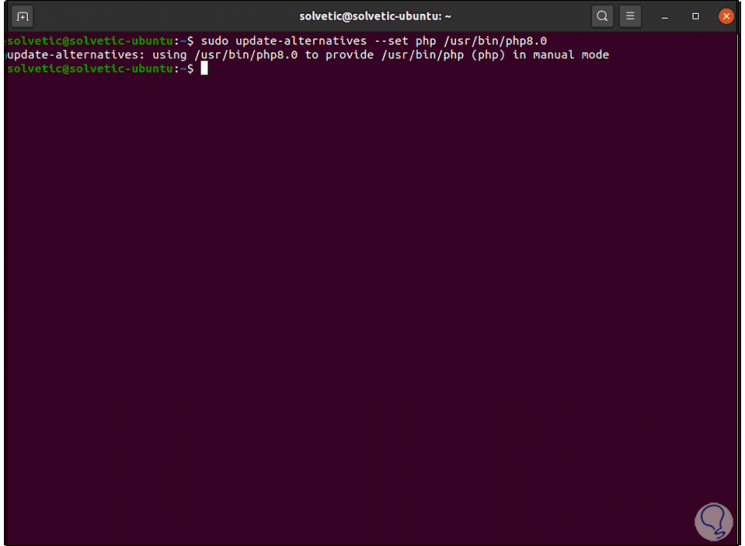
For PHP 8.0 we use:
sudo update-alternatives --set php /usr/bin/php8.0
Step 5
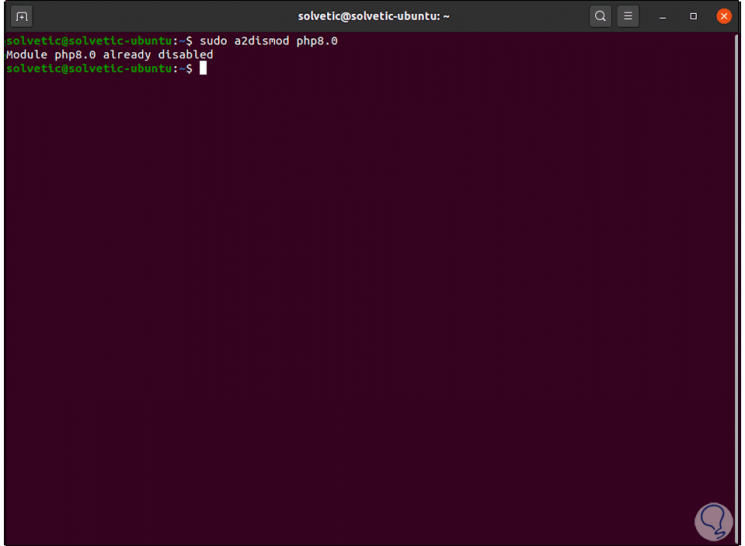
It is possible to configure the version of PHP to use with the Apache web server, in this case it is required to deactivate the current version with the a2dismod command and then enable the desired version with the a2enmod command.
We uninstall the current version:
sudo a2dismod php5.6 sudo a2dismod php7.0 sudo a2dismod php7.1 sudo a2dismod php7.2 sudo a2dismod php7.3 sudo a2dismod php7.4 sudo a2dismod php8.0
Step 6
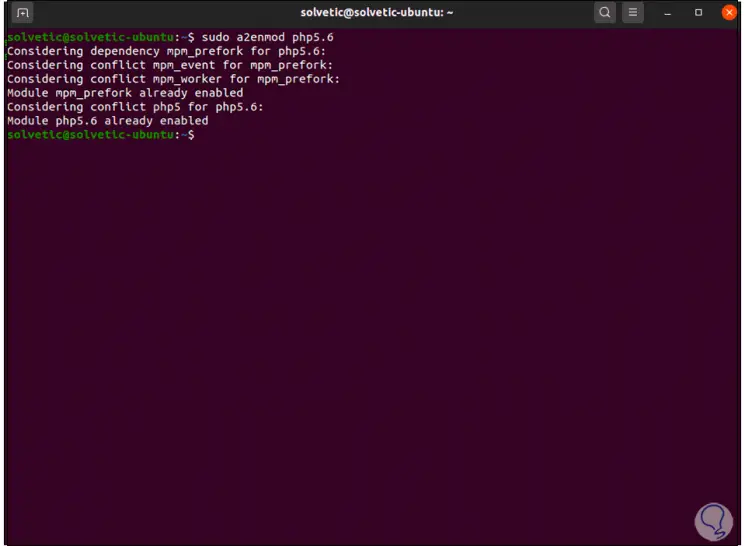
Then we enable the desired version:
sudo a2enmod php5.6 sudo a2enmod php7.1 sudo a2enmod php7.2 sudo a2enmod php7.3 sudo a2enmod php7.4 sudo a2enmod php8.0
Step 7
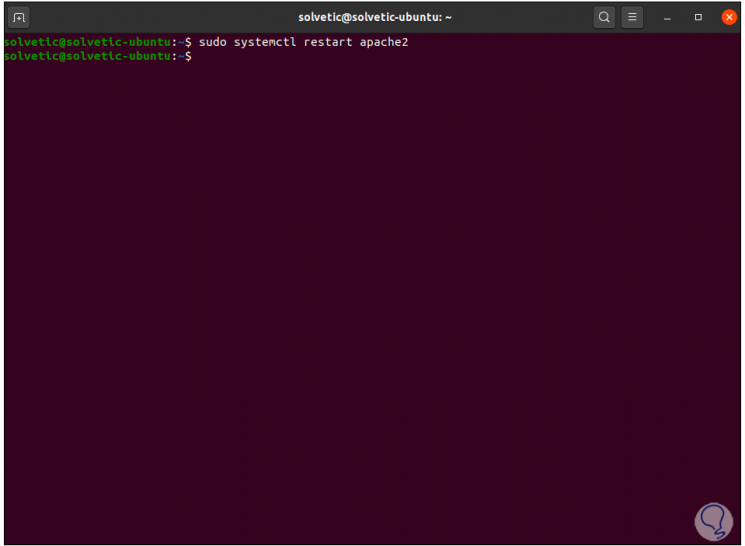
Finally we restart the server with the following command:
sudo systemctl restart apache2
This is the simple and functional process to allow PHP to be installed in various versions on Ubuntu and then define the appropriate version to use..