Apache offers us various options for working with data and information on the web and one of its many derivations is Apache CouchDB..
Apache CouchDB gives us the opportunity to have access to information from different places, since it is based on the Couch Replication Protocol, which is compatible with global server clusters, mobile phones or web browsers, which gives the ease of secure access . Web and native applications are 100% compatible with CouchDB as its default language is JSON and supports binary data for data storage.
Apache CouchDB Features
Some of its most outstanding features are:
- CouchDB has a clustered database, thus allowing you to run a logical database server regardless of the number of servers or virtual machines.
- By using apache CouchDB we have a single node database which acts under an application server.
- It makes use of the HTTP protocol and the JSON data format, being compatible with any software that supports them.
- CouchDB's unique replication protocol generates "Offline First" applications for mobile applications and other environments that have infrastructure
high impact network..
Let's see how to install Apache CouchDB on Ubuntu 20.04, 20.10 or 21.04.
To stay up to date, remember to subscribe to our YouTube channel! SUBSCRIBE
Let's see how to install Apache CouchDB on Ubuntu
Step 1
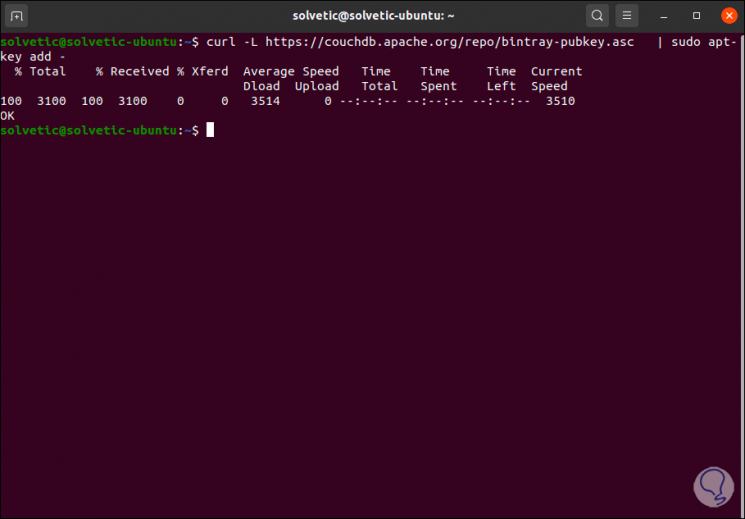
First, we enable the Apache CouchDB repository, for this we download and install the GPG key with the following command:
curl -L https://couchdb.apache.org/repo/bintray-pubkey.asc | sudo apt-key add -
Step 2
Now we add the repository, for this we execute:
sudo nano /etc/apt/sources.list
Step 3
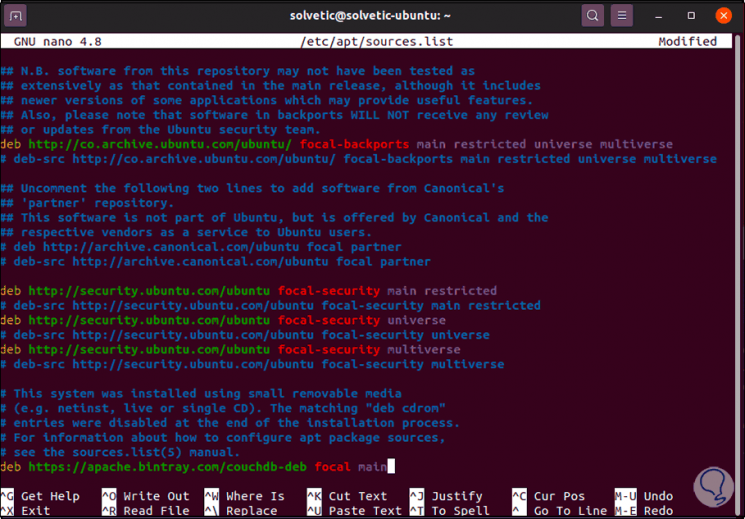
At the bottom we add the line:
deb https://apache.bintray.com/couchdb-deb focal main
Step 4
We save the changes using the following key combination:
Ctrl + O
We leave the editor using:
Ctrl + X
Step 5
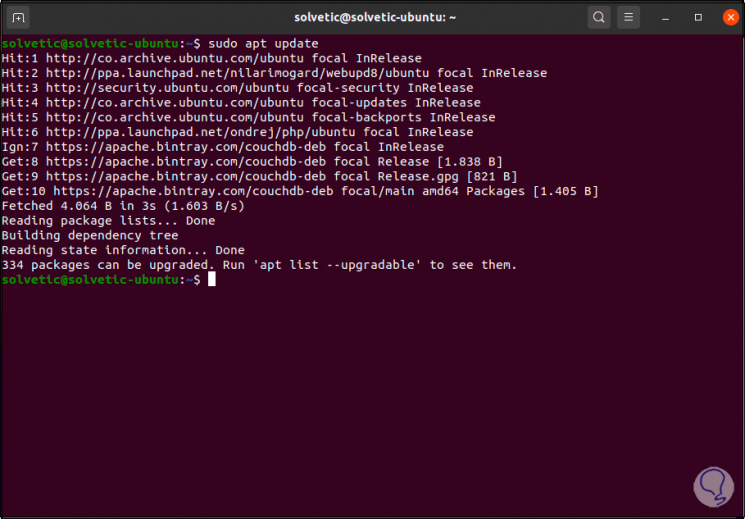
We update the operating system with the following command.
sudo apt update
Step 6
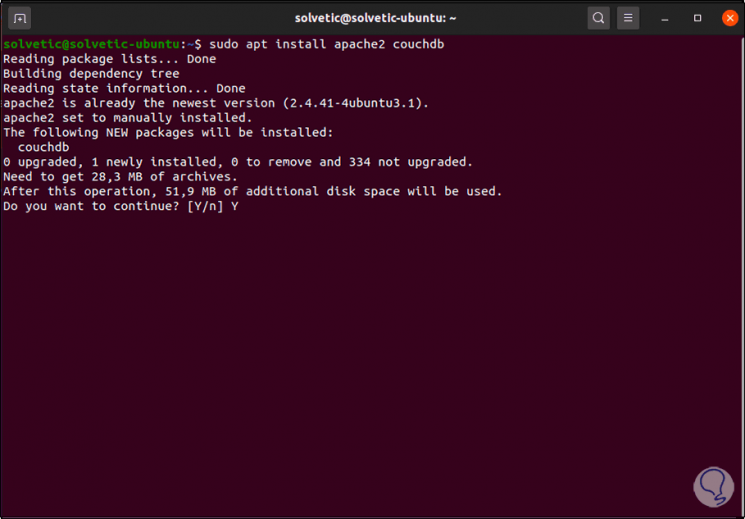
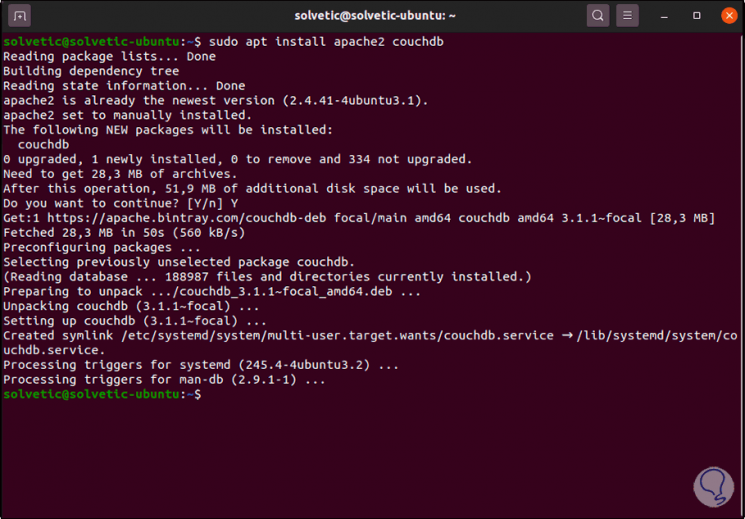
Next, we install Apache CouchDB:
sudo apt install apache2 couchdb
Step 7
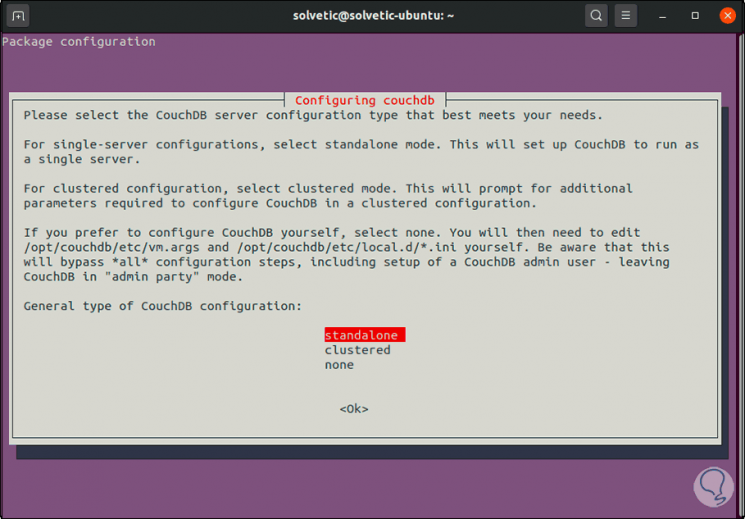
We enter the letter and to confirm the download and installation, we adjust the parameters as necessary since we will first see the following during the installation:
Step 8
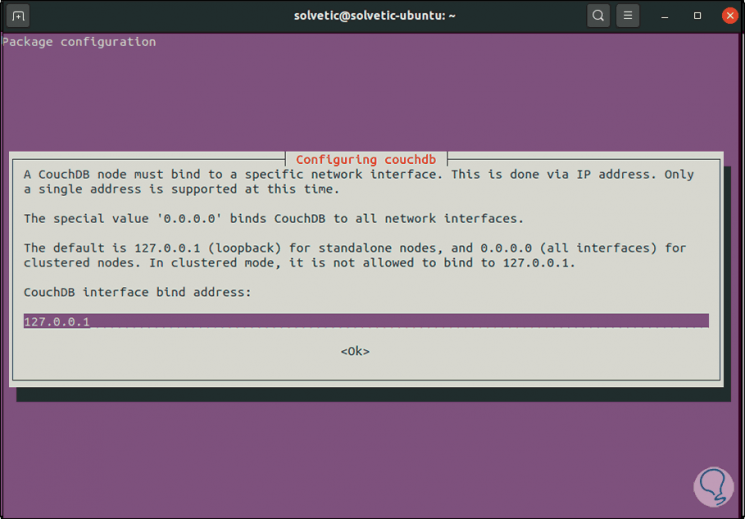
There we define the type of Apache CouchDB configuration to use, in this case we leave the default option and then configure the access IP address, we leave the default option 127.0.0.1:
Step 9
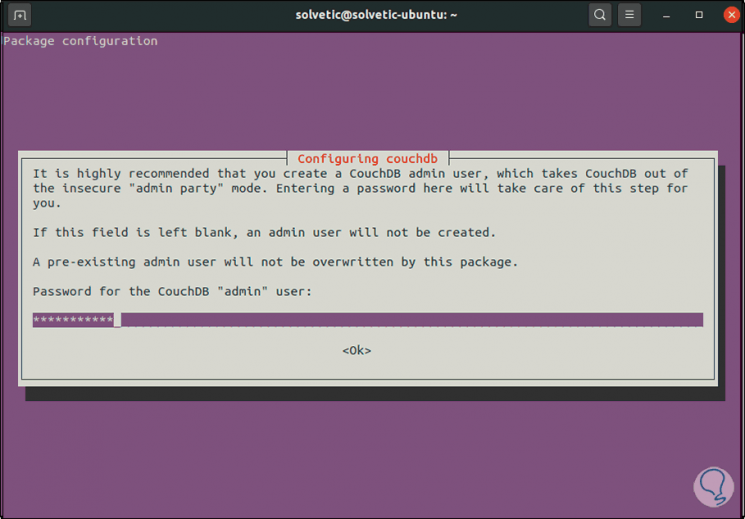
Click OK and then assign the administrator password:
Step 10
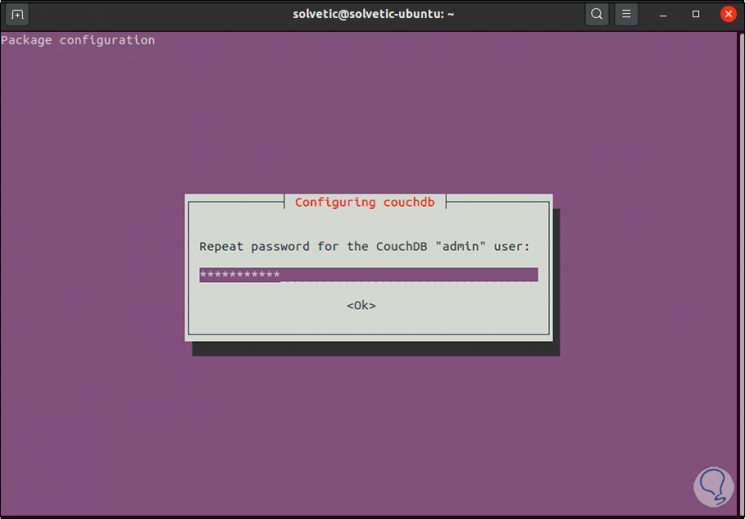
In the next window we confirm it:
Step 11
We click OK and wait for the Apache CouchDB installation process in Ubuntu to finish:
Step 12
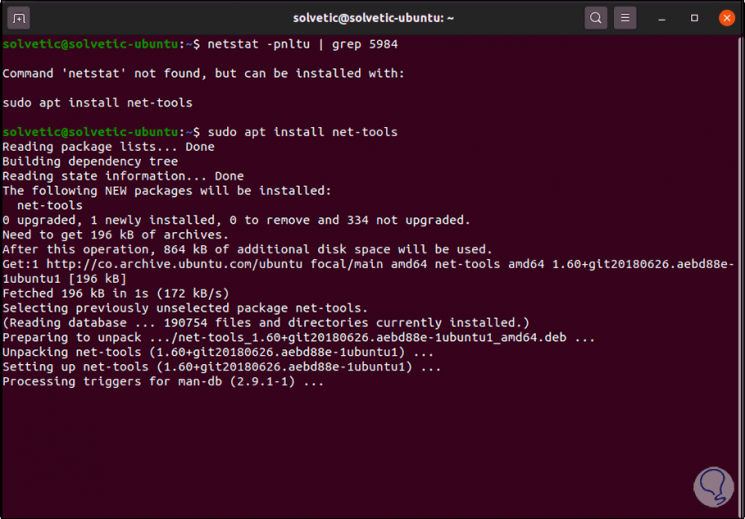
Now we check the Apache CouchDB port with the command:
netstat -pnltu | grep 5984
Note
we can install the utilities with "sudo apt install net-tools"
Step 13
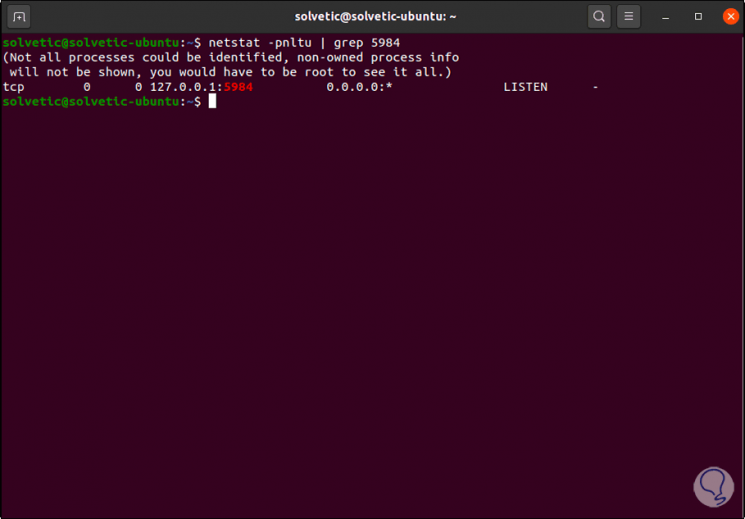
Now if we check the port:
Step 14
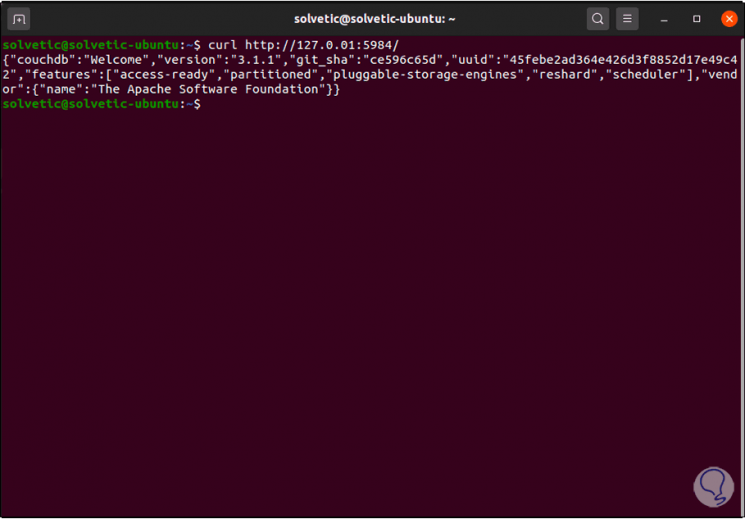
We verify the installation of Apache CouchDB by executing the following:
curl http://127.0.0.1:5984/
Step 15
The result will be printed in JSON format.
Step 16
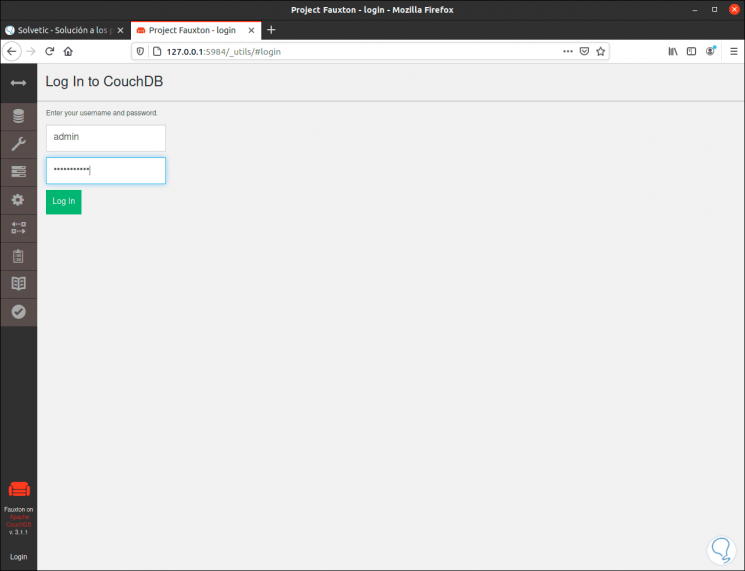
To access Apache CouchDB we go to a browser and there we enter the following:
http://127.0.0.1:5984/_utils/
We enter the registered credentials during the process:
Step 17
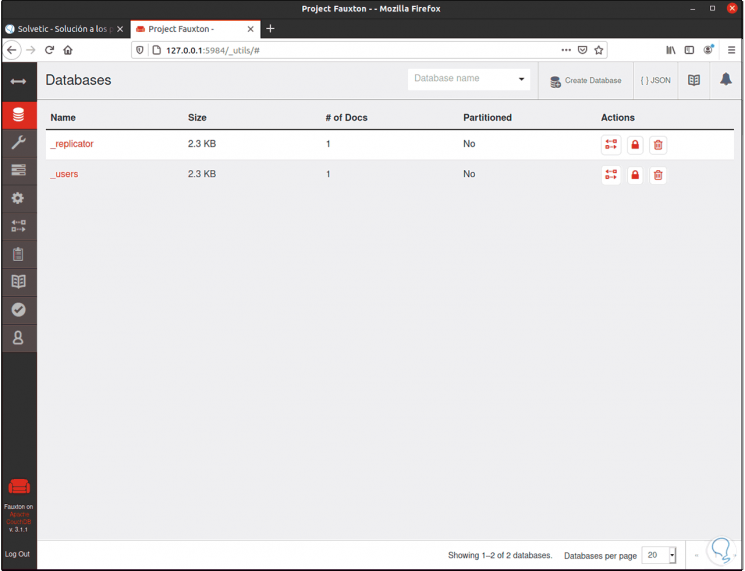
Click on Log in and this will be the Apache CouchDB environment:
Step 18
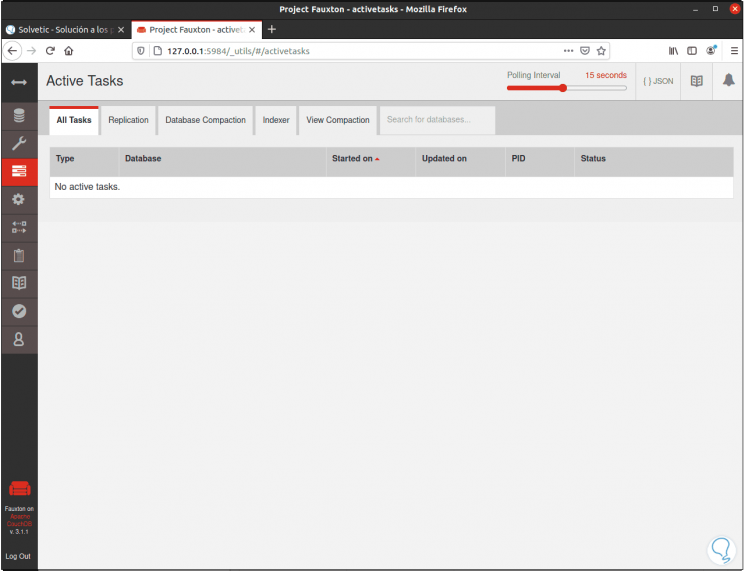
We can browse your different options:
Step 19
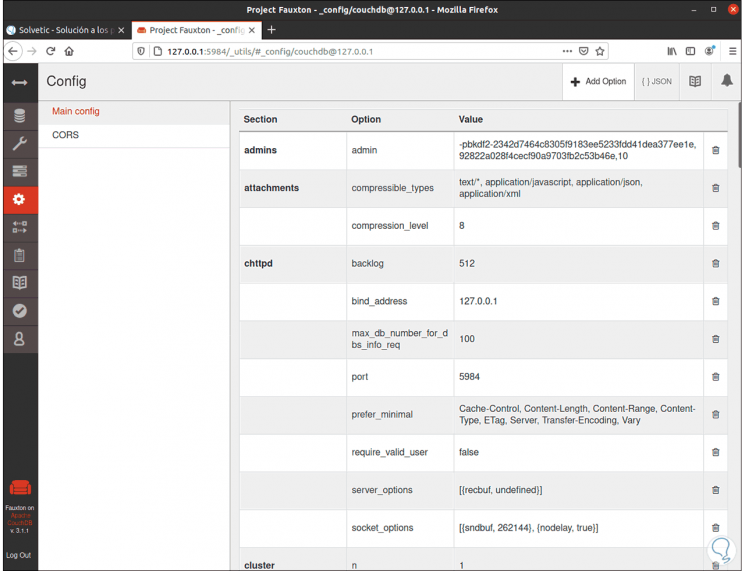
Let's go to the main configuration:
Step 20
In the terminal it is possible to use the following commands to manage Apache CouchDB:
sudo systemctl start couchdb.service (Starts the service) sudo systemctl enable couchdb.service (Enable the service) sudo systemctl stop couchdb.service (Stops the service)
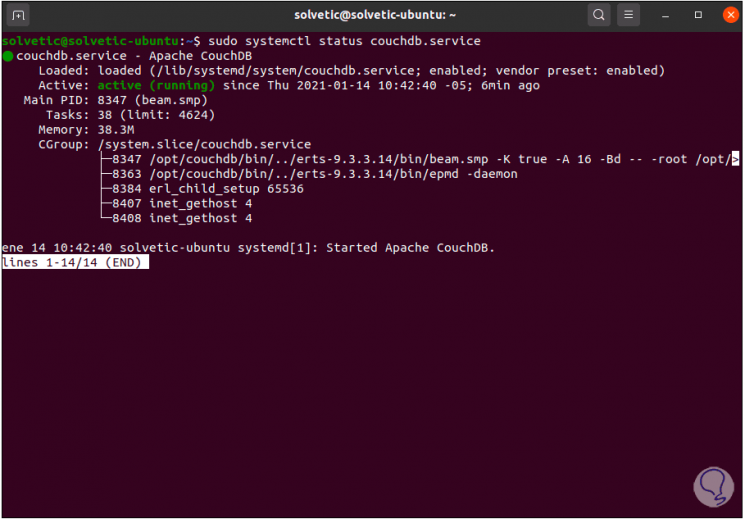
We see the status of Apache CouchDB:
sudo systemctl status couchdb.service
With this we are able to explore everything that Apache CouchDB has for us in Ubuntu..