Discord is one of the most functional platforms to create servers and chat, voice and video channels in order to interact with thousands of users with hundreds of applications, this allows us to have total control over who can have access to the channels as well as define their permissions, just one of the Discord options is to create a read-only channel with which guests can access the channel but not make changes, let's see how to create this read-only channel in Discord ..
With this read-only channel, users could read the content that is added to this chat, but they will not be able to respond, so creating a channel of information and notifications to users in Discord is really useful avoiding saturation of conversations.
To stay up to date, remember to subscribe to our YouTube channel! SUBSCRIBE
How to create a read-only channel on Discord
Step 1
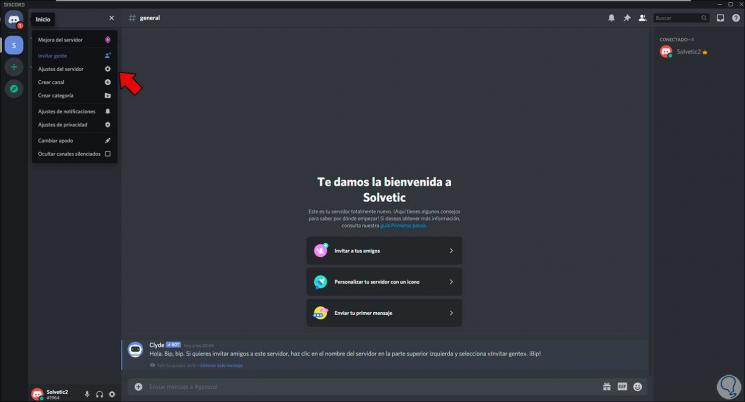
We open Discord, click on the server settings icon and select "Server settings":
Step 2
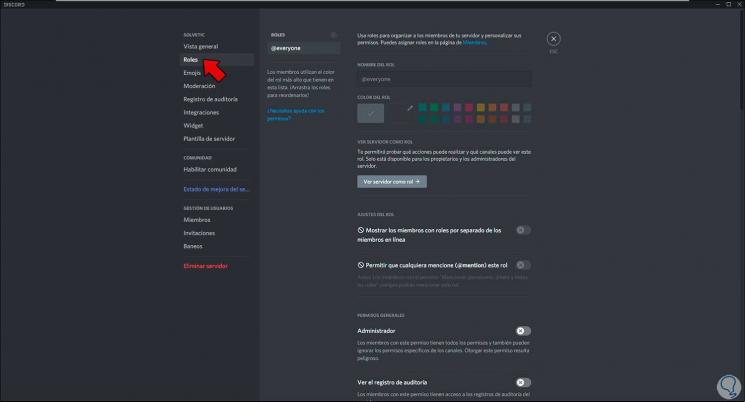
In the displayed window we will go to Roles where we will see the following:
Step 3
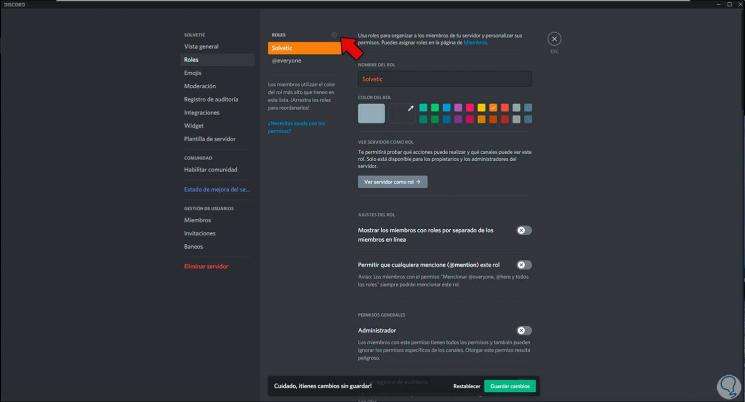
We add a new role by clicking on the + sign and assign its name and define its color:
Step 4
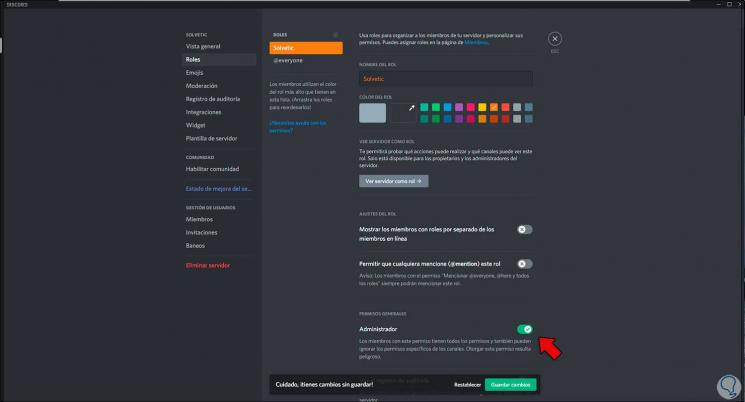
Now we configure it as an administrator by activating the "Administrator" switch. We save the changes.
Step 5
The objective of this role is to be able to assign it to a particular user in the read-only channel to be created so that only the other user can have permissions.
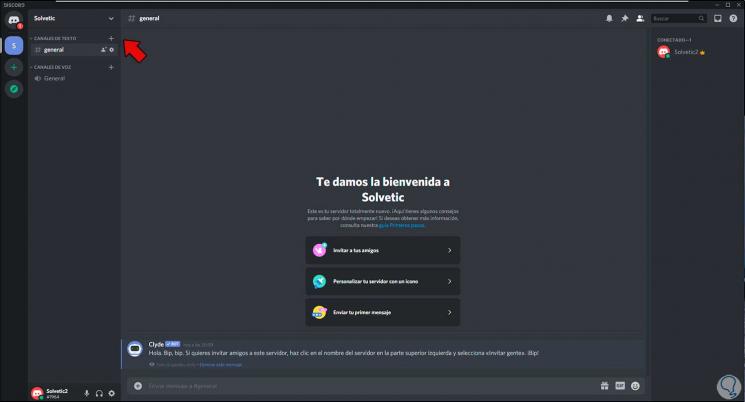
Now we will create the channel, we click on the + sign of the text channel to add the read-only channel:
Step 6
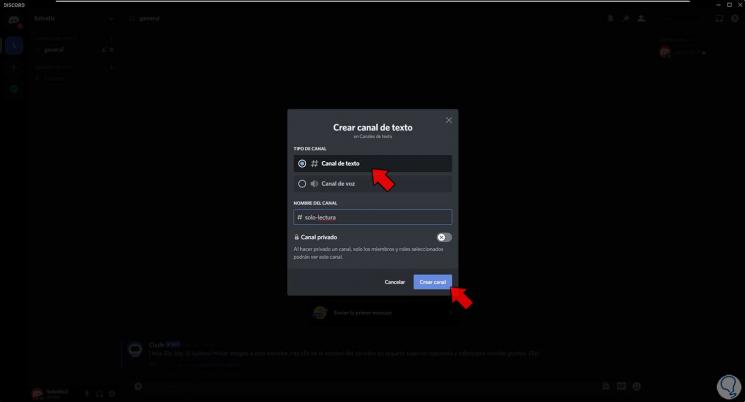
We assign the name to the channel according to preference:
Step 7
Click on "Create Channel" to see the read-only channel created in Discord:
Step 8
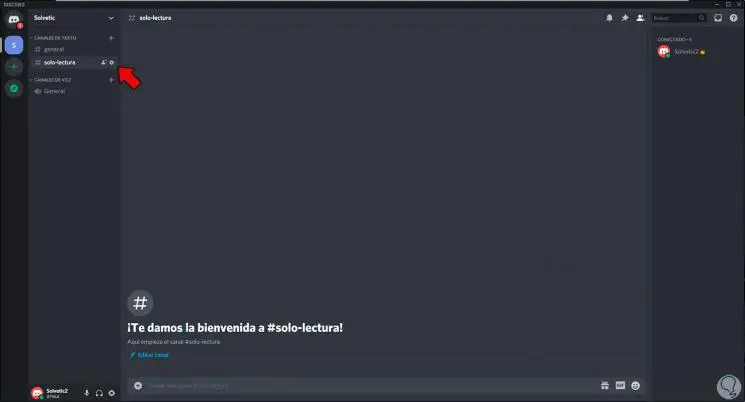
Click on the channel sprocket icon to access the channel settings and go to the "Permissions" section where we will see the following:
Step 9
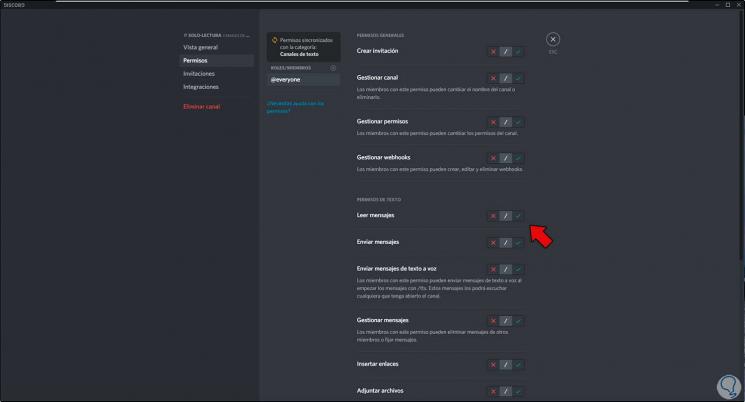
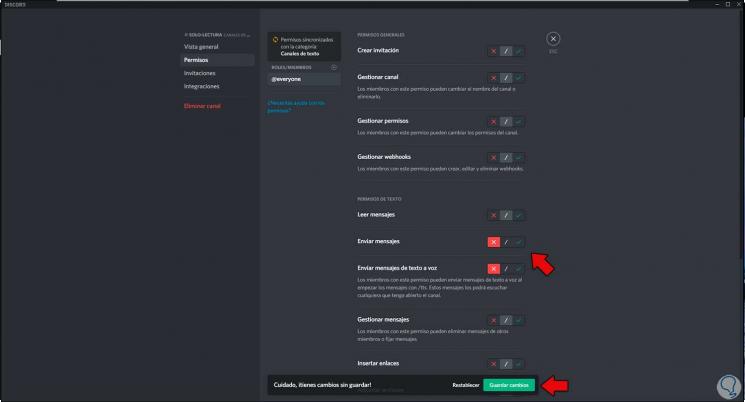
We confirm that @everyone (all) is available, now we deactivate the permissions to send messages by clicking on the "Send messages" and "Send text to voice" switches:
Step 10
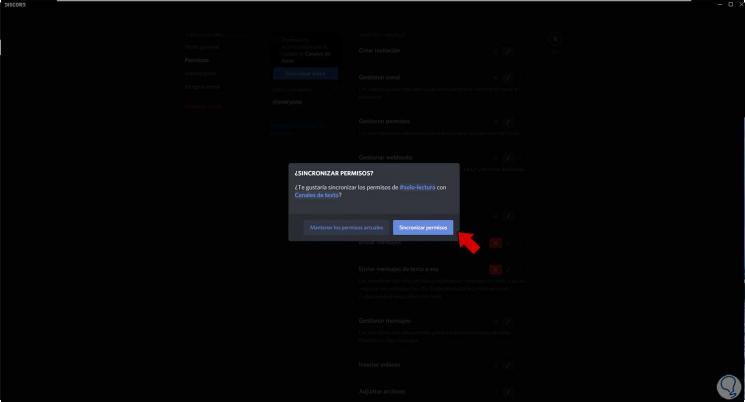
We save the changes and it will be possible to synchronize the permissions:
Step 11
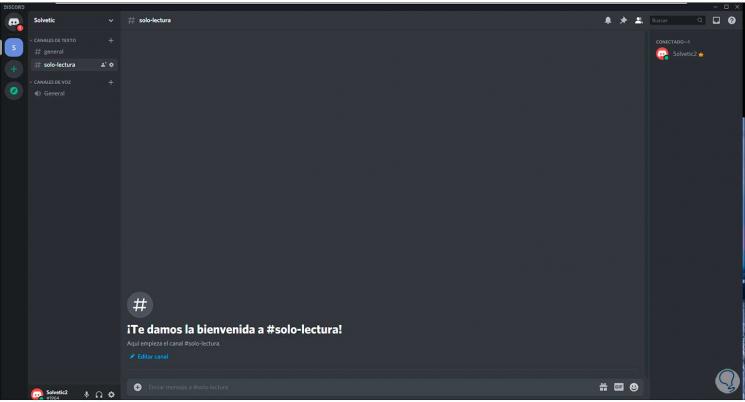
We see the channel created and configured:
Step 12
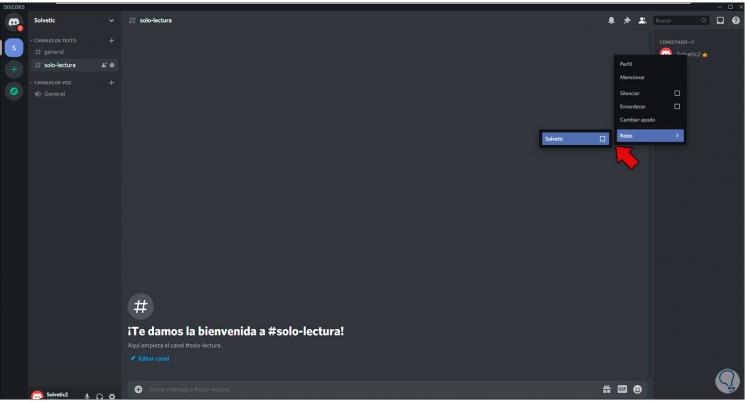
Now we right click on any of the channel users and assign the role created so that that user has permissions but not all, click on "Roles":
There we activate the box of the role created with permissions so that only it has the permissions but not the others..
Here's the process for creating a read-only channel on Discord.