Microsoft has developed Windows Server , in its latest edition 2022, as an integral solution for companies of all kinds, this allows the administrator to have a central point with their Windows Server server to manage and control users, groups and printers, all this thanks to roles and services provided by the system, but if for any reason in the domain there are computers with systems other than Windows..
In this case Ubuntu, this does not mean that these computers are left out, this is thanks to the fact that Windows Server 2022 allows us to integrate computers with systems such as Ubuntu and getFastAnswer will explain how to achieve it to have full control of the computers in the local domain.
To stay up to date, remember to subscribe to our YouTube channel! SUBSCRIBE
How to add Ubuntu to Windows Server 2022 domain
Step 1
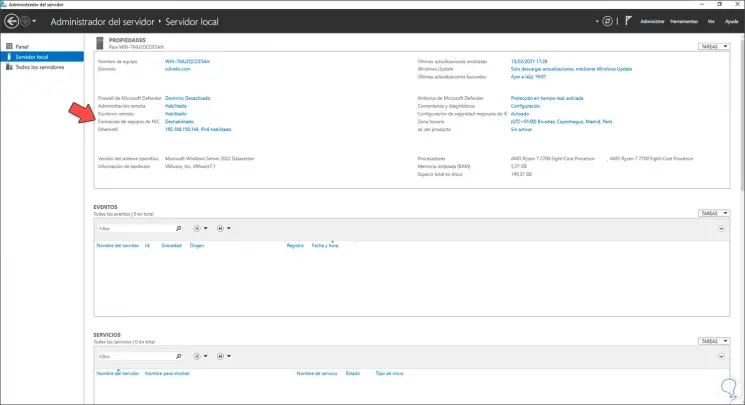
The first thing we will do is see the server configuration, for this, in Windows Server 2022, we go to the Server Manager and check the IP address and the domain used:
Step 2
In this case we use a static IP 192.168.150.144 and a domain solvetic.com.
Now we go to "Tools - Active Directory Users and Computers":
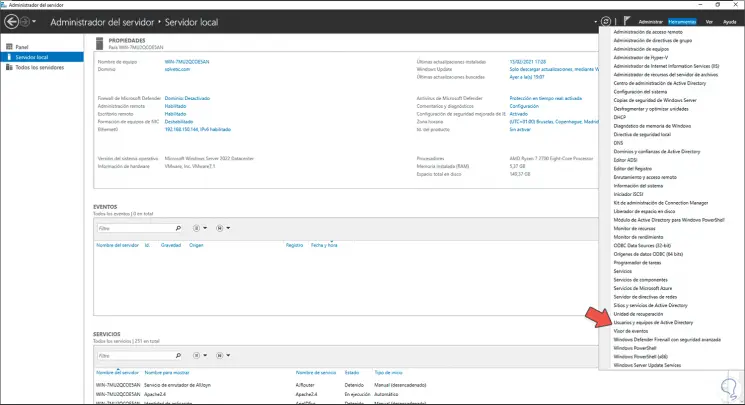
Step 3
In the Active Directory console we validate the available administrator users:

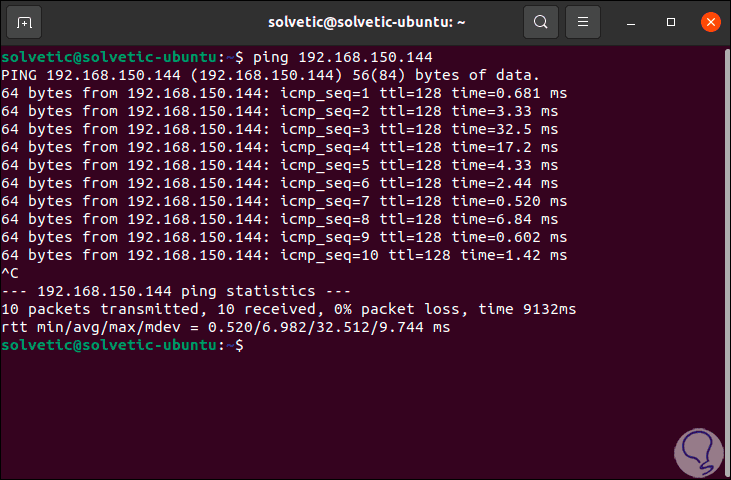
Step 4
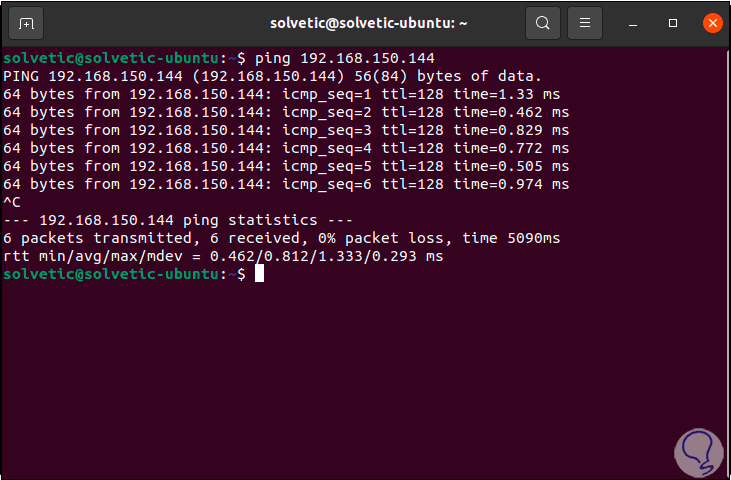
In Ubuntu we open the terminal and we will ping the IP of the Windows Server 2022 server, in this case:
ping 192.168.150.144
Step 5
We see that the communication between both systems is correct, it is also possible to ping the domain directly:
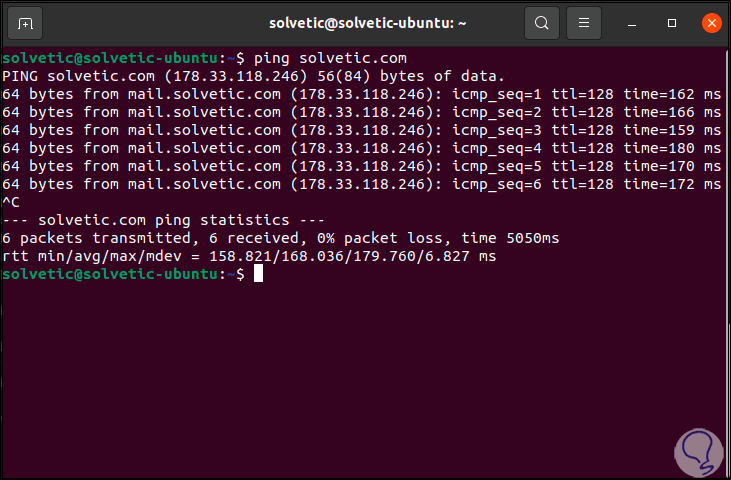
Step 6
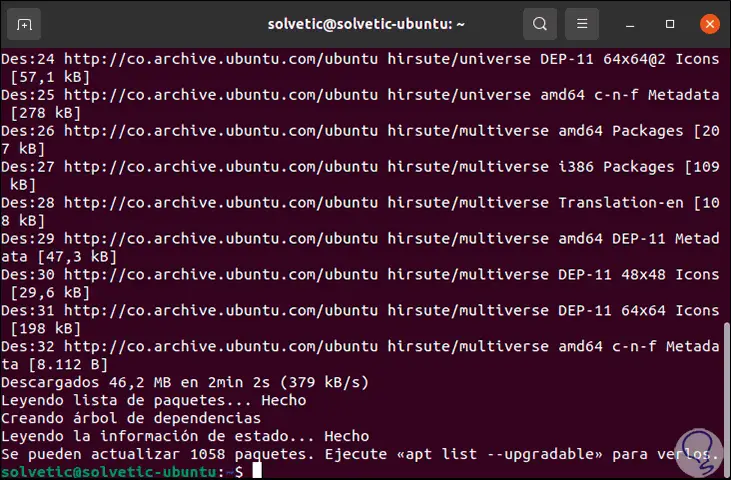
We update the Ubuntu system with the command:
sudo apt update
Step 7
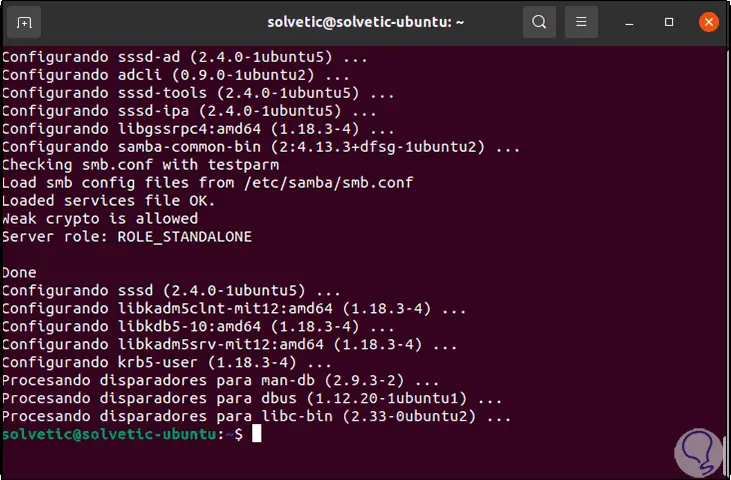
It is time to install the utilities to join the computer to the domain, for this in the terminal we execute:
sudo apt install realmd sssd sssd-tools samba-common krb5-user packagekit samba-common-bin samba-libs adcli ntp
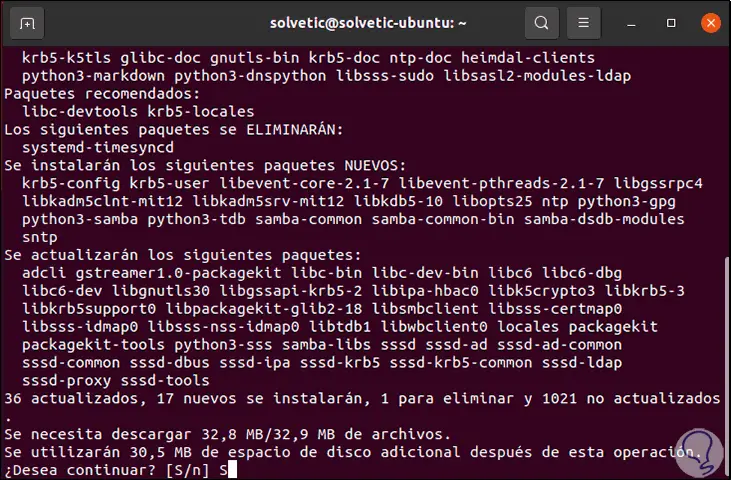
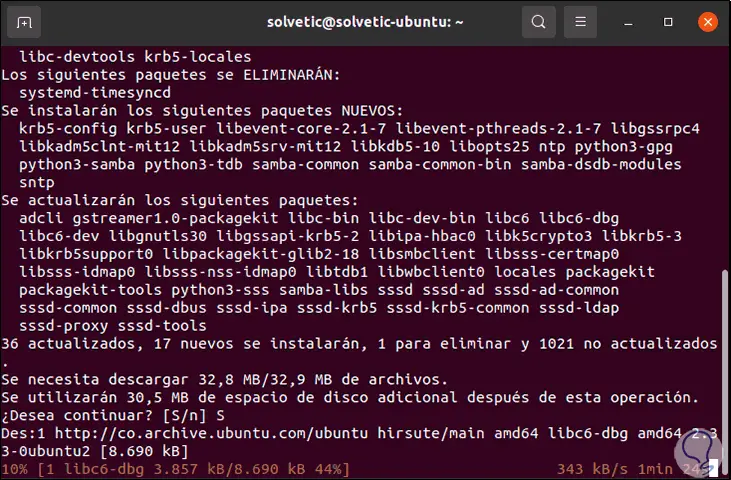
Step 8
We enter the letter S to proceed with the download and installation of the tools:
Step 9
During the installation process, we are going to enter the Kerberos authentication, there we are going to register the name of the domain to which we are going to join:
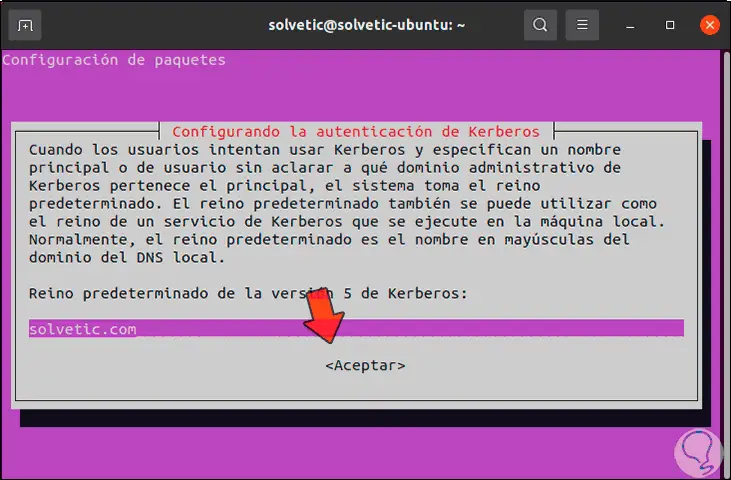
Step 10
Click OK and then the name of the Kerberos server in the selected domain:
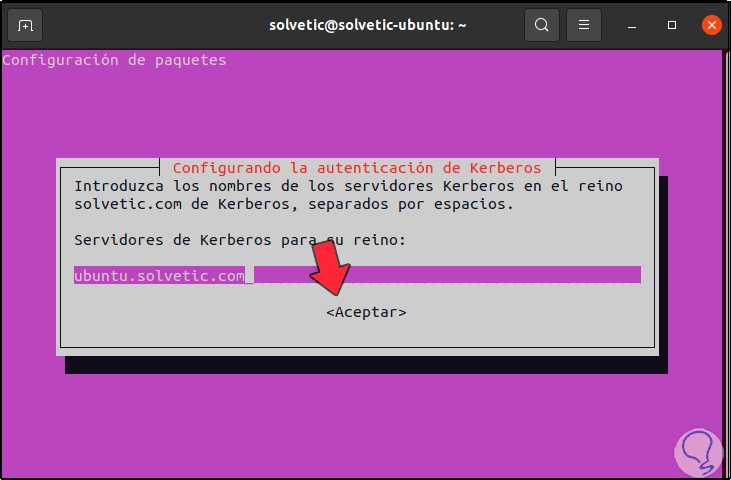
Step 11
Click OK and now we are going to enter the name of the administrative server in Kerberos:
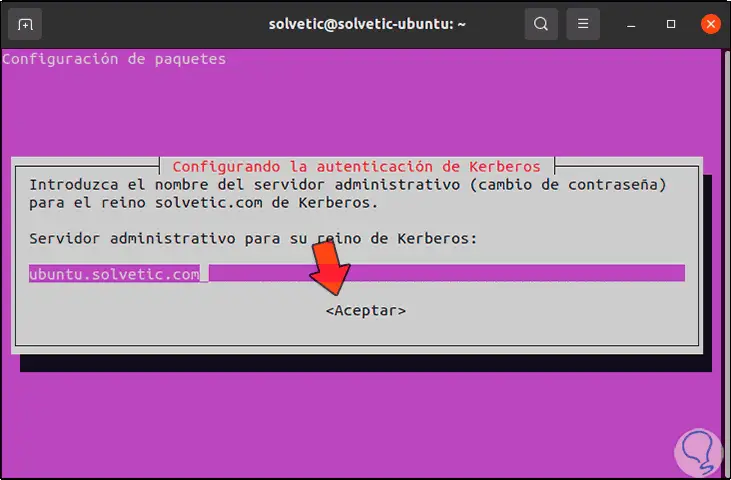
Step 12
Click OK and then we will see the following message:
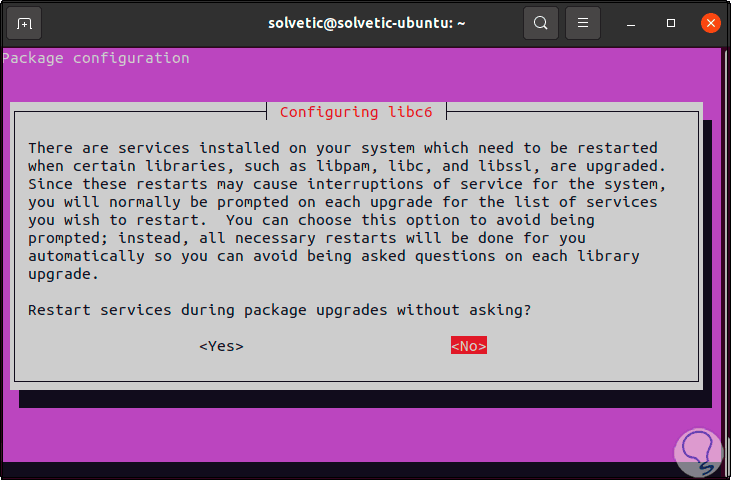
Step 13
There we can authorize or not the restart of services during configuration, click on the desired option to complete the process:
Step 14
At the end we will see the following:
Step 15
We ping the IP of Windows Server 2022 to validate that the communication is correct:
Step 16
It is time to join Ubuntu to Windows Server 2022, for this we will use the following syntax:
sudo realm join "domain or IP" -U 'Administrator' -v
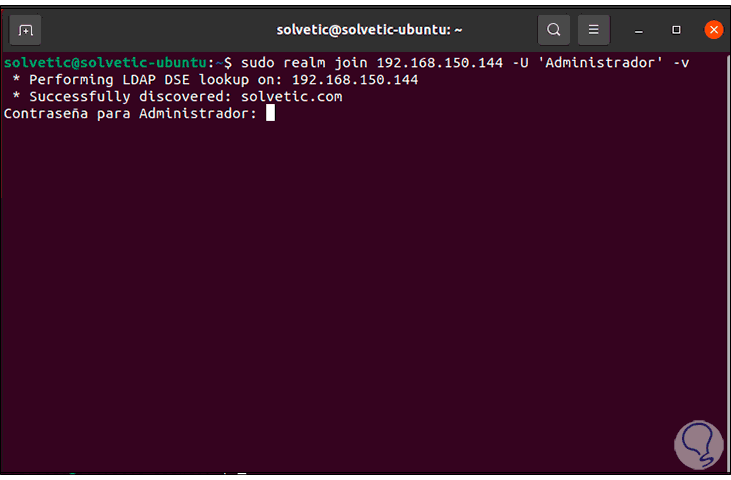
Step 17
We enter the administrator password and wait for the domain join process to finish:
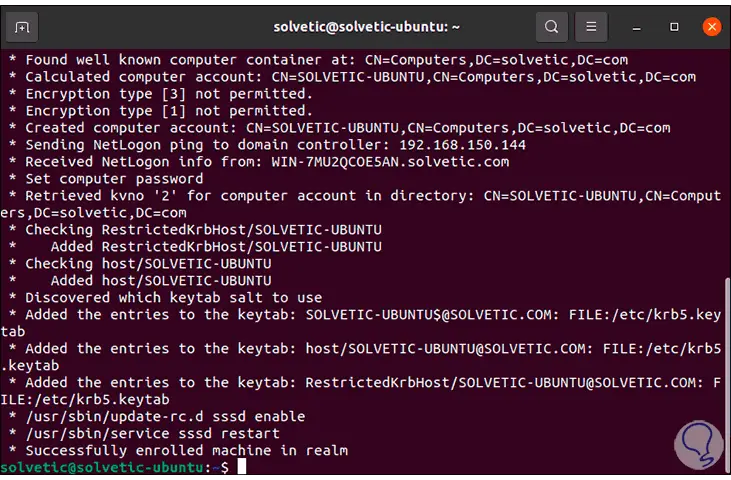
Step 18
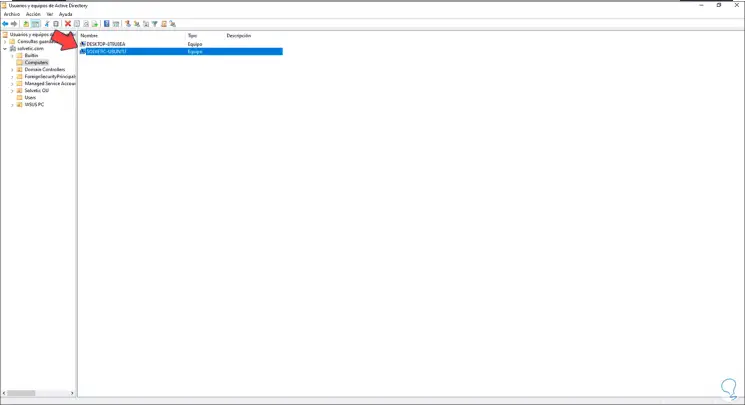
In this case Ubuntu has been correctly enrolled in Windows Server 2022, we can view the organizational units and other elements. In Windows Server 2022 we go to "Active Directory Users and Computers" and in the "Computers" section we will see the Ubuntu computer added correctly:
Step 19
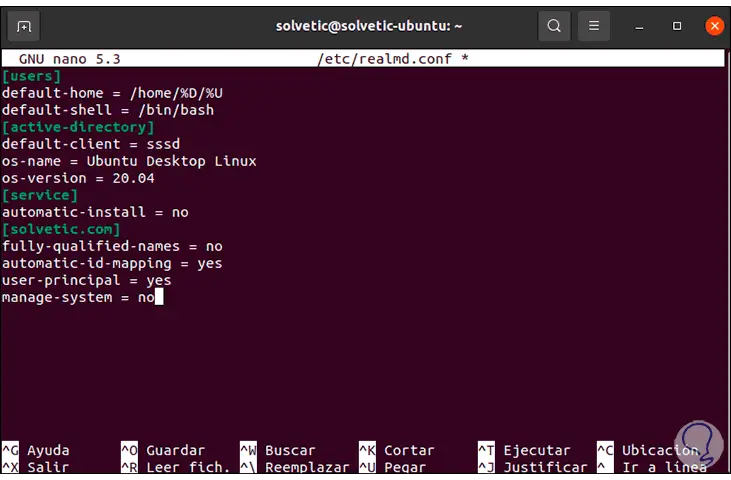
We go back to Ubuntu, we execute "sudo nano /etc/realmd.conf" in the terminal and there we paste the following. We must change the domain according to the one used so that everything works correctly.
[users] default-home = / home /% D /% U default-shell = / bin / bash [active-directory] default-client = sssd os-name = Ubuntu Desktop Linux os-version = 20.04 [service] automatic-install = no [solvetic.com] fully-qualified-names = no automatic-id-mapping = yes user-principal = yes manage-system = no
Step 20
We save the changes using the following key combination:
Ctrl + O
We leave the editor using:
Ctrl + X
Step 21
What we have created is to configure realmd so that it gives us the possibility of detecting new domains.
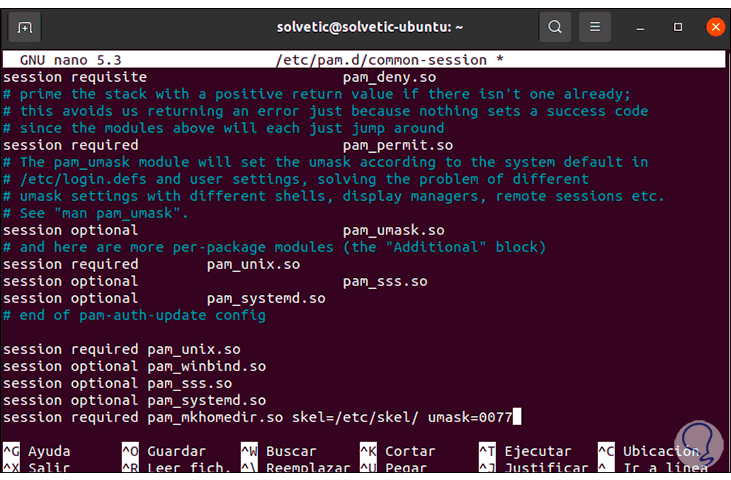
Now we run "sudo nano /etc/pam.d/common-session":
Enter the following at the end:
session required pam_unix.so session optional pam_winbind.so session optional pam_sss.so session optional pam_systemd.so session required pam_mkhomedir.so skel = / etc / skel / umask = 0077
Step 22
This allows you to configure the directory to create for each new user who logs into Ubuntu.
We save the changes using the following key combination:
Ctrl + O
We leave the editor using:
Ctrl + X
Step 23
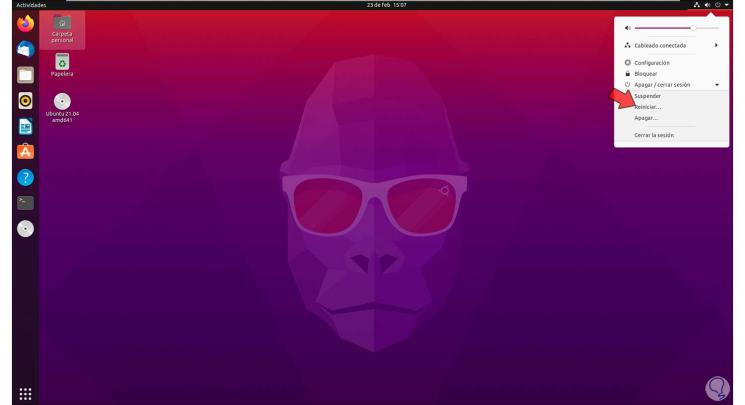
We restart Ubuntu:
Step 24
We wait for the restart:

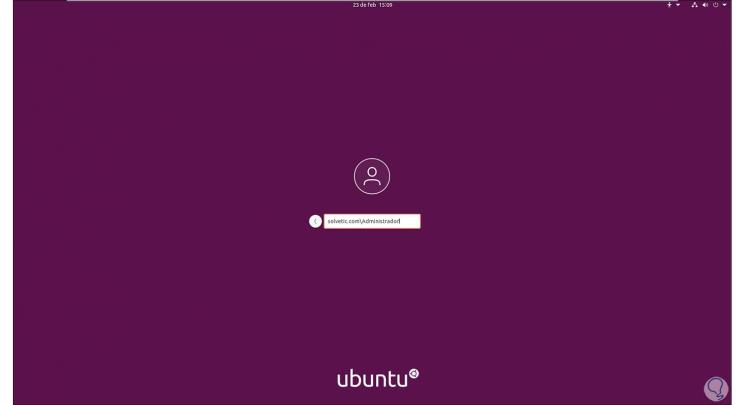
Step 25
In the login screen we use the syntax "Domain \ user"
Step 26
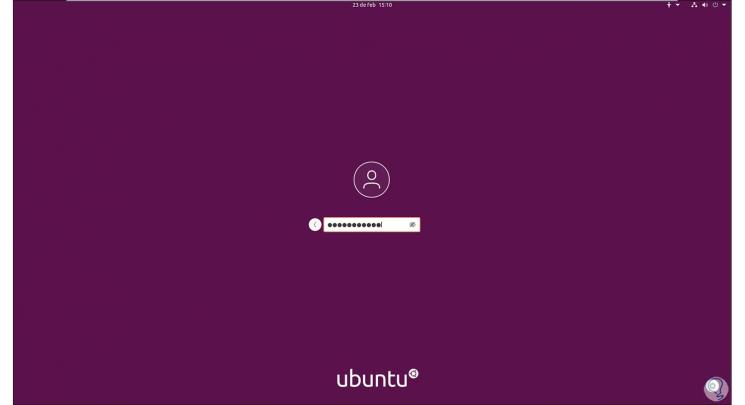
We enter the password:
Step 27
When logging in we will see the user folder created correctly:

These have been the steps to join an Ubuntu computer to a Windows Server 2022 domain..