Virtualization is one of the best options we have today to make use of and learn about both new operating systems and applications that are launched without affecting the production environment or the real files on the computer, one of the best options for virtualization tasks it is the one integrated in Windows 10 and is Hyper-V..
Hyper-V has been integrated into Windows 10 as a feature with which we can take advantage of hardware virtualization resources for the creation, management and deployment of virtual machines locally.
Please note, the Hyper-V platform is available for 64-bit versions of Windows 10 Pro, Enterprise and Education and is not available for Windows Home Edition, with Hyper-V we can virtualize systems such as:
Hyper-V compatibility
- Windows Server 2012, 2016, 2019 and now 2022
Hyper-V advantages
When we use Hyper-V we will enjoy advantages such as:
- Default network (NAT switch)
- Quick creation of virtual machines
- Access to the VM gallery on the console
- Option to share files between the virtual machine and the real system
getFastAnswer will explain how to install Windows Server 2022 on Hyper-V, remember that this is a trial version (Insider) and to download it you must register in the Windows Insider program and then download the most recent ISO at the following link:
Windows Server Insider
Now we are going to see how is the process to install this server in Hyper-V.
To stay up to date, remember to subscribe to our YouTube channel! SUBSCRIBE
How to install Windows Server 2022 on Hyper-V
Step 1
Once Hyper-V is enabled in Windows 10, we go to the Start menu and in Administrative Tools we select "Hyper-V Manager":

Note
If you don't have Hyper-V enabled, you can activate it with any of the following options:
- From a command prompt console run:
DISM / Online / Enable-Feature / All / FeatureName: Microsoft-Hyper-V
- Using Windows features in the Control Panel \ Programs \ Programs and Features path
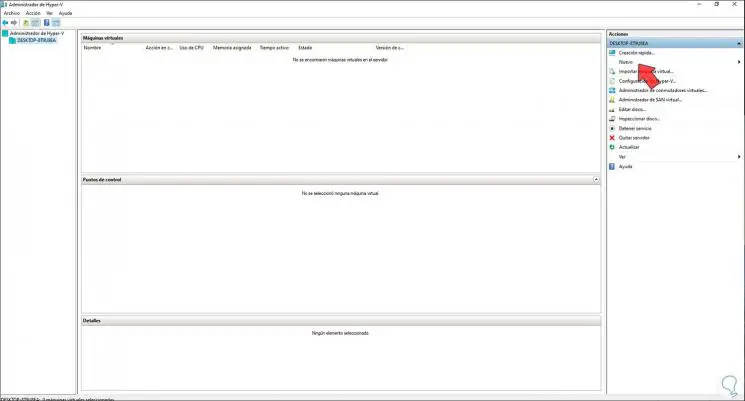
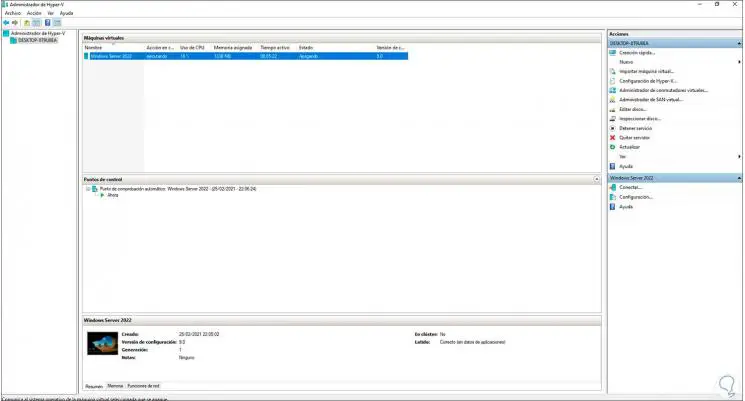
Step 2
The Hyper-V console will be displayed:
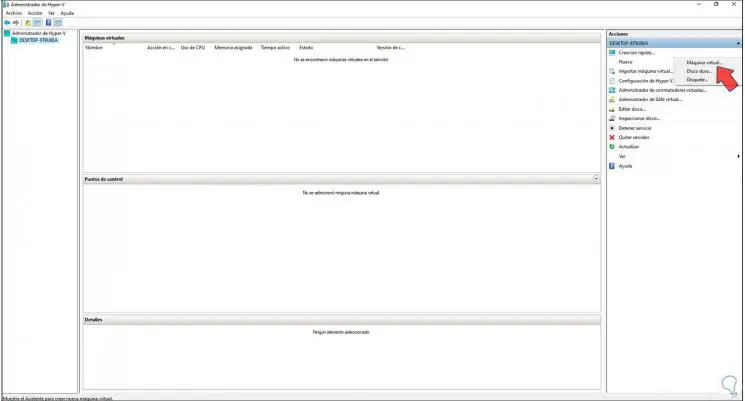
Step 3
There we click on "New - Virtual machine":
Step 4
The following wizard will be displayed:
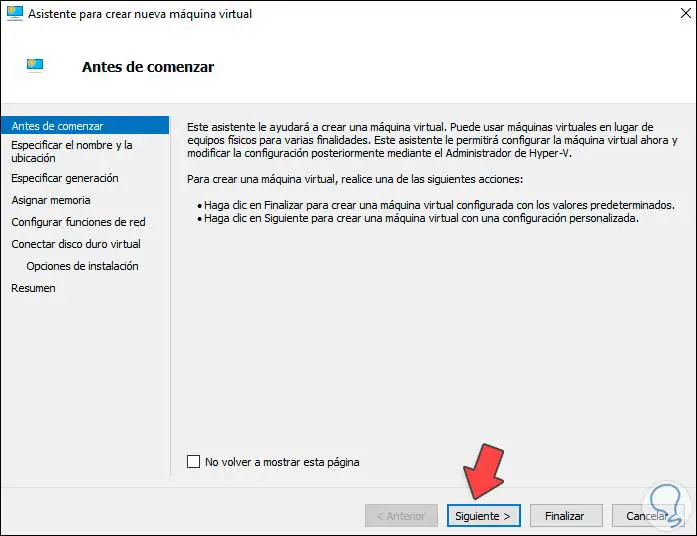
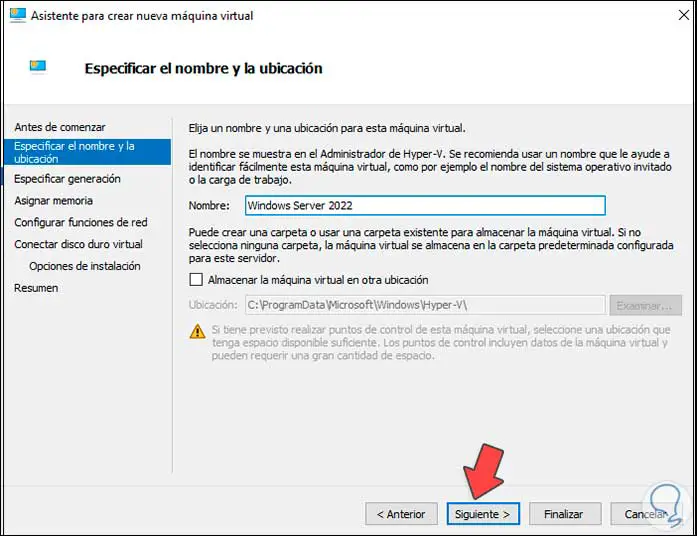
Step 5
Let's click on Next and we will assign the name of the virtual machine and we can change the path where it will be hosted if necessary:
Step 6
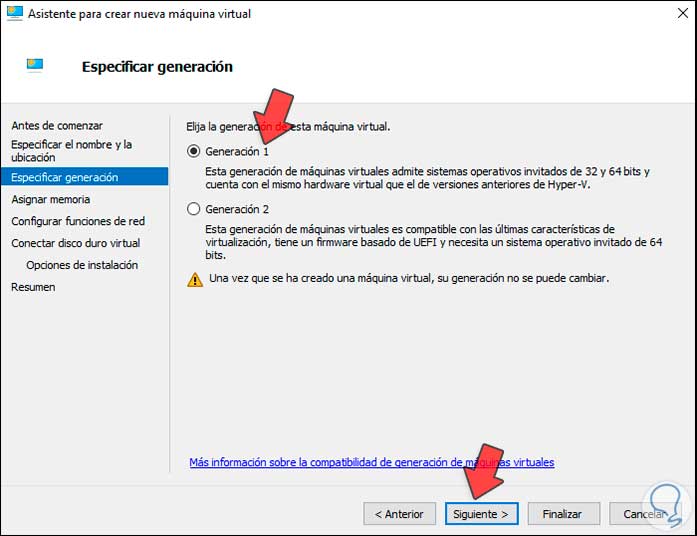
Click on Next and now we select the generation, the options are:
- Generation 1: This generation is BIOS-compliant and supports 32-bit and 64-bit systems
- Generation 2 - This is a more secure generation and only supports UEFI and supports 64-bit system only
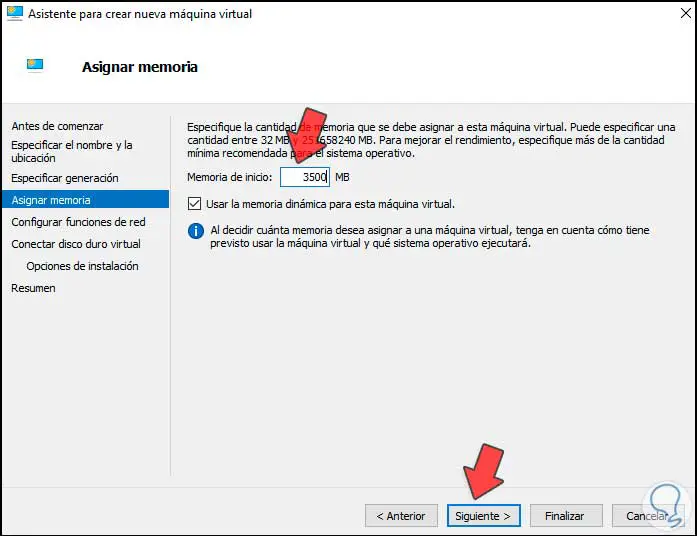
Step 7
In the next window we assign the amount of RAM to use:
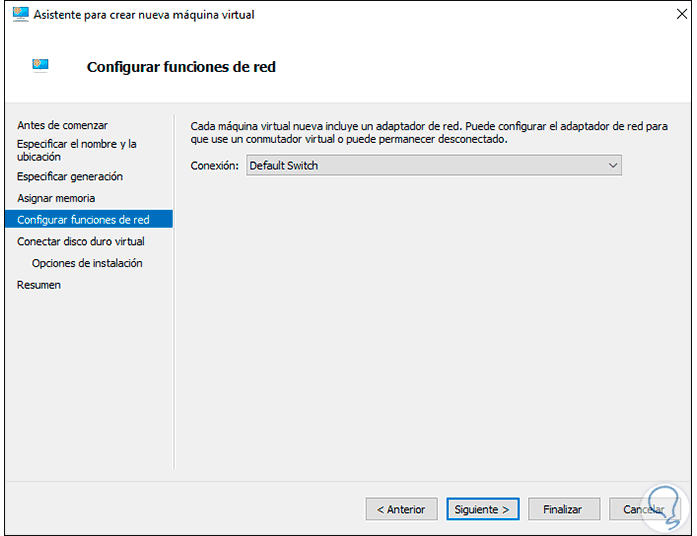
Step 8
Click Next and select the network adapter:
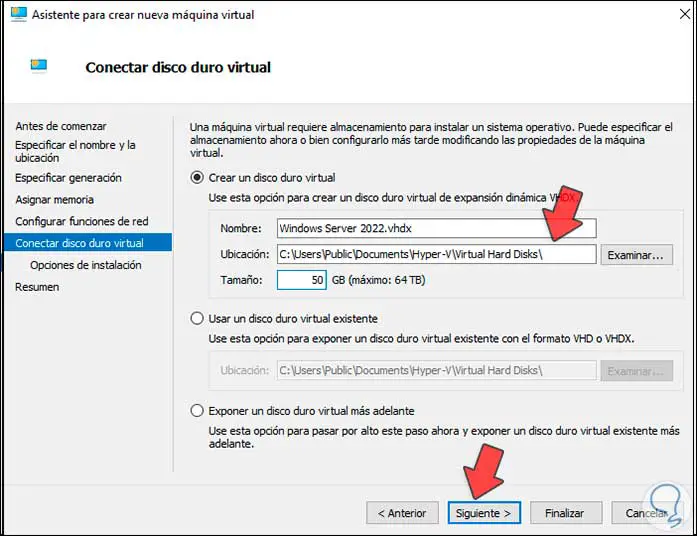
Step 9
In the next window we define the size of the virtual hard disk, as well as its local location:
Step 10
In this window, in special cases, it is possible to select existing hard disks or to leave the virtual machine without a hard disk. In the next window we activate the "Install an operating system from a bootable CD / DVD-ROM" box:
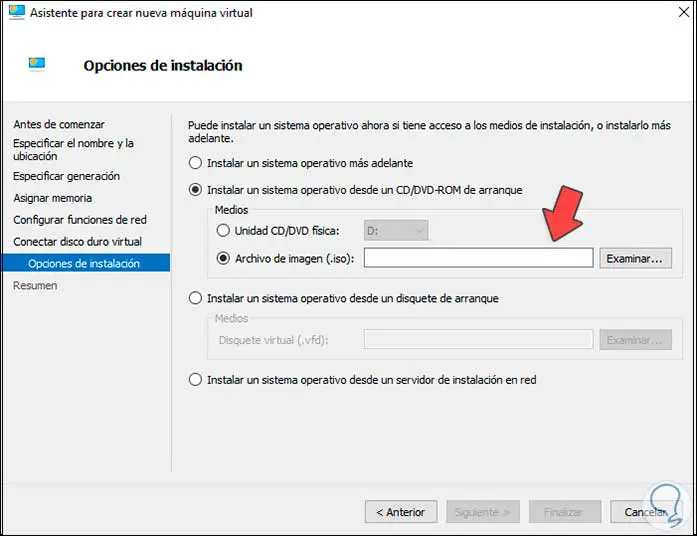
Step 11
Check the box "Image file (.iso)" and click on Browse to select the ISO image of Windows Server 2022 that we have downloaded:
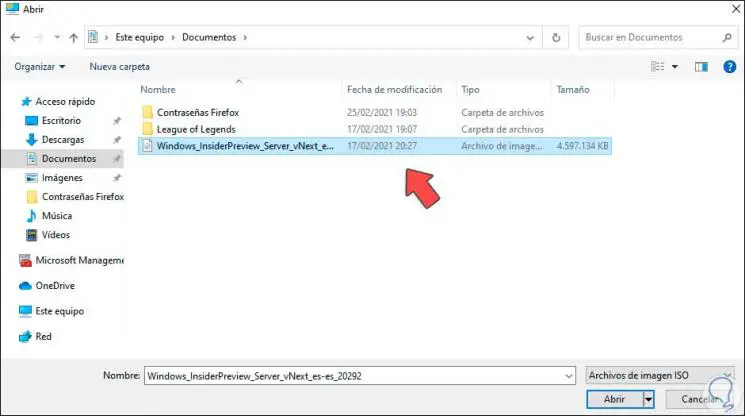
Step 12
Click Open to see it integrated:
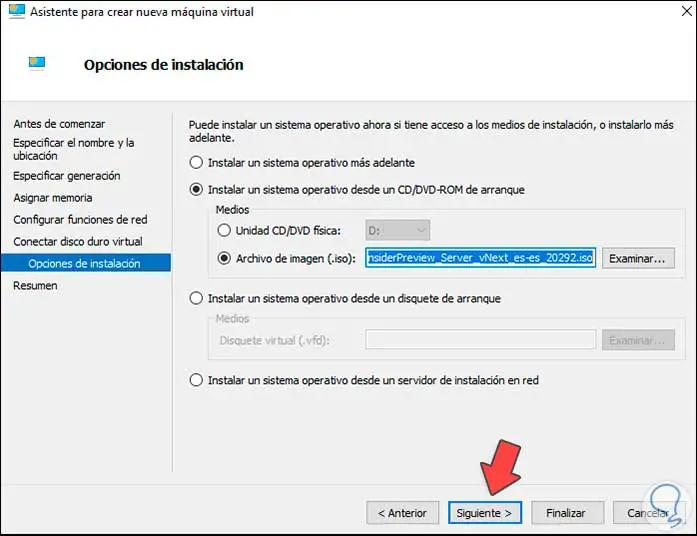
Step 13
Click Next to see the summary of the Windows Server 2022 machine on Hyper-V:
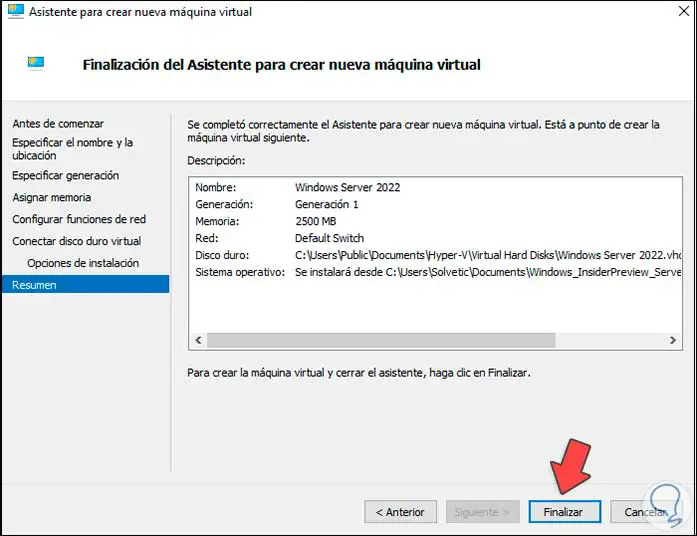
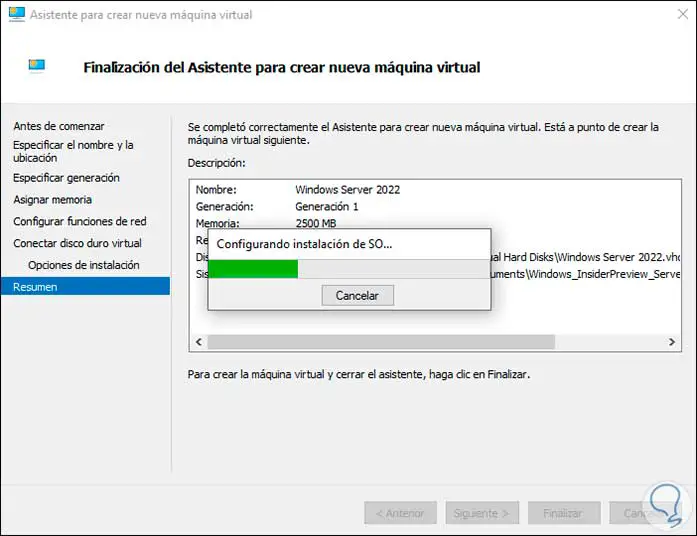
Step 14
Confirm the virtual machine creation process by clicking Finish:
Step 15
After this we will see the virtual machine created correctly in Hyper-V:
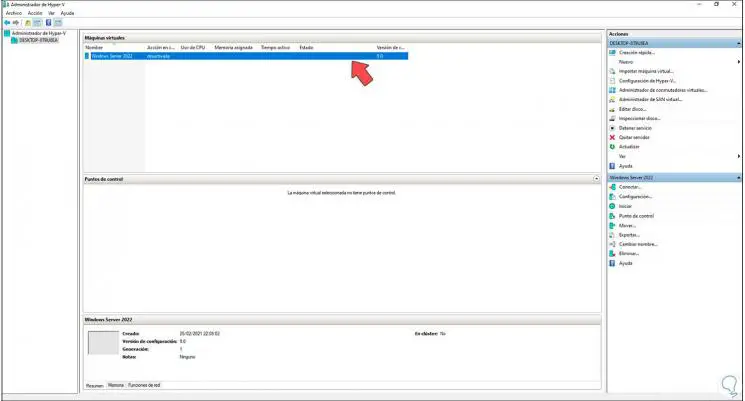
Step 16
We select the virtual machine and click on "Connect", the following window will be launched:
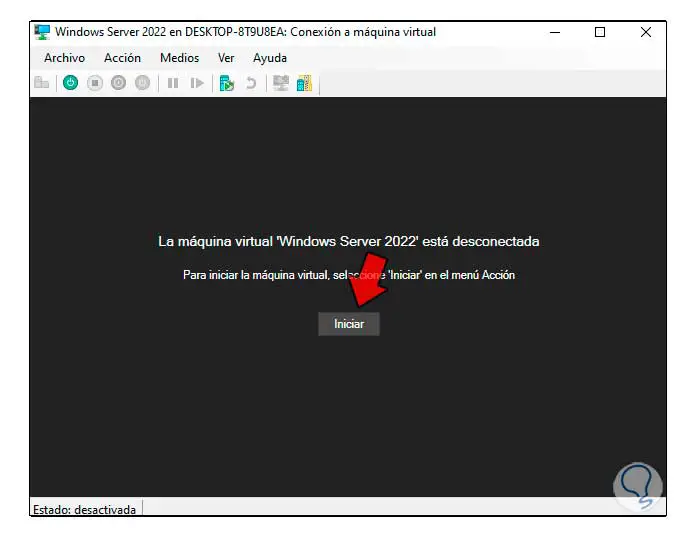
Step 17
We click "Start" to go through the installation and configuration process of Windows Server 2022 in Hyper-V:
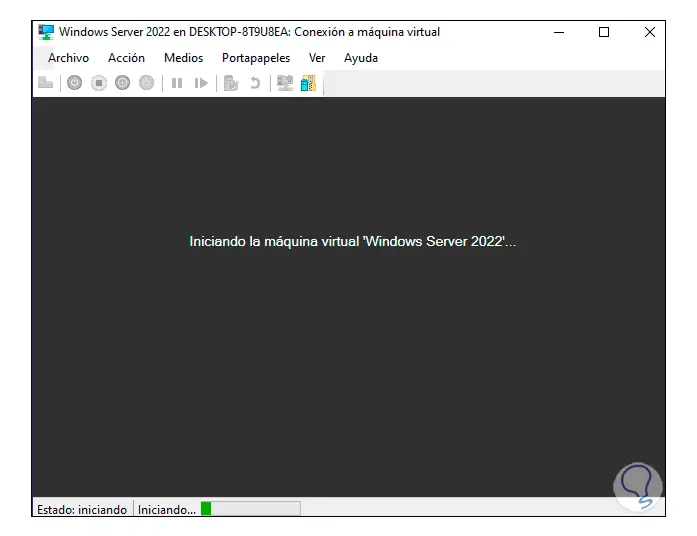
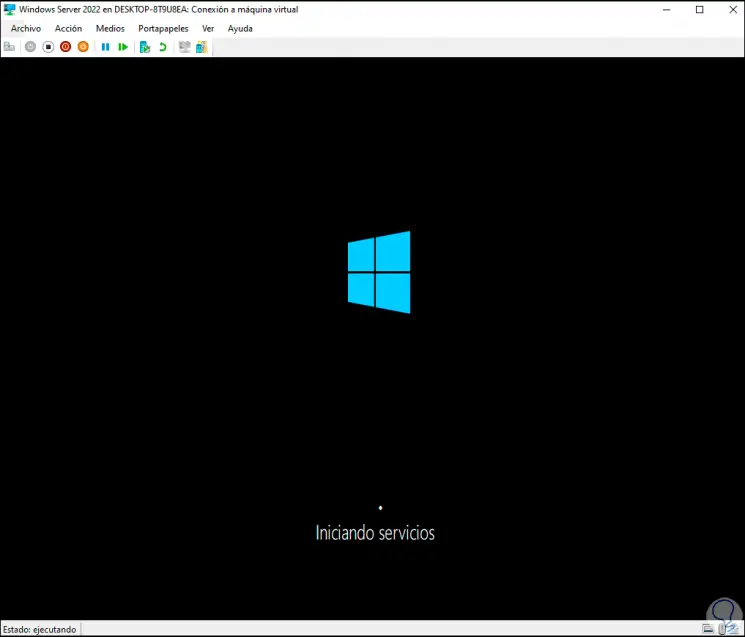
Step 18
Then we will see the system startup screen:
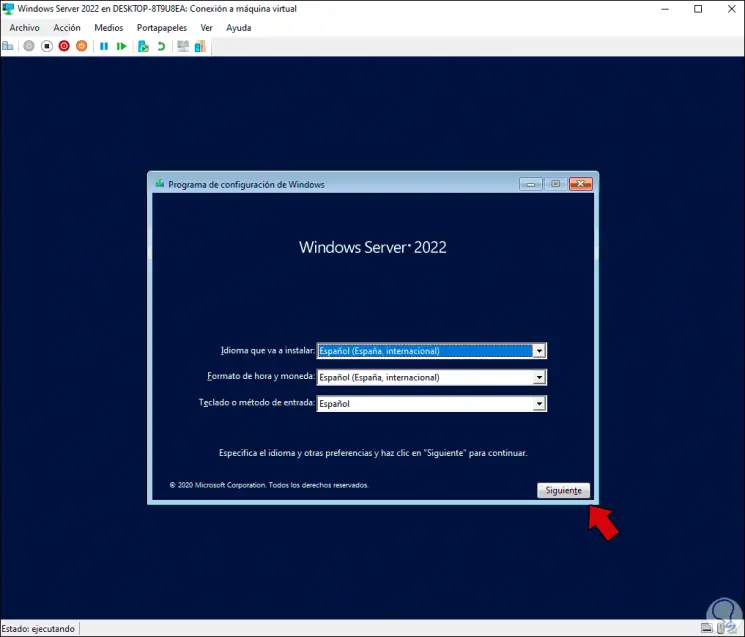
Step 19
Click Next and we will see the following:
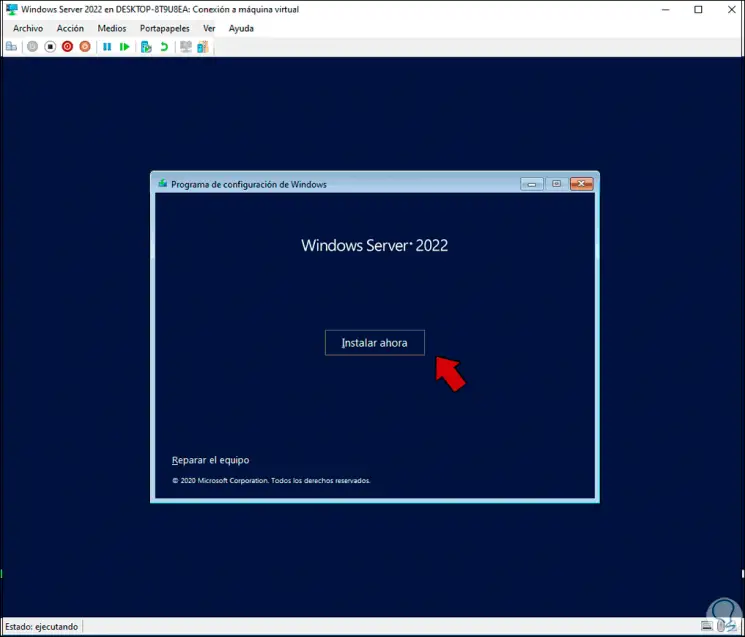
Step 20
Click on "Install now" and then it is possible to enter or not the system password:
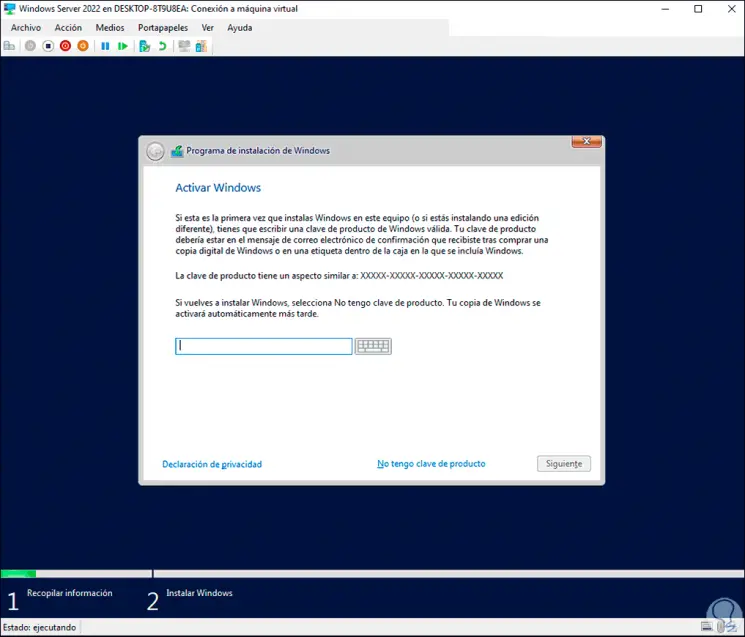
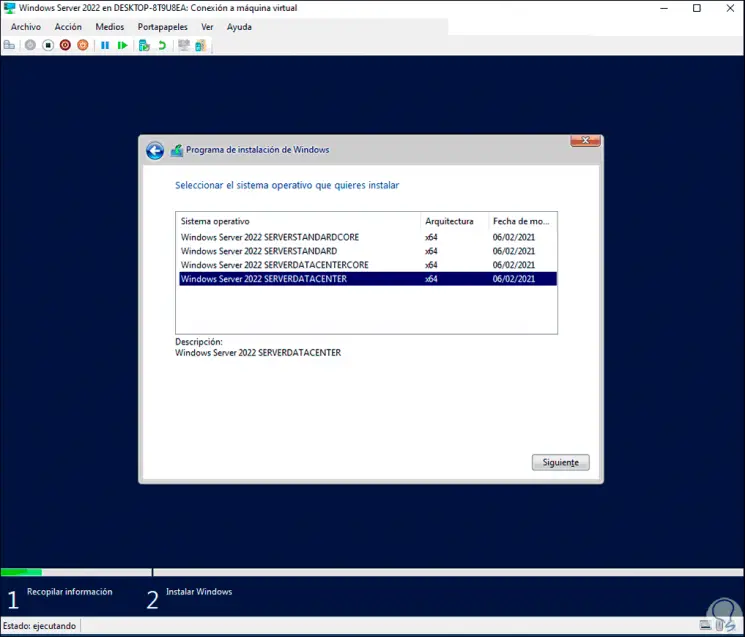
Step 21
Click Next to select the edition of Windows Server 2022 to install:
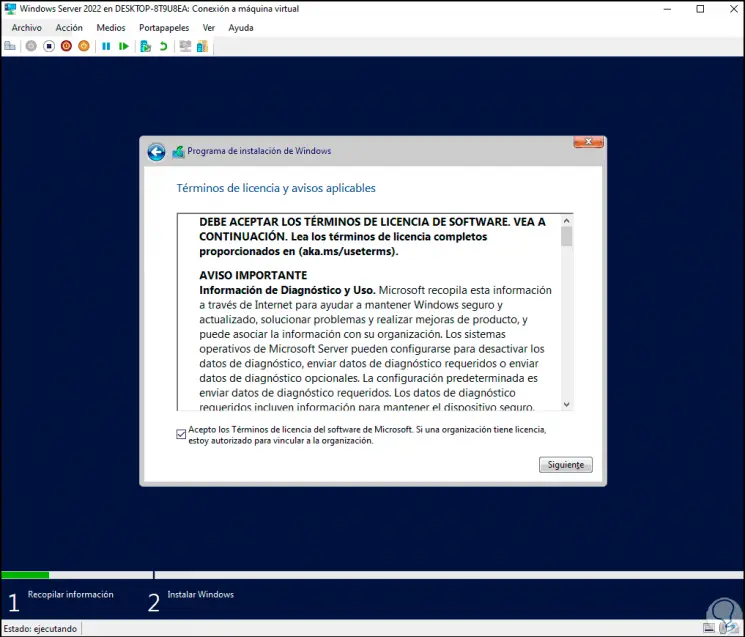
Step 22
In the next window we accept the license of use:
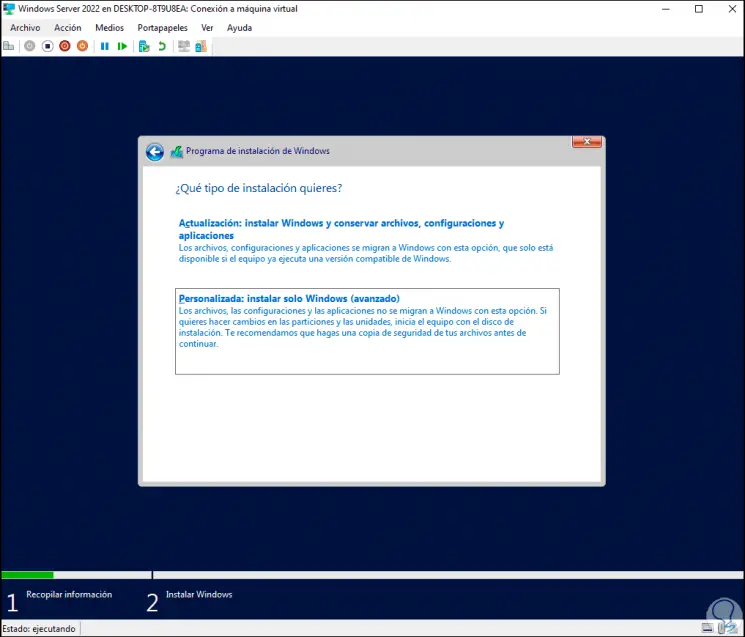
Step 23
After this we define the type of installation to use:
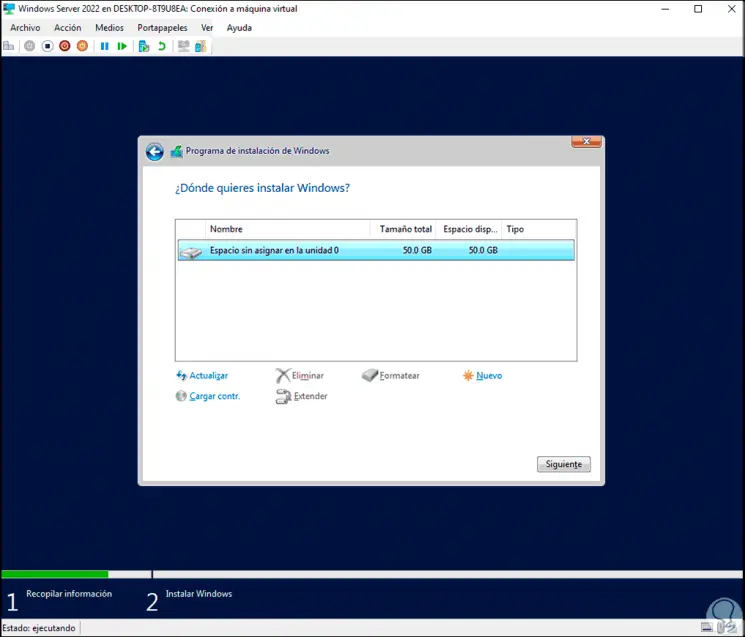
Step 24
We select the disk where Windows Server 2022 will be installed:
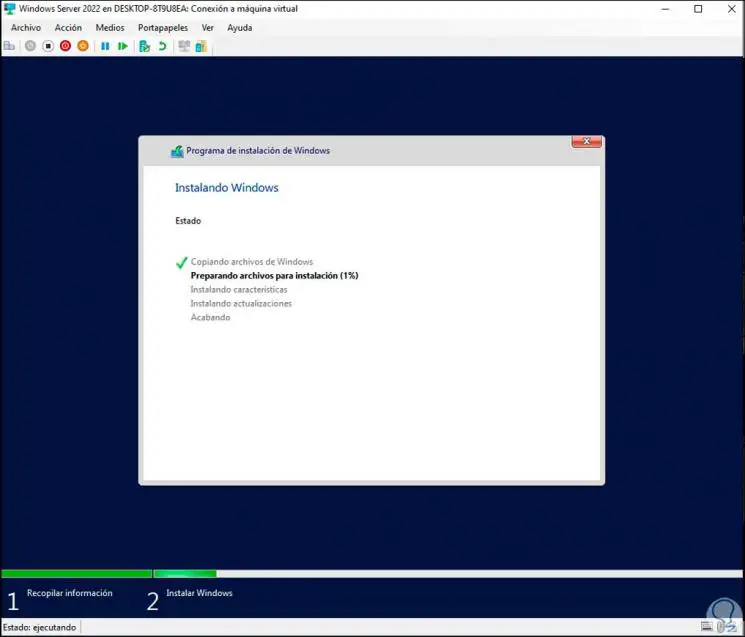
Step 25
Click Next to start the process:
Step 26
The system will be rebooted to complete the process:
Step 27
Then it is necessary to enter the administrator password:
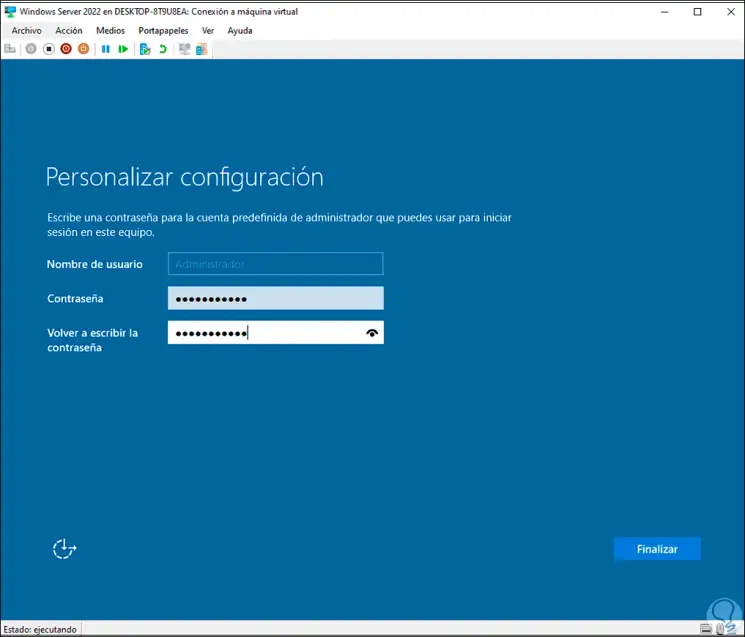
Step 28
Click on Finish to complete the process, upon accessing we will see the following:
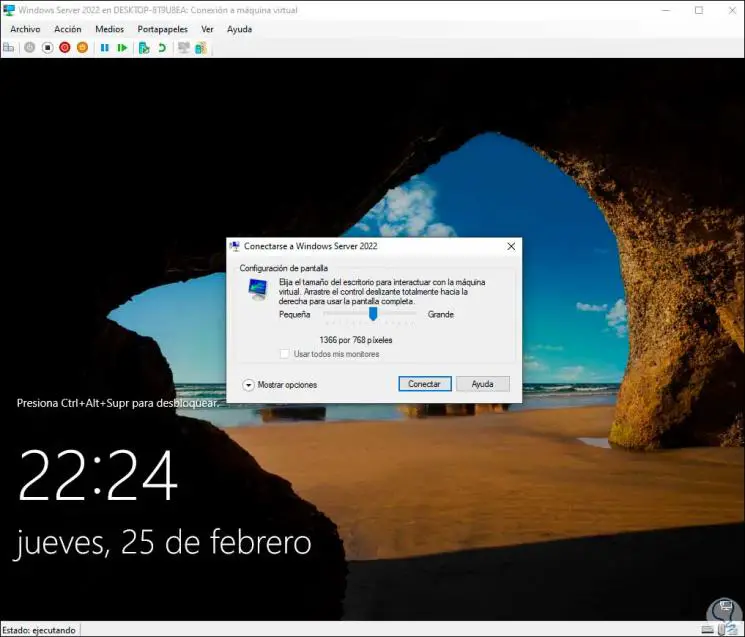
Step 29
It is possible to define the size of the screen to use, click Connect to access the Windows Server 2022 start screen:

Step 30
We log in:
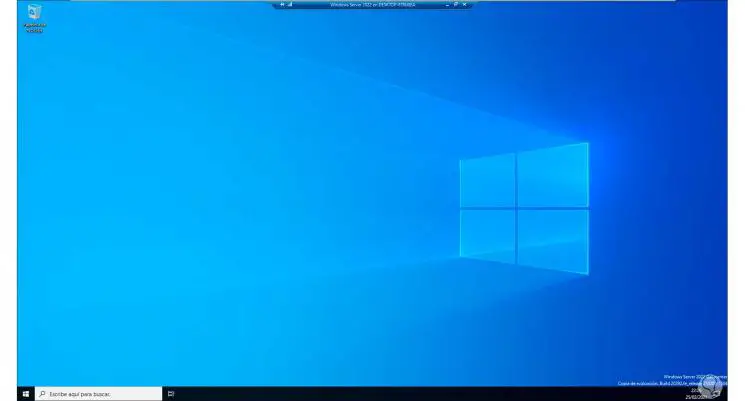
Step 31
At this point we can use the full screen mode. You can access the Hyper-V options:
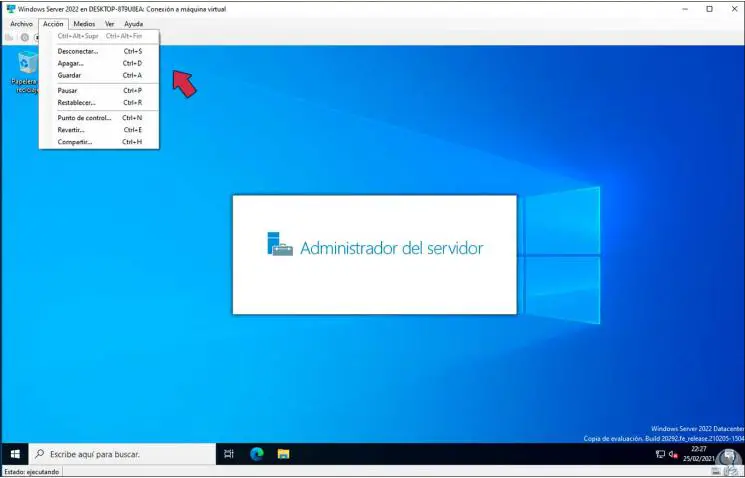
Step 32
From the console, turn off the virtual machine when it is no longer used:
This is the practical way to install Windows Server 2022 on Hyper-V..