One of the most special Linux distributions that we have is Kali Linux, this has been developed exclusively with a set of tools to evaluate system vulnerabilities to avoid external or external attacks, guaranteeing the integrity of the information..
Kali Linux
Kali is a Linux distribution which is based on Debian and offers us:
- Over 600 penetration testing tools
- FHS compliant to locate binaries, support files, libraries, and more objects
- Has an open source Git tree
- Your packages and repositories are signed by GPG
- Support for ARMEL and ARMHF
Until now the way to test and learn about Kali was using a virtual machine, but with Windows updates this will no longer be necessary and is achieved thanks to the Linux subsystem for Windows. The Windows 10 Linux subsystem (WSL) is a feature of Windows with which as developers or users we can run a GNU / Linux environment, this includes tools, utilities and command line applications, but with the advantage that everything We will do it from the resources of the Windows system itself.
Kal Linux Advantages
This function gives us the opportunity to perform:
- Select GNU / Linux distributions from Microsoft Store
- It supports the languages NodeJS, Javascript, Python, Ruby, C / C ++, C # & F #, Rust, Go and more
- We can run Bash shell scripts and command line applications
- Invoke GNU / Linux applications on Windows
- Allows the use of SSHD, MySQL, Apache, lighttpd, MongoDB, PostgreSQL Services
- Compatible with command line tools such as grep, sed, awk, and ELF-64 binaries
- Invoke Windows applications through a command line shell
Without further ado, we are going to see how it is possible to use WSL to install Kali Linux on Windows 10..
To stay up to date, remember to subscribe to our YouTube channel! SUBSCRIBE
How to install Kali Linux on Windows 10
Step 1
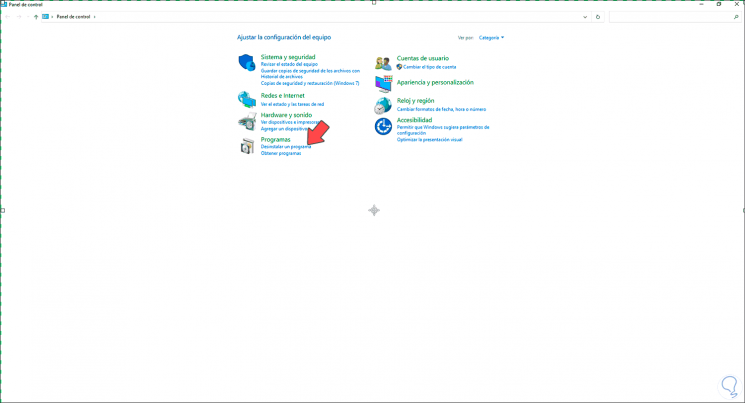
The first thing will be to enable the feature of the Linux subsystem, for this we open the Control Panel, we will see the following:
Step 2
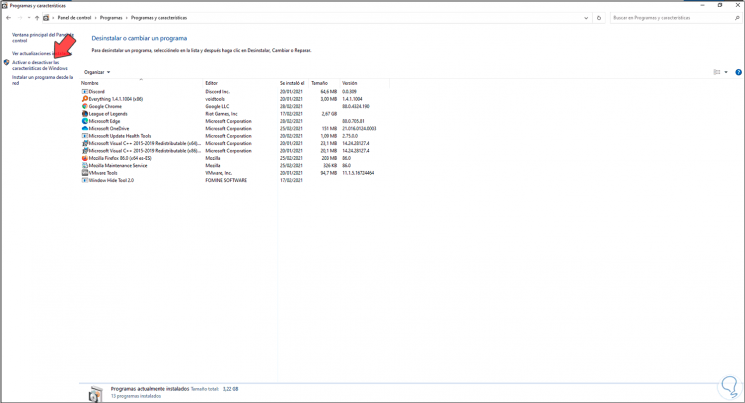
We click on "Uninstall a program" and we will see the following:
Step 3
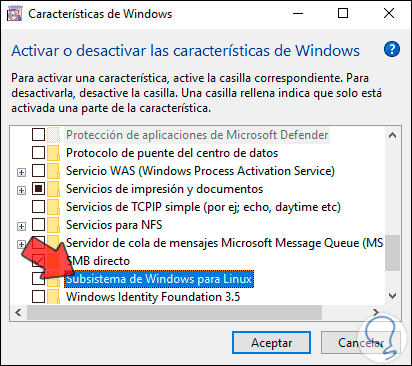
There we click on "Activate or deactivate Windows features", in the pop-up window we go to Windows Subsystem for Linux:
Step 4
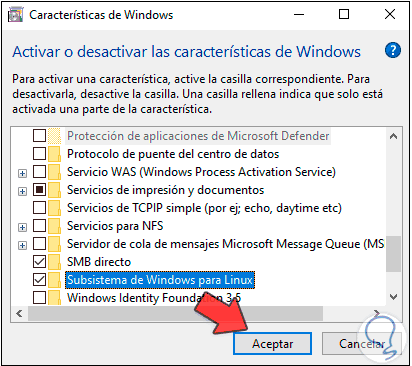
Activate the "Windows Subsystem for Linux" box:
Step 5
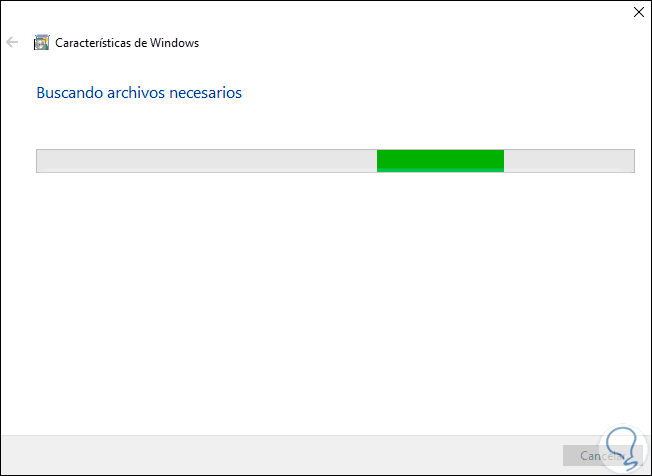
We click OK to start the feature installation process:
Step 6
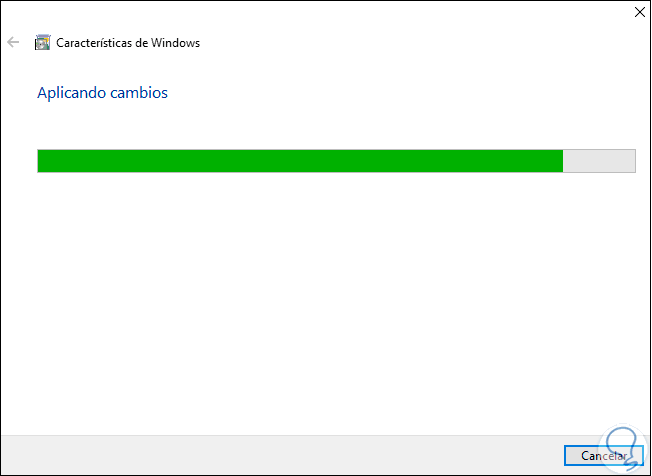
Changes apply:
Step 7
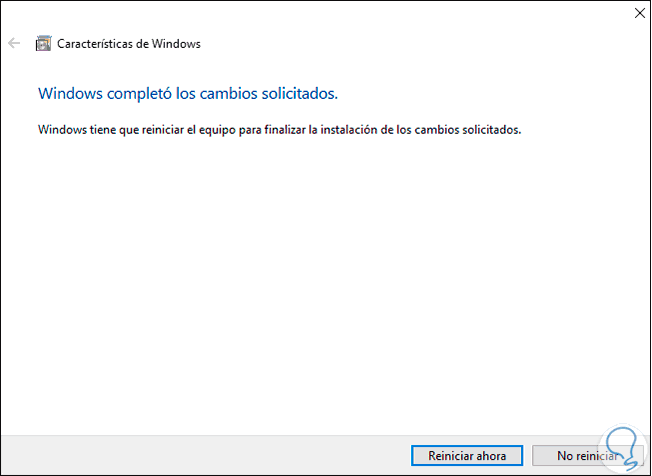
At the end we will see the following:
Step 8
We restart the system to complete the process:

Step 9
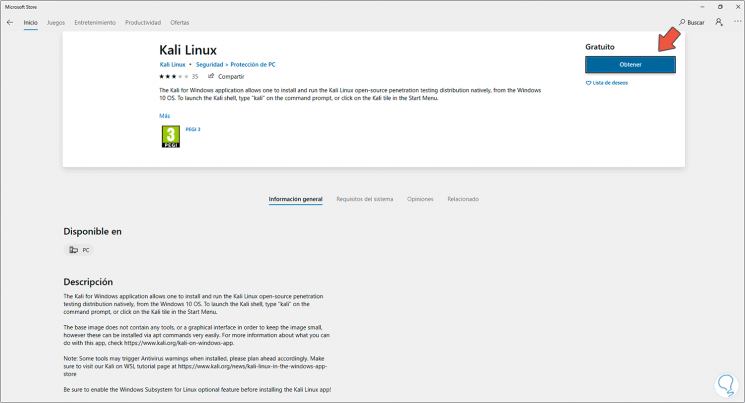
We log in to Windows 10 and open the Windows store, we must search for "kali" and select "Kali Linux":
Step 10
Click on "Get" and then on "Install" to start the download:
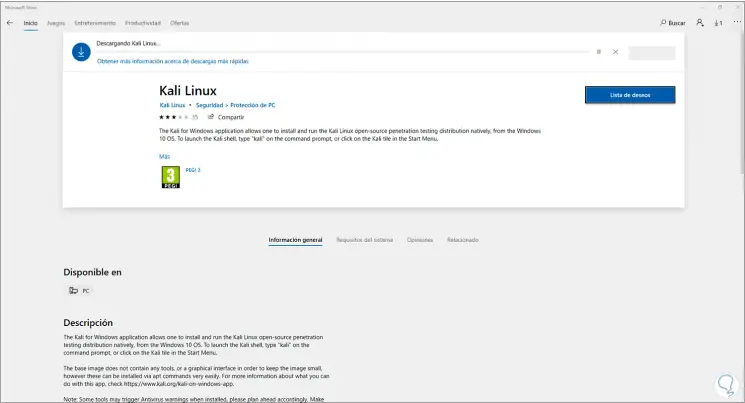
Step 11
At the end of this process the following will be displayed:
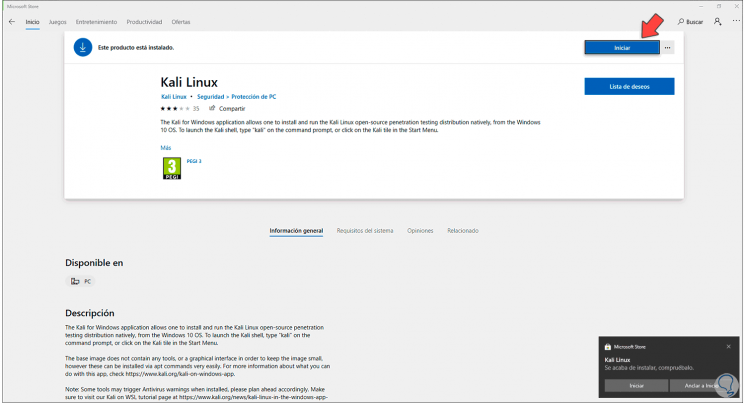
Step 12
We click "Start" to open the Kali console in Windows 10:
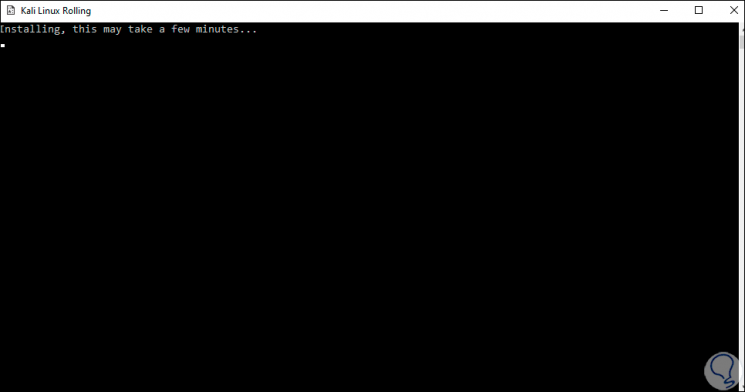
Step 13
Then it will be necessary to enter username:

Step 14
Then the password to use:

Step 15
We see that at this point Kali Linux has been installed on Windows 10. Now we access "sudo su" as root and enter the password created

Step 16
We update the system with the command "sudo apt update":
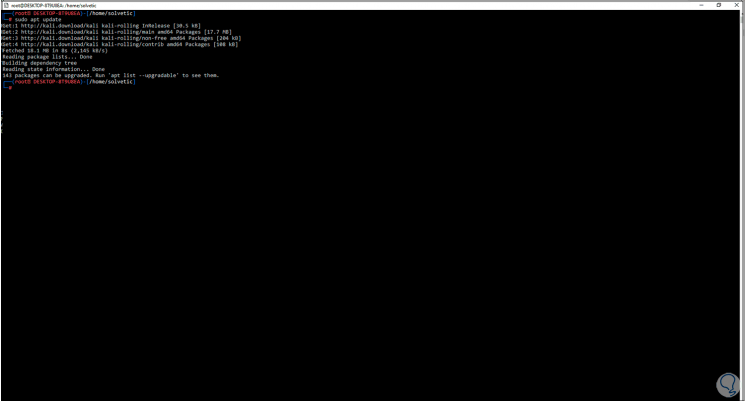
Step 17
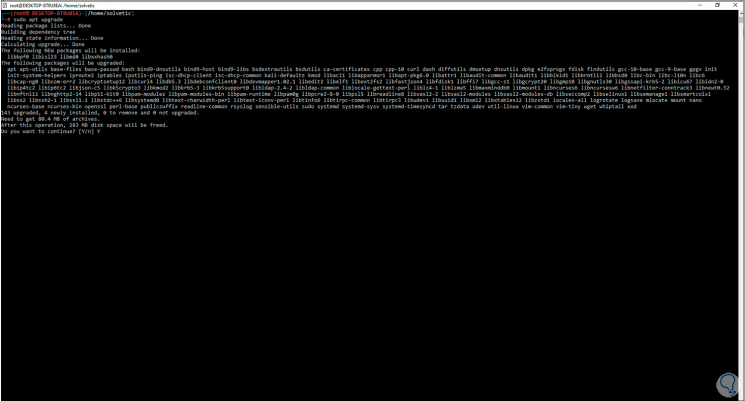
We apply the updates with the command "sudo apt upgrade":
Step 18
We confirm the download with the letter y:
Step 19
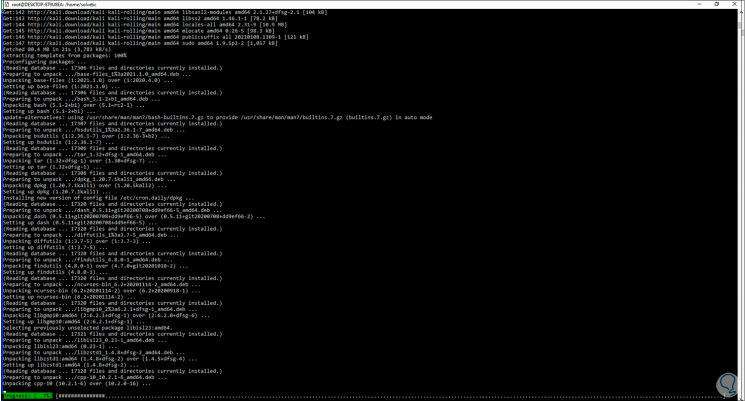
During the update process we will see the following:
Step 20
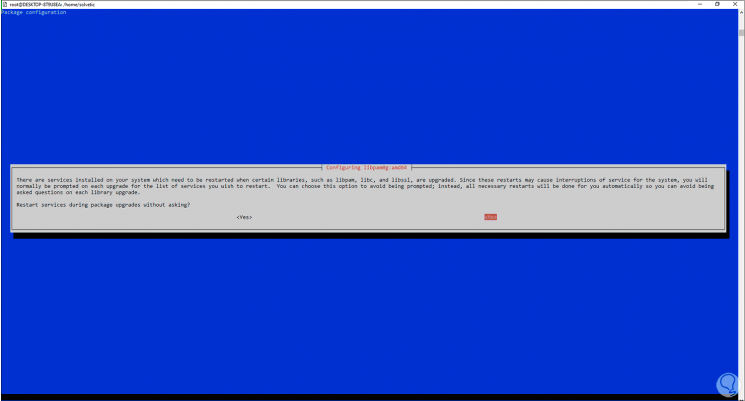
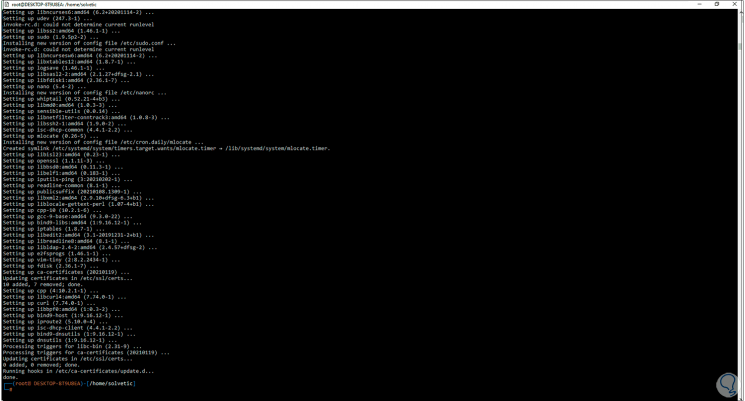
There we can accept or not the restart of services, at the end we will see this:
Step 21
Finally, we are going to create a directory with the syntax "mkdir" name "" and list the content with "ls":

With WSL it is possible not only to install Kali Linux but also a wide set of Linux distributions on Windows 10 without virtualizing.