Microsoft is always at the forefront of news and new functions focused on optimizing the user experience to the maximum level of user satisfaction and therefore in a short time we will have in our hands Windows 10 X which is Microsoft's new operating system for devices of dual displays such as the Surface Neo and in the near future ASUS, Dell, HP and Lenovo computers..
Windows 10X as such is not a new system from scratch, it is rather a collection of the best Windows 10 features in a flexible system.
As we have mentioned, Windows 10X is a system focused on dual-screen computers where, as users, it is possible to carry out our traditional tasks in real time in a more optimized way, since this system allows taking notes on one screen and having others on the other. tasks thus increasing the versatility of use of the system..
What's new in Windows 10X
Windows 10X has support for running Win32 applications in a special container for this and we will find something additional like:
- A new integrated taskbar which has a centered design, has three different sizes such as small, medium and large and it is possible to access the start menu using a swipe up gesture directly from the taskbar
- Revamped user interface in which the elements inherited in the classic interface such as Control Panel, File Explorer or the popular desktop charms are eliminated
- A new integrated Menu which has an exclusive section for installed applications
- Minimalist and intuitive notification center with advanced settings
- The new file explorer is now cloud-based
- Update level improvements allowing updates to be installed in less than 90 seconds
- Security enhancements as system files, application files, registry, and drivers are restricted to users and attackers
- A new Windows 10X Welcome Setup Wizard has been added
With all this we are going to see how to install Windows 10X in Windows 10 using Hyper-V.
To stay up to date, remember to subscribe to our YouTube channel! SUBSCRIBE
How to install Windows 10X using Hyper-V in Windows 10
For this we will use the Microsoft Emulator platform. This is a platform to emulate devices using virtual machines or images of the guest operating system.
Step 1
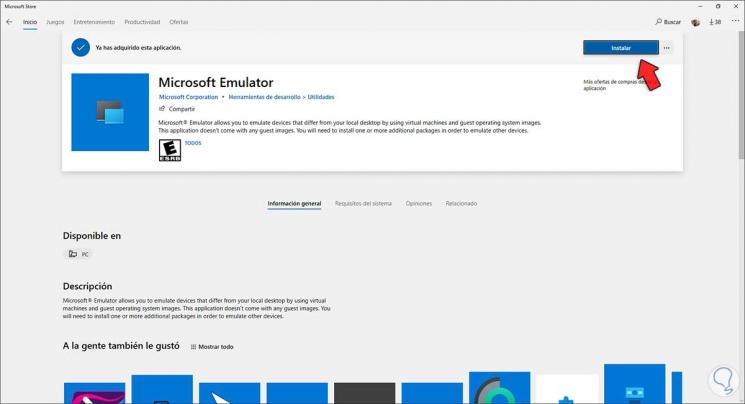
To install it we open the Windows store and there we look for "Emulator", we select "Microsoft Emulator". We click on "Install" to start the platform download process. We hope the process ends.
Microsoft emulator
Step 2
We see that it has been installed correctly, we click "Start" to launch Microsoft Emulator and by default a search will be made for images available in the Windows repository:
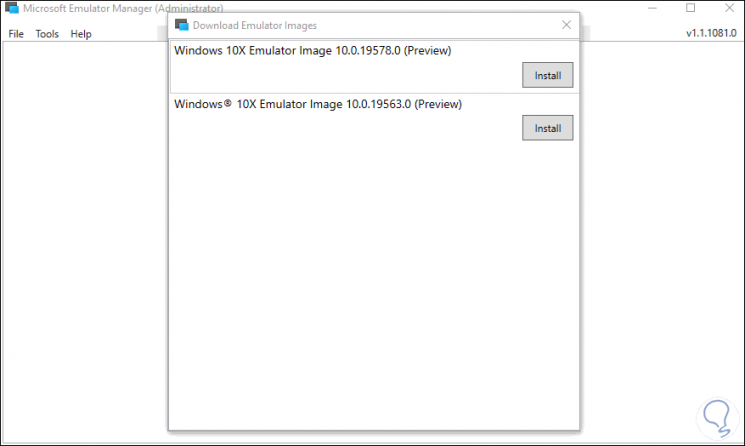
Step 3
These are the Windows 10X images available, click on "Install" to download the desired image:
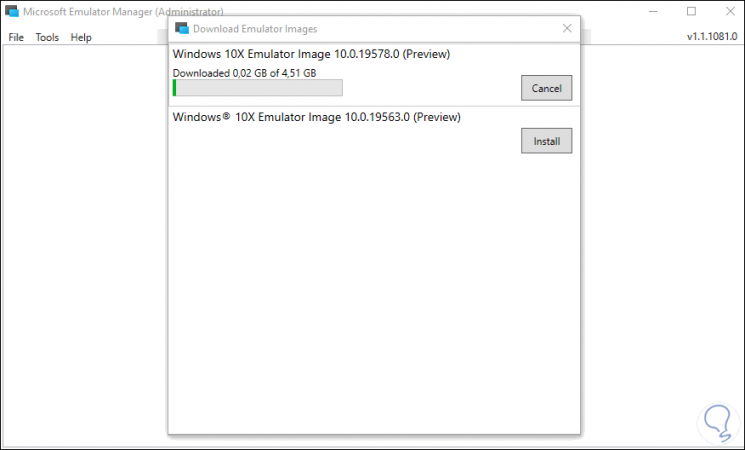
Step 4
Once this process comes to an end we will see the following:
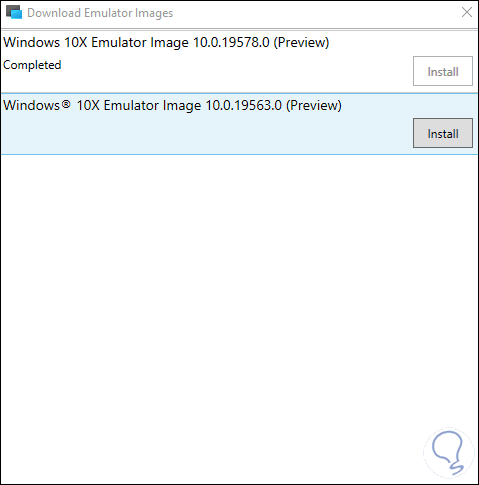
Step 5
This Windows 10X machine will be linked to Hyper-V, so it is vital and mandatory to have the Hyper-V feature installed in Windows 10, to see how to carry out this process visit the following link:
Step 6
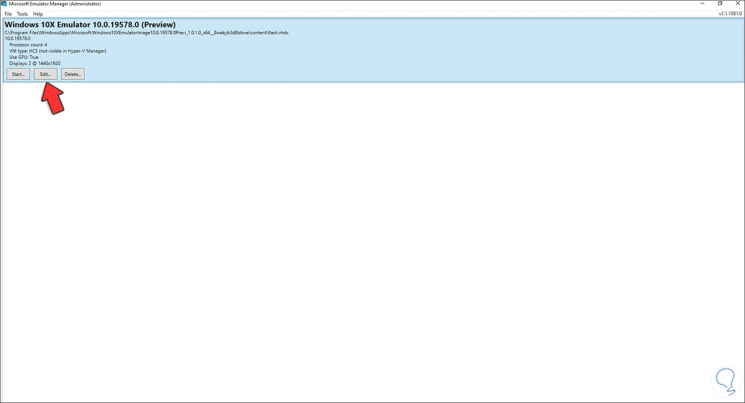
We select the machine and it will be possible to access its configuration options by clicking on the "Edit" button:
Step 7
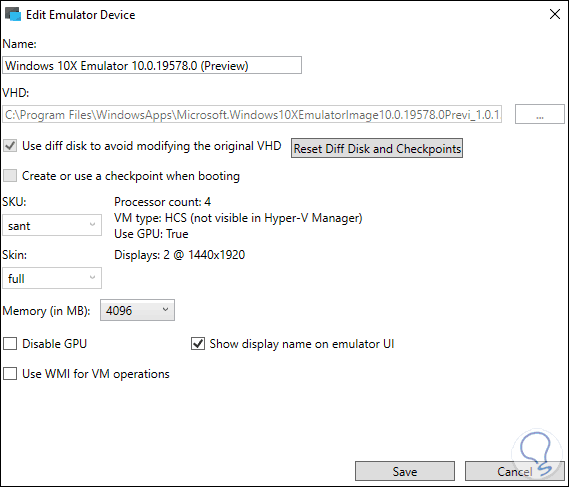
There it is possible:
- Edit the name of the virtual machine
- Set the virtual hard disk path
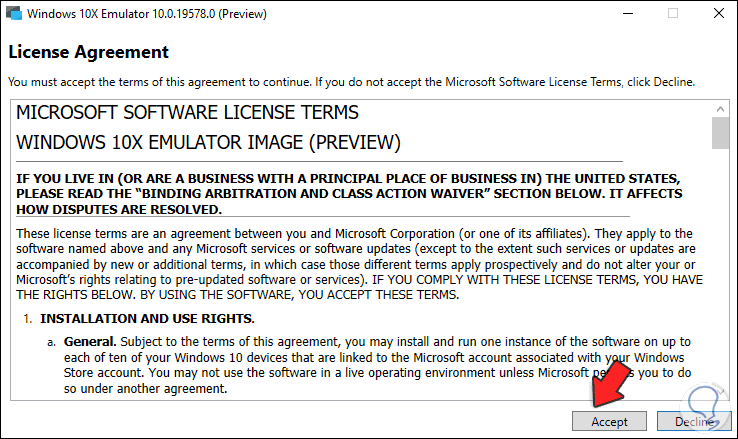
We click on the "Start" button to start Windows 10X and we must accept the license terms:
Step 8
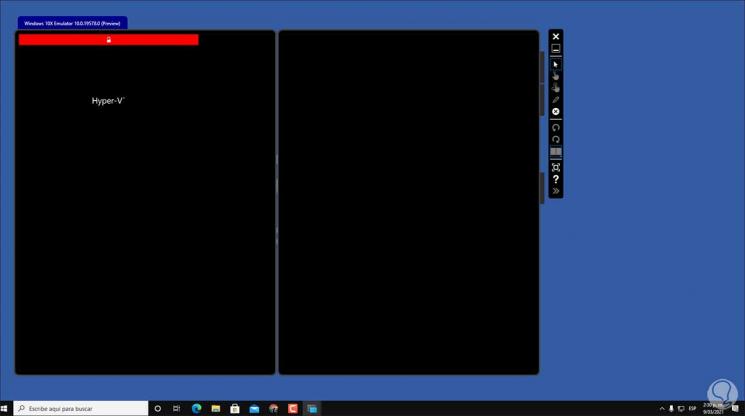
We click Accept to load Windows 10X. After a moment the operating system will be loaded:
Step 9
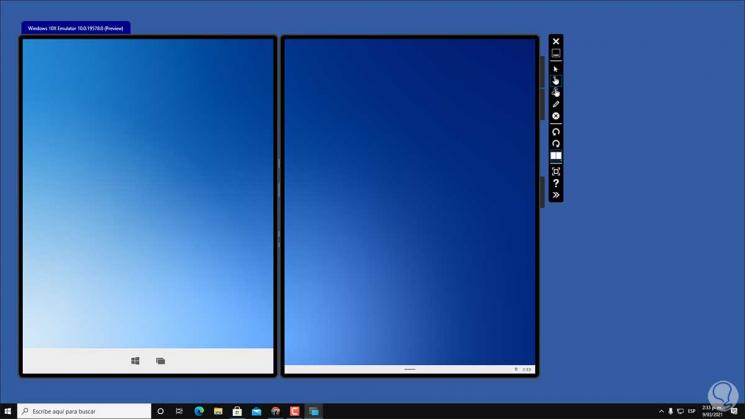
This takes a few minutes to access the new Windows 10X interface:
Step 10
On the side we have various options for use directly from Microsoft Emulator, as we mentioned, the design has been renewed in this flexible edition of Windows 10X:
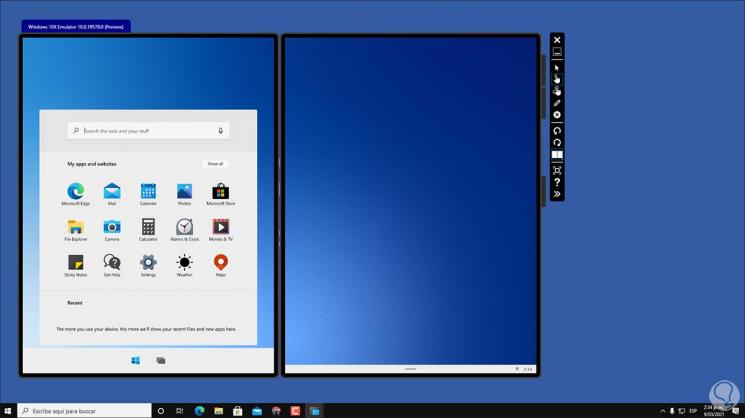
With these steps we have seen the way to install Windows 10X in Windows 10 using Hyper-V..