Internet access is something that practically 100% of the users in an organization have, but in many cases access is made to sites that are not authorized or that affect the productivity of the person..
Social networking sites, gaming sites, alcohol sites, weapons sites, etc., are sites that can usually cause an addiction to the user, affecting their working time. To mitigate this, Windows Server 2022 gives us the opportunity to block these types of pages through the server's DNS.
We know that the DNS (Domain Name System - Domain Name System) is responsible for accessing the sites we visit and there it converts the IP addresses into the domain name and vice versa, in this way, by creating this block the page in question It will not be opened on the server or on the domain computers..
Let's see how to block web pages in Windows Server 2022 but the process applies to Windows Server 2019.
To stay up to date, remember to subscribe to our YouTube channel! SUBSCRIBE
How to block web pages in Windows Server 2022
Step 1
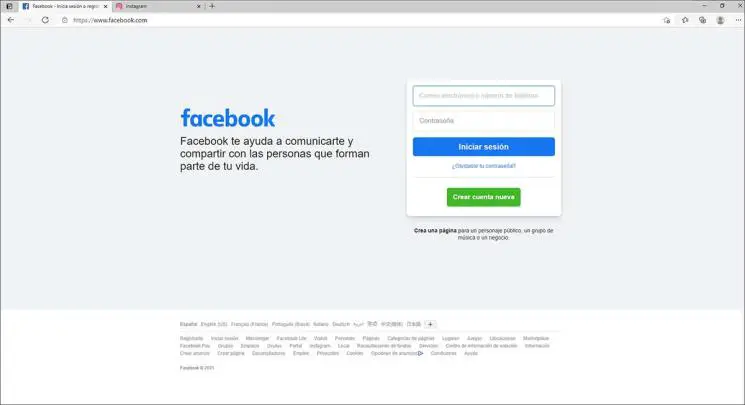
The first thing is to check that it is possible to access these websites. In this case we tried Facebook and Instagram.
Step 2
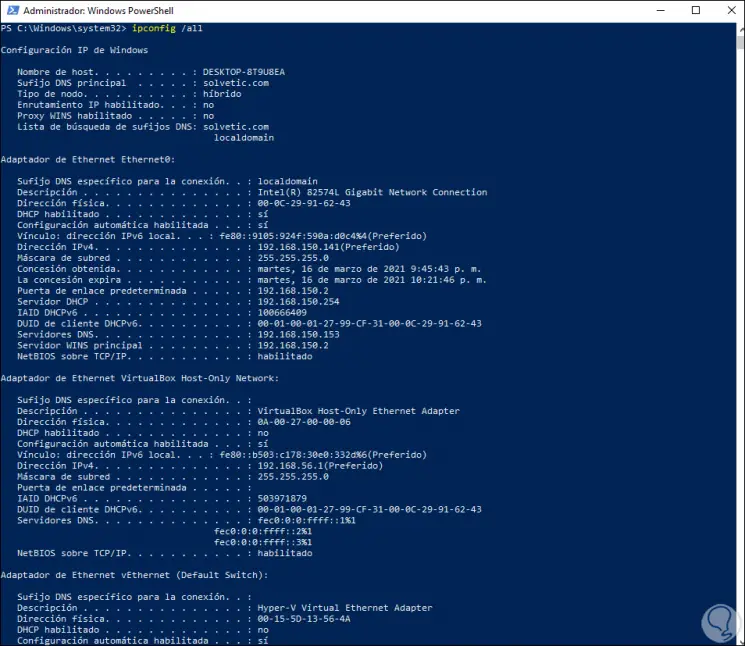
Either on the server or on the client computers we execute "ipconfig / all" in CMD or PowerShell to see the IP (of the server) which acts as DNS:
Step 3
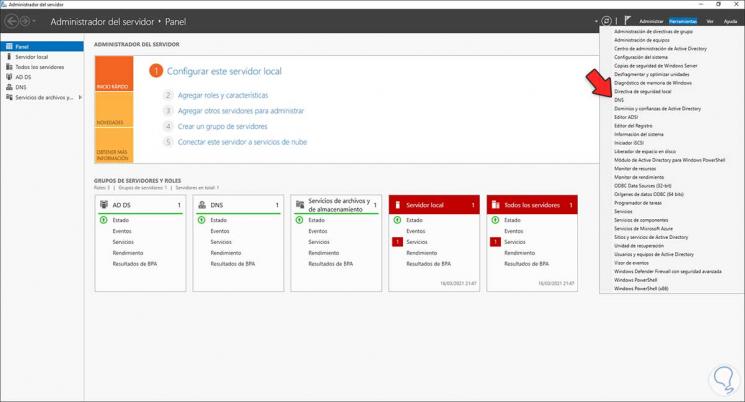
In the Server Manager we go to "Tools - DNS":
Step 4
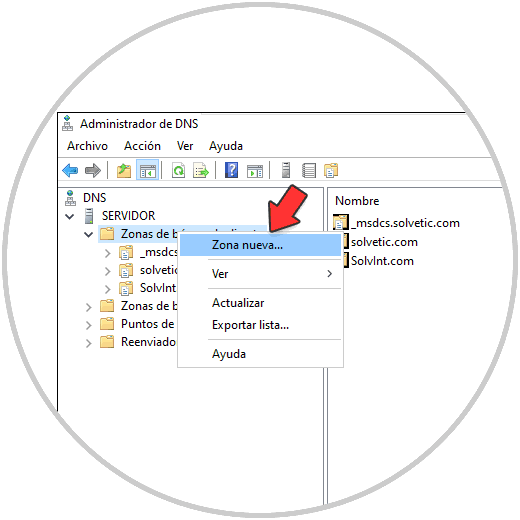
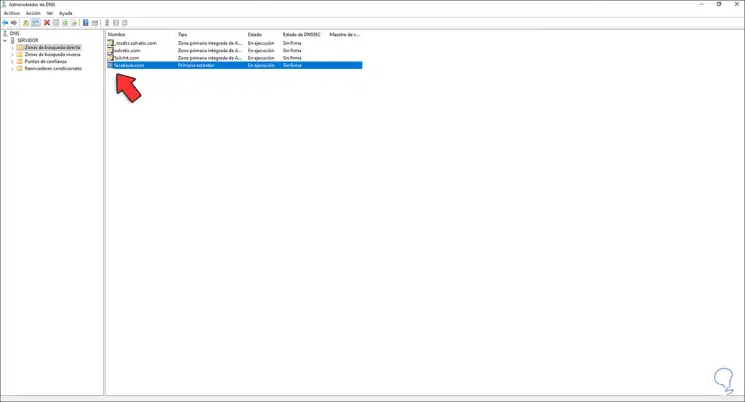
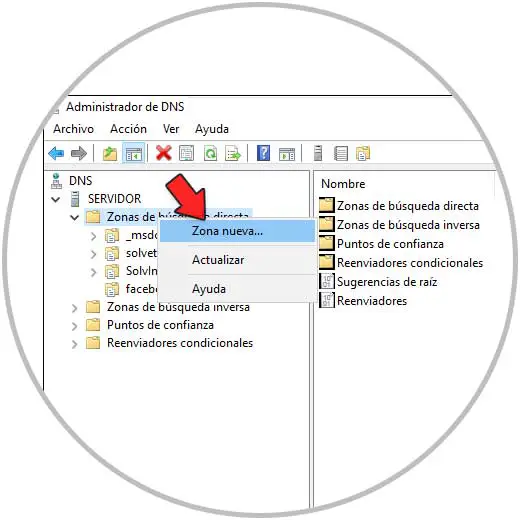
In the DNS console we right click on "Direct search zones" and there we select "New zone":
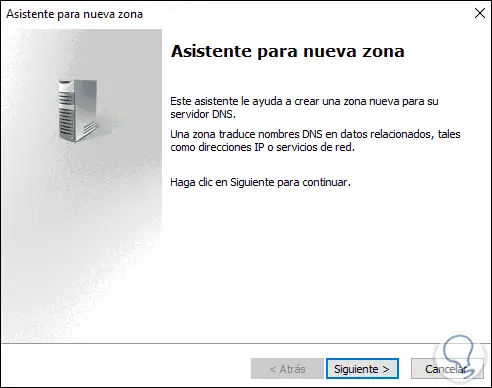
Step 5
The following wizard will be displayed:
Step 6
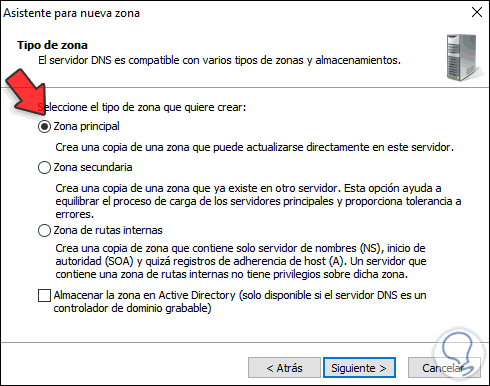
We click on Next and there we select "Main zone" and deactivate the "Store the zone in Active Directory" box:

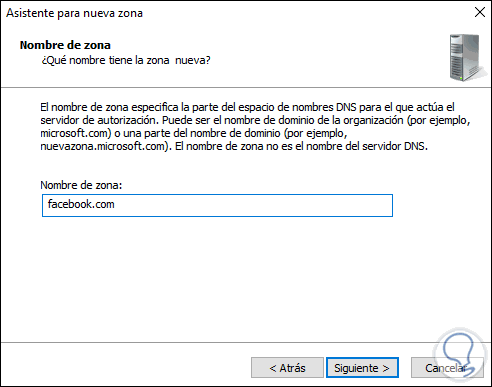
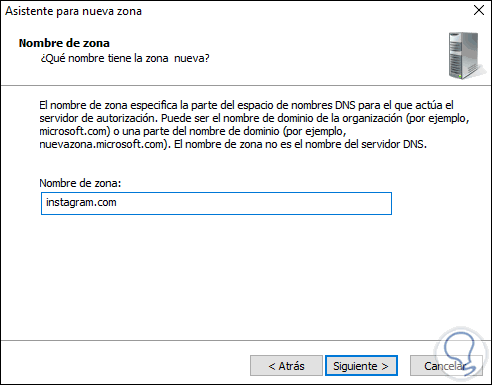
Step 7
We click on Next and enter the name of the area which will be the name of the website (for better administration):
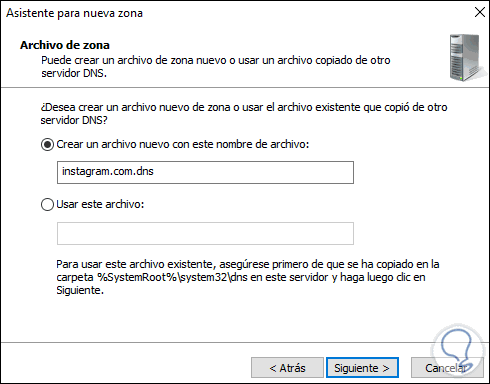
Step 8
Click on Next and we will see that a local file will be created with the assigned name:

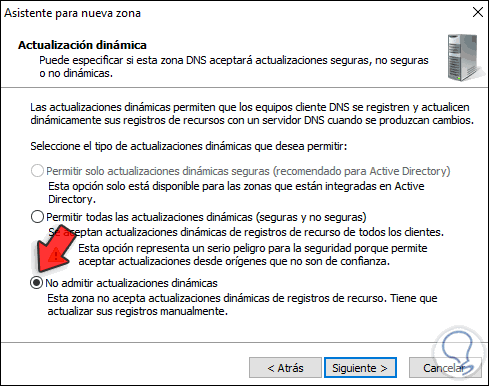
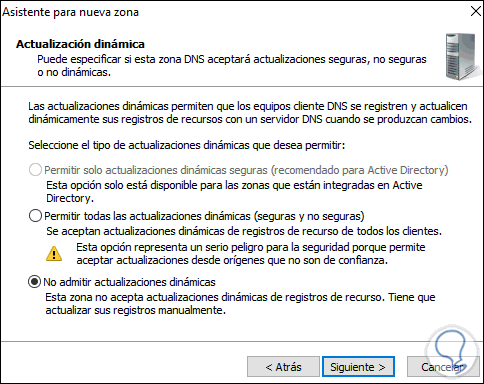
Step 9
In the next window we activate the box "Do not admit dynamic updates":
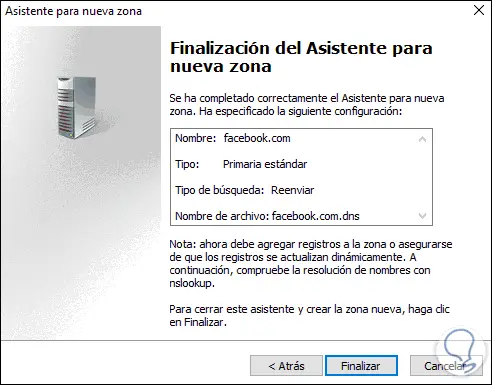
Step 10
We click Next to see a summary of the area to create. Click Finish to complete the process:
Step 11
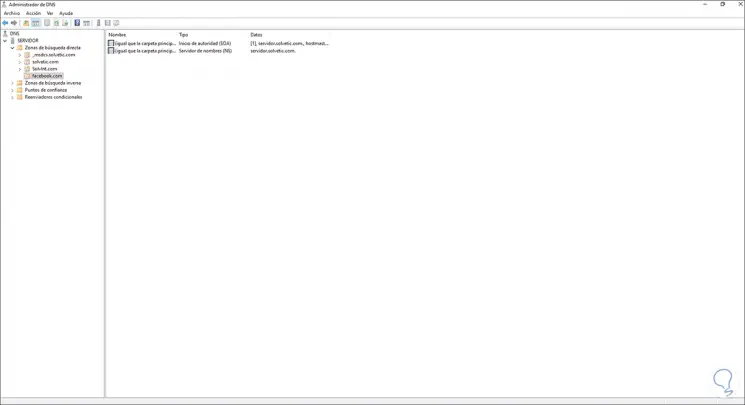
Now we validate that the created zone points to the DNS server:
Step 12
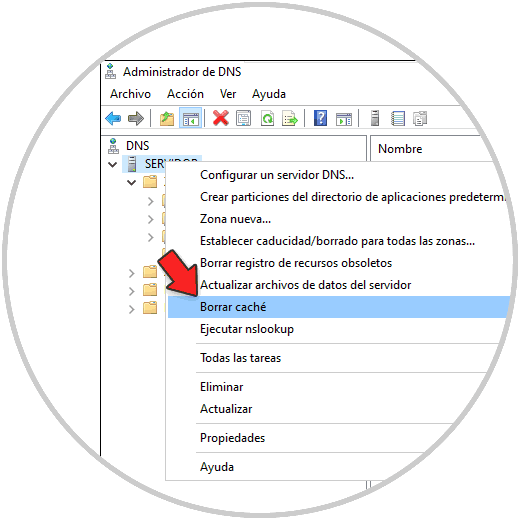
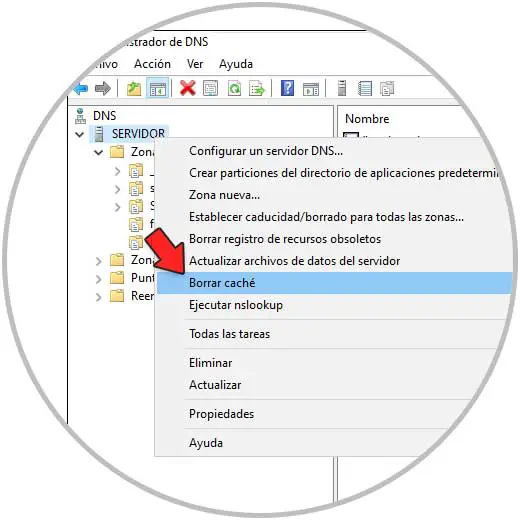
We right click on the server
Step 13
In the options displayed we select "Clear cache":
Step 14
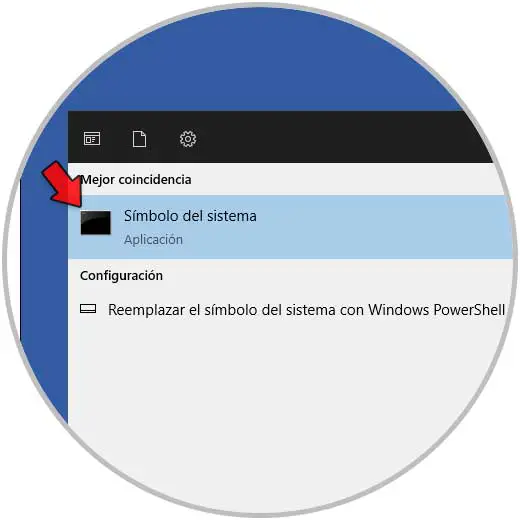
You can also access the command prompt from Start:
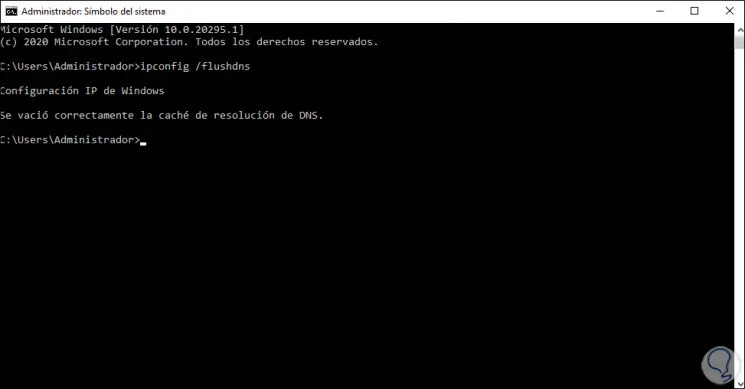
Step 15
In the console we execute "ipconfig / flushdns":
Step 16
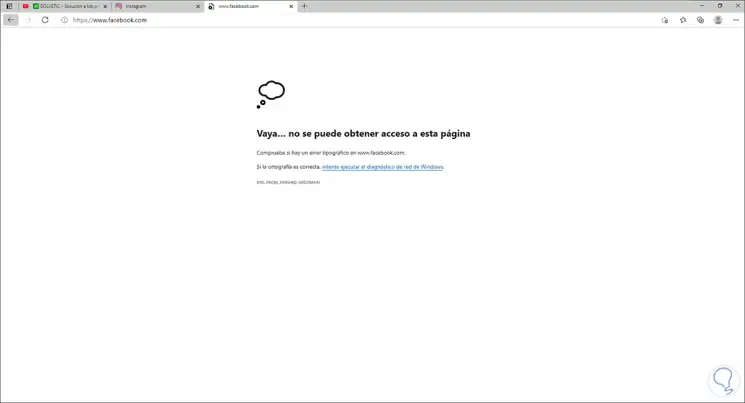
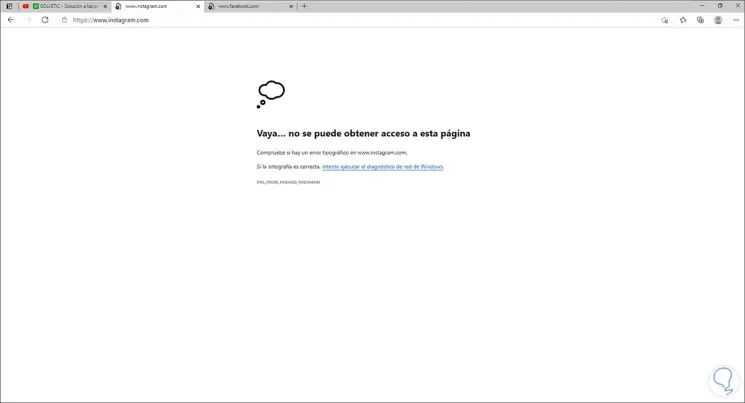
When accessing the page we will see that it is not possible to access it. This in the case of Facebook.
Step 17
Let's try Instagram now, go to the DNS console, right click on "Direct search zones" and select "New zone":
Step 18
We select "Main zone" and uncheck the box "Store the zone in Active Directory":
Step 19
Click Next to enter the name of the zone:
Step 20
Click Next and we will see the name of the file to create:
Step 21
In the next window we activate the box "Do not admit dynamic updates":
Step 22
Click Next to see the zone summary. We click Finish to complete the process.

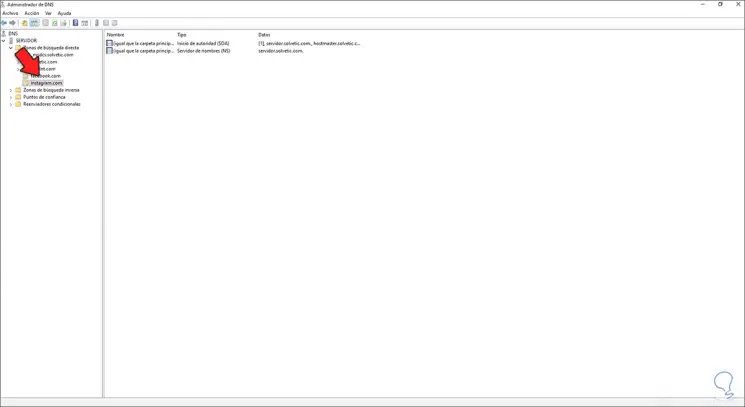
Step 23
We validate that the created zone points to the Windows Server 2022 DNS server.
Step 24
Now we are going to empty the cache so that the process is updated, for this we right click on the server and select the option "Clear cache":
Step 25
When updating the page we will see that it is not possible to open it:
To replicate this on the client computers of the domain, we must execute "gpupdate / force" on each of them.
This has been the process to block access to websites from Windows Server 2022..