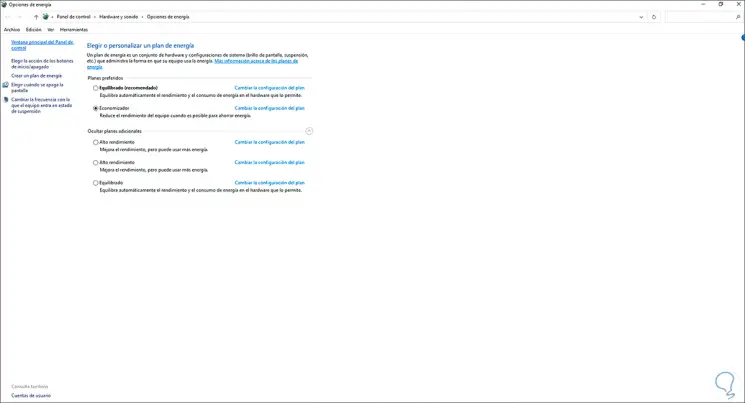
The power options in Windows 10 are part of the Control Panel and in it it is possible:
Energy options
- See the different energy plans available in the system
- Change current plan settings
- Add or remove power plans
This is one of the most practical functions in Windows 10 for a complete management of battery saving or system resources, normally we access this option from the Control Panel, but getFastAnswer will explain two methods to create shortcuts to these power options in Windows 10.
To stay up to date, remember to subscribe to our YouTube channel! SUBSCRIBE
1. Create Windows 10 Power Options shortcut from Explorer
Step 1
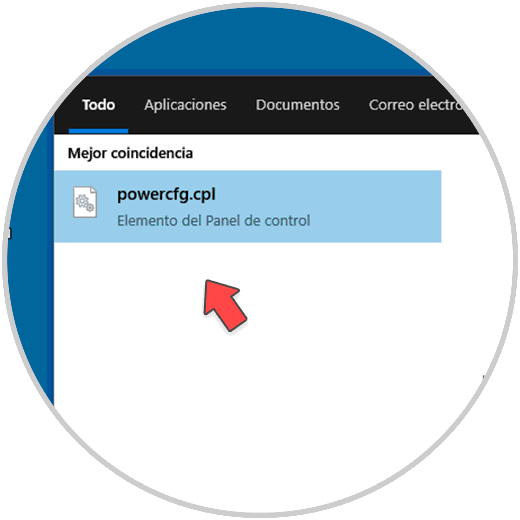
For this method, in the home search engine we enter the word "powercfg.cpl",
powercfg.cpl
Step 2
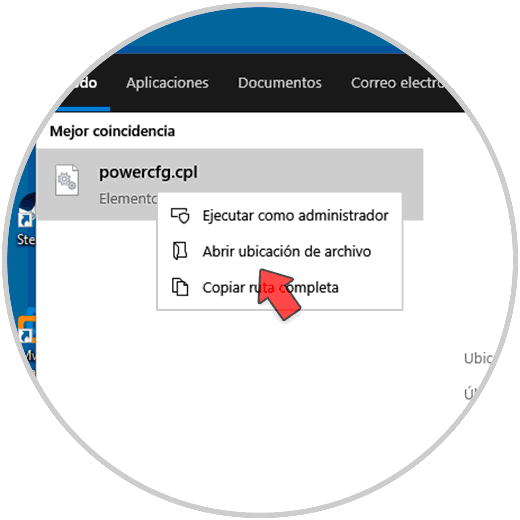
Then we right click on it and select the option "Open file location":
Step 3
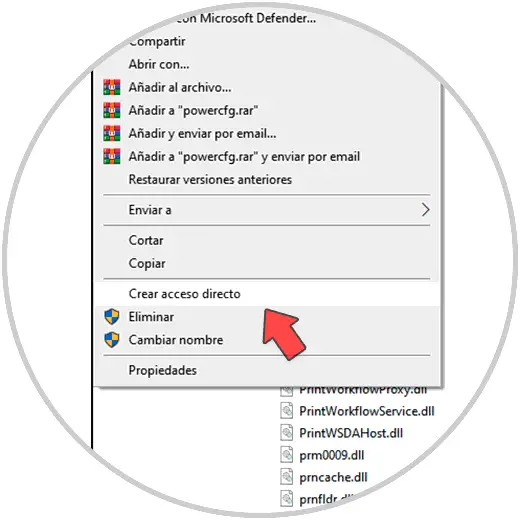
In the displayed window, we right click on the access and choose the option "Create shortcut":
Step 4
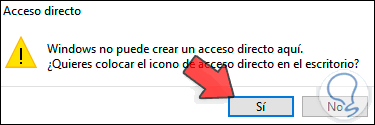
The following message will be displayed. Confirm the process by clicking Yes.
Step 5
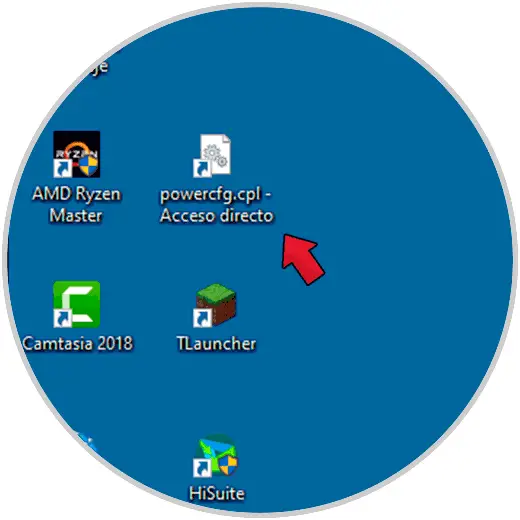
The Power Options shortcut will be on the desktop:
Step 6
We can change its name and double click to access Power Options:
2. Create Windows 10 Power Options shortcut from Desktop
Step 1
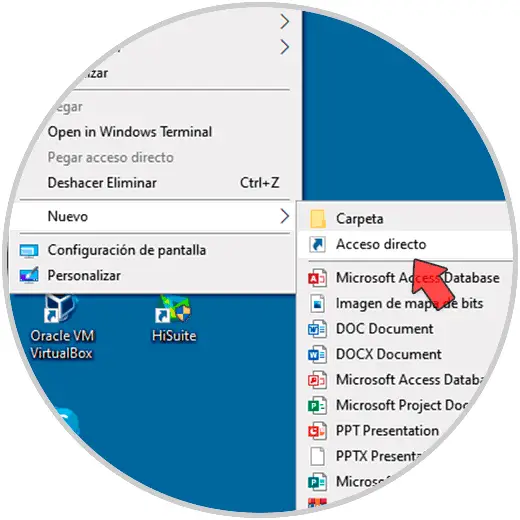
For this method, we right click on the desktop and select "New - Shortcut":
Step 2
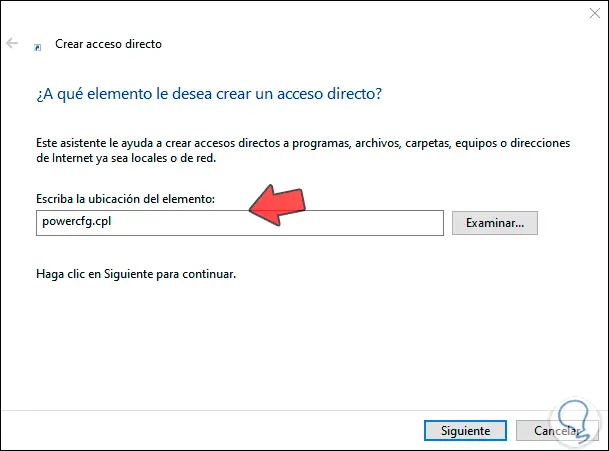
In the pop-up window we enter "powercfg.cpl":
powercfg.cpl
Step 3
Click Next to assign a name:
Step 4
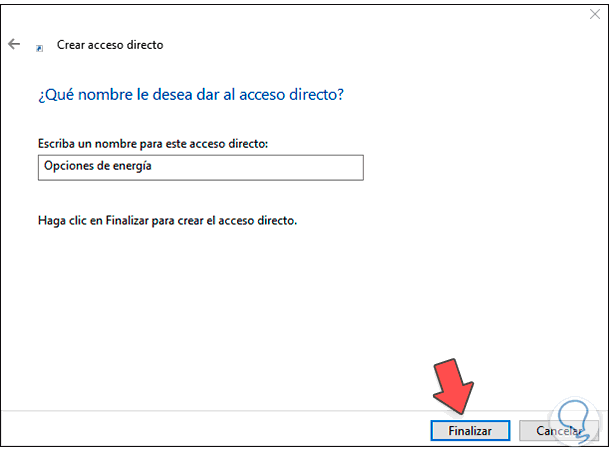
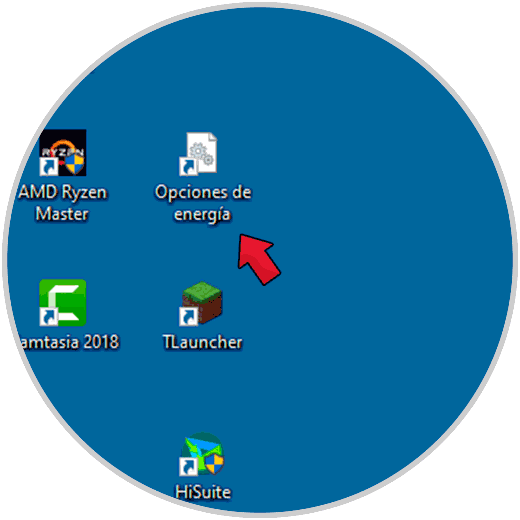
Click Finish to apply the changes and the shortcut will be available:
Step 5
We double-click on it to access Windows 10 Power Options:

With these options we will have a much more functional access to this parameter in the system..