The way of working has evolved over time, and computers have become one of the essential elements in most companies since digitization is the order of the day. But apart from a professional level, personal use is more and more frequent and many homes have a PC at home. That is why having all the necessary elements to access all the available functions is essential to get the most out of its use..
The camera is one of the hardware elements that has become essential in these times due to online meetings, conferences and in general everything that includes seeing other people on the other side of the screen, Windows 10 offers us some options to configure the camera in the system and getFastAnswer will explain these options to you.
That is why below we show you all the steps you must follow to know how to change the camera settings in Windows 10..
To stay up to date, remember to subscribe to our YouTube channel! SUBSCRIBE
1. Change camera settings from Windows 10 Settings
This is an option that is currently only available in Windows Insider version 21354 and is the integration of Camera within the configuration devices.
Step 1
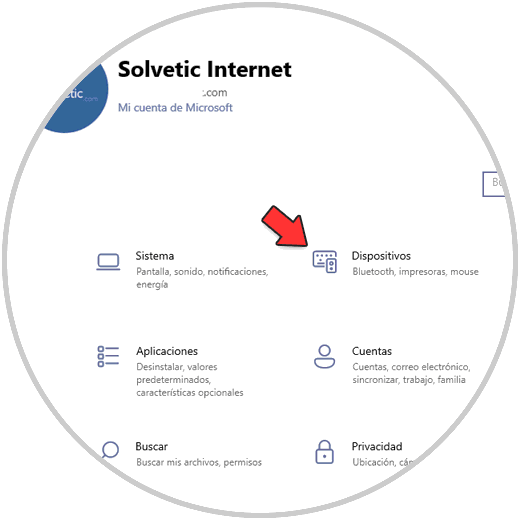
To use this option we go to the path "Start - Configuration", we will see the following:
Step 2
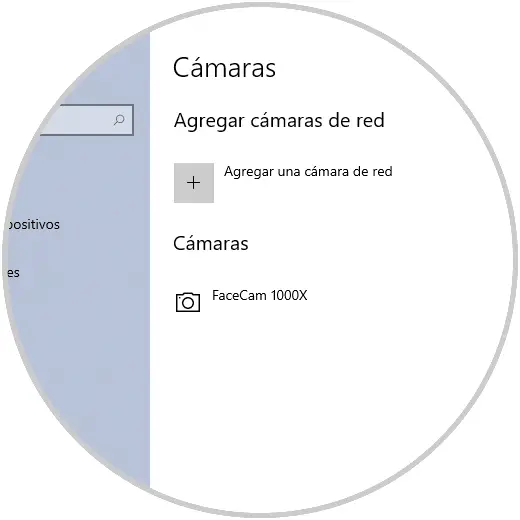
We go to "Devices - Camera", we will see the cameras available either integrated or external:
Step 3
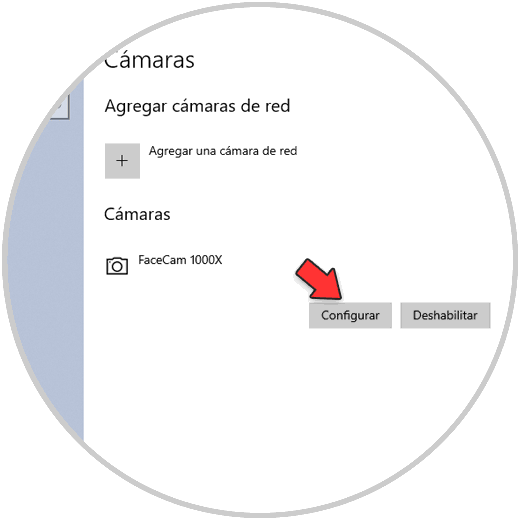
Select the camera and click on "Configure":
Step 4
By clicking there we will see the following:
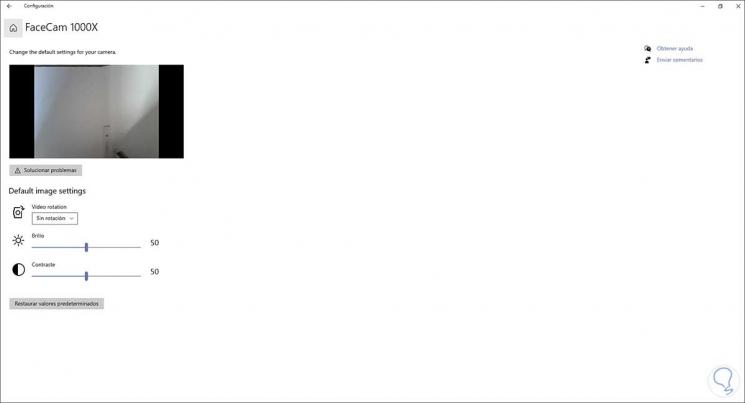
There it is possible to make the necessary adjustments such as:
- Activate the troubleshooter
2. Change camera settings from Windows 10 Application
Step 1
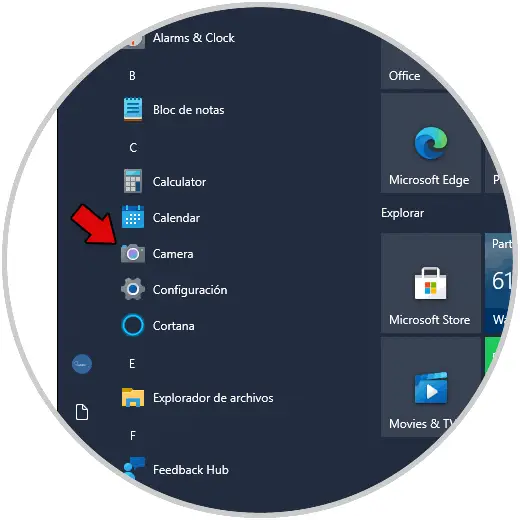
The traditional option is to use the application integrated in Windows 10, to do this from the Start menu we open Camera:
Step 2
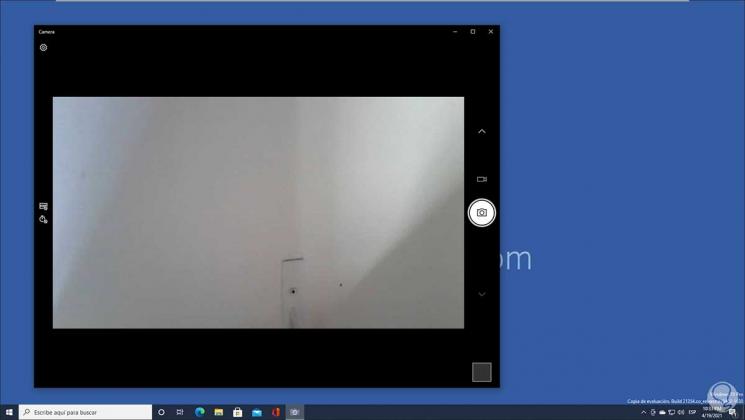
The following will be opened:
Step 3
Click on the configuration icon in the upper left to make the available settings:
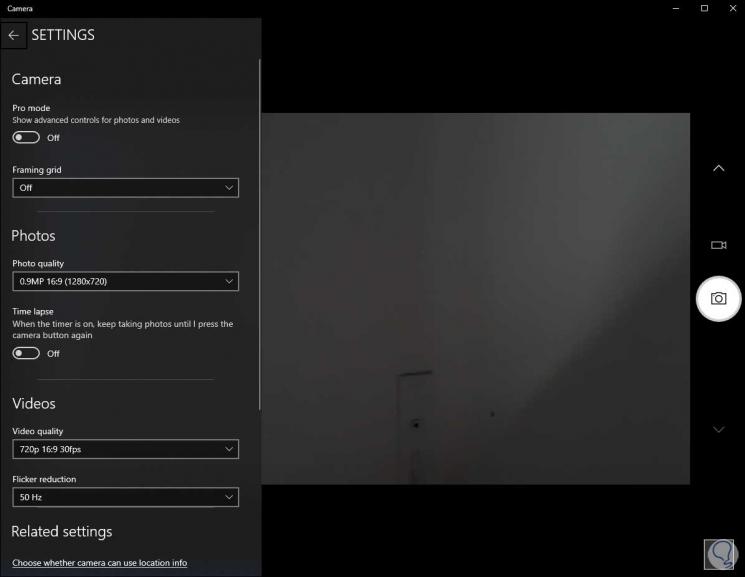
There we can define parameters for both the photos and videos section. These are the steps available in Windows 10 to adjust the camera.