There are different applications that give us the opportunity to manage operating systems in multiple ways, one of them is Jenkins which acts as a free automation server (open source) with which we can carry out actions such as creation, testing and delivery. of different types of software on client computers..
Jenkins functions
Jenkins can act in various ways such as:
- Through native system packages
- Independently on machines with a Java Runtime Environment (JRE) installed
Jenkins requirements
To use Jenkins correctly it is required that the team have:
- 256 MB of RAM with 1 GB recommended
- 1 GB of hard disk space, ideally 10 GB if Jenkins is to be run as a Docker container
- Java 8 in 32 and 64 bit versions, Java 11 runtime (in Jenkins 2.164 and 2.164.1), Java 9, 10 and 12 is not supported at the moment
- If we use Windows operating systems, it is necessary to have policy support
- Have updated web browsers such as Chrome, Edge, Firefox or Safari
Jenkins Features
Jenkins offers us:
- Integration of add-ons available in the Update Center to be able to operate with other utilities
- Integration and continuous delivery of objects and services
- It can be distributed to other computers
- Offers installation packages for Windows, macOS, and Unix operating systems
Let's learn how to install Jenkins on Ubuntu 21.04.
To stay up to date, remember to subscribe to our YouTube channel! SUBSCRIBE
How to install Jenkins on Ubuntu 21.04
Step 1
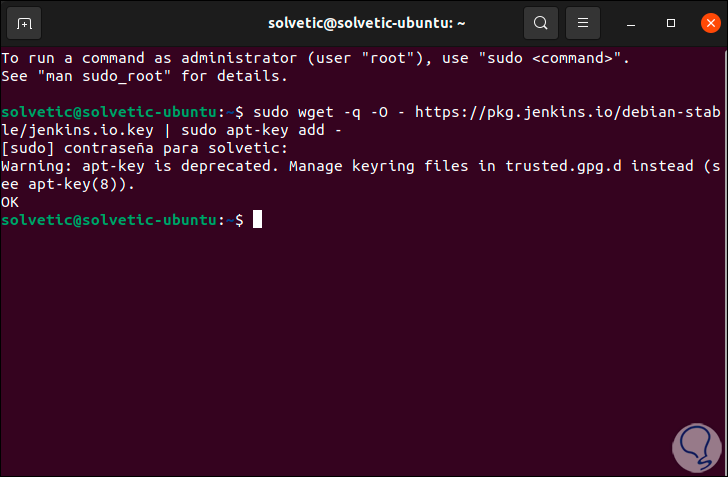
We access the terminal in Ubuntu 21.04, there we are going to download and install the Jenkins key with the following command:
sudo wget -q -O - https://pkg.jenkins.io/debian-stable/jenkins.io.key | sudo apt-key add -
Step 2
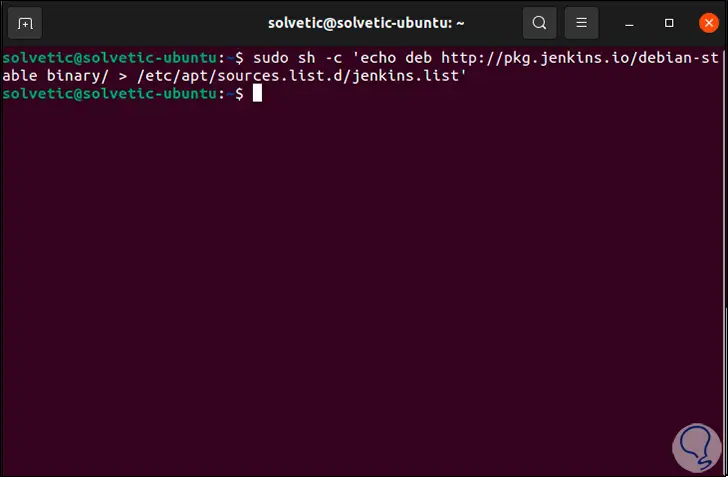
After this, we are going to add the binaries to the system resources:
sudo sh -c 'echo deb http://pkg.jenkins.io/debian-stable binary /> /etc/apt/sources.list.d/jenkins.list
Step 3
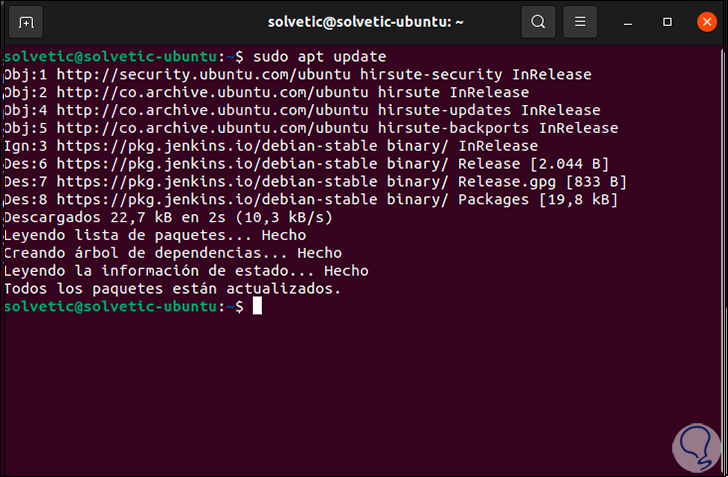
Now we are going to update the system:
sudo apt update
Step 4
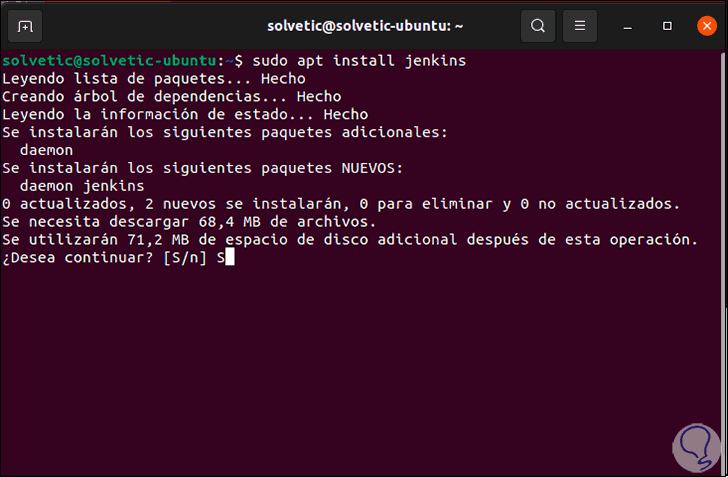
Once updated, we are going to install Jenkins with the command:
sudo apt install jenkins
Step 5
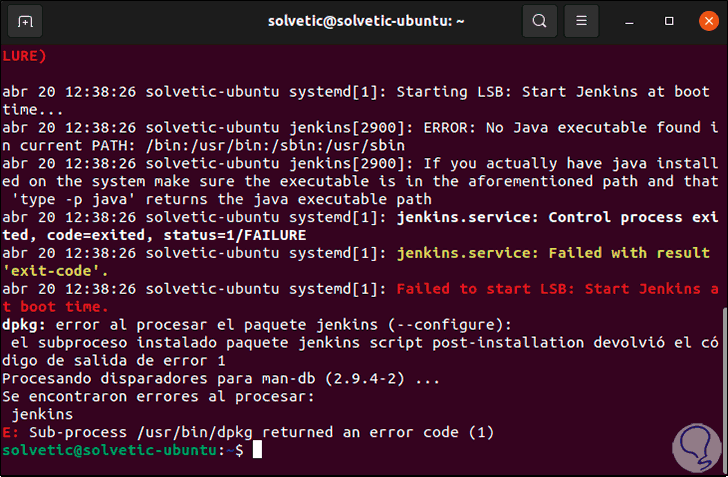
Apply the changes by entering the letter S:
Step 6
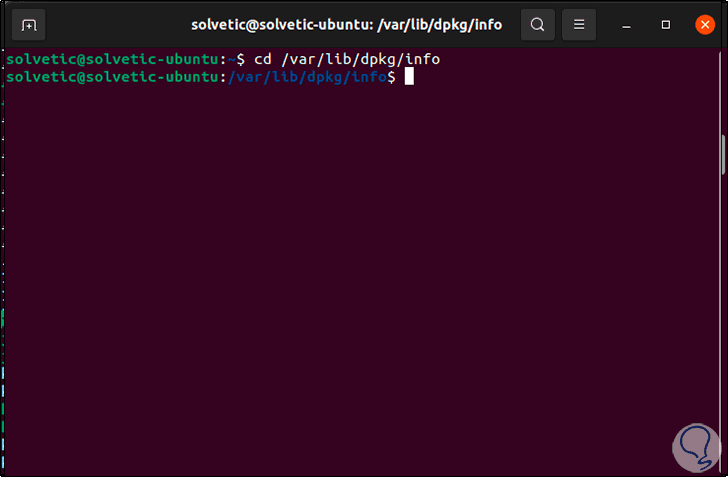
As we can see an error occurs, if you get this error getFastAnswer will give you the solution to this, for this we go to the following route:
cd / var / lib / dpkg / info
Step 7
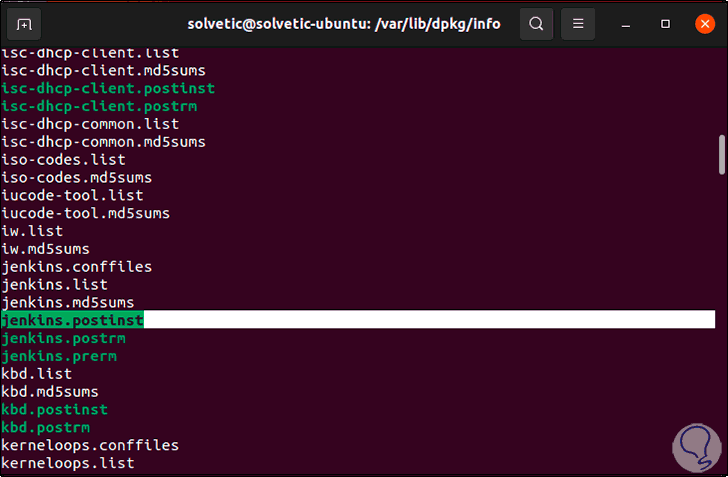
We list the content with the command "ls" and we will locate the Jenkins line that ends with the letter postinst:
Step 8
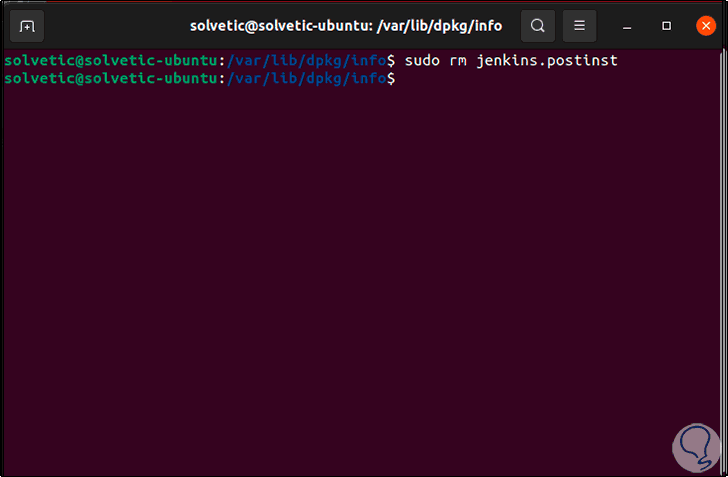
We delete this file with the command "sudo rm jenkins.postinst":
sudo rm jenkins.postinst
Step 9
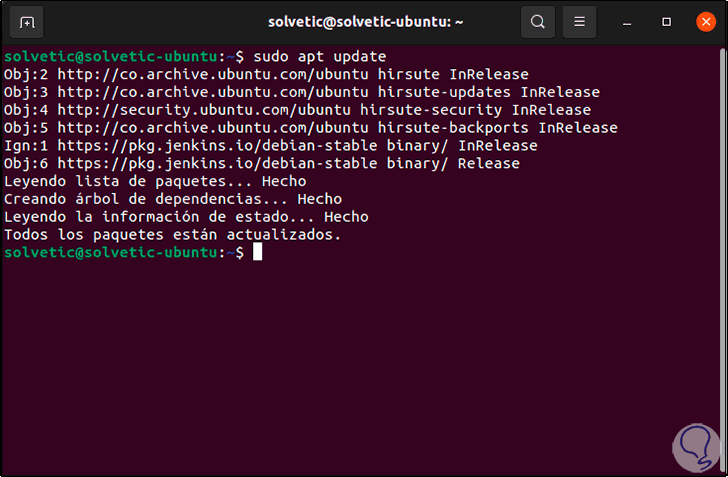
Again we update the system:
sudo apt update
Step 10
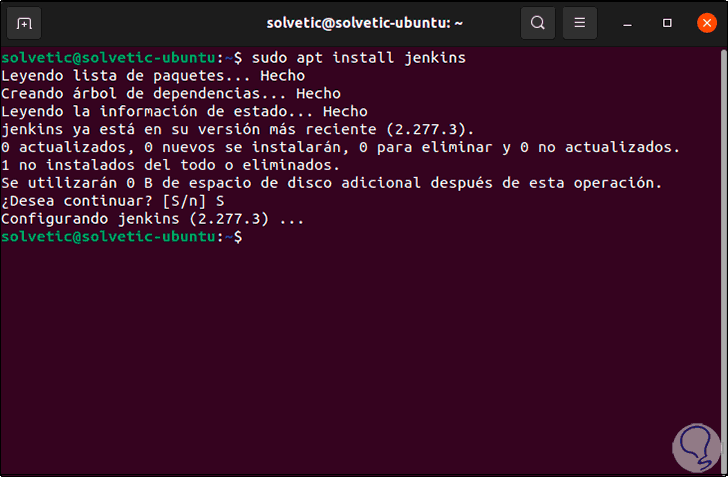
After this we will install Jenkins again:
sudo apt install jenkins
Step 11
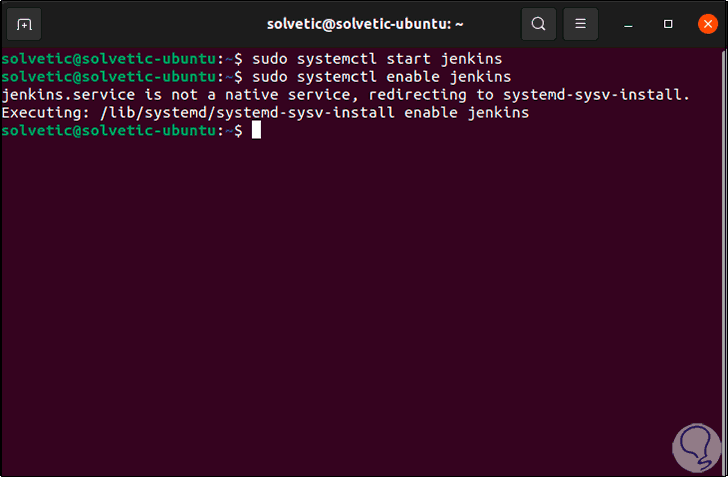
After this we are going to start the Jenkins service with the command:
sudo systemctl start jenkins
Step 12
We enable the Jenkins service:
sudo systemctl enable jenkins
Step 13
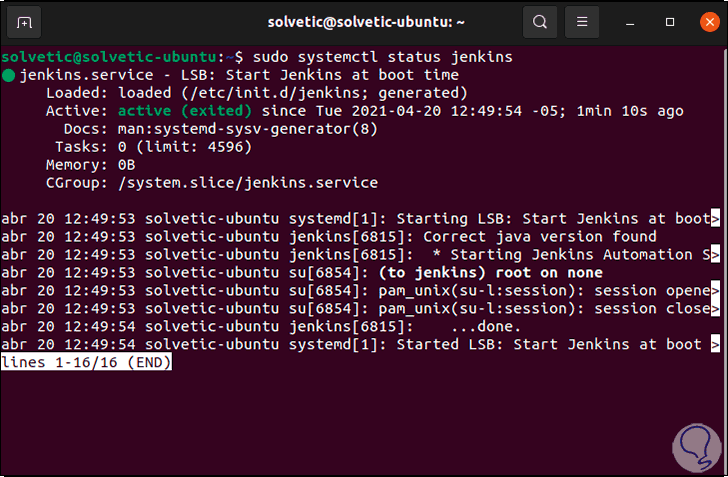
After this we validate the Jenkins state with the order. We can see that its status is active.
sudo systemctl status Jenkins
Step 14
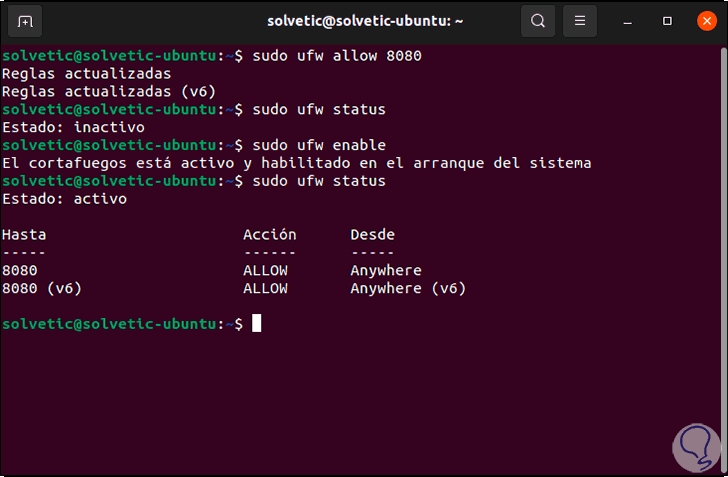
It is time to configure the permissions in the Firewall for the connection through the browser, we will do the following:
- We add the Jenkins port to the Firewall:
sudo ufw allow 8080
- Now we check the status of the Firewall:
sudo ufw status
- If it is disabled, we activate the Firewall:
sudo ufw enable
Step 15
Again we validate the status to see that the Jenkins port has been added correctly:
Step 16
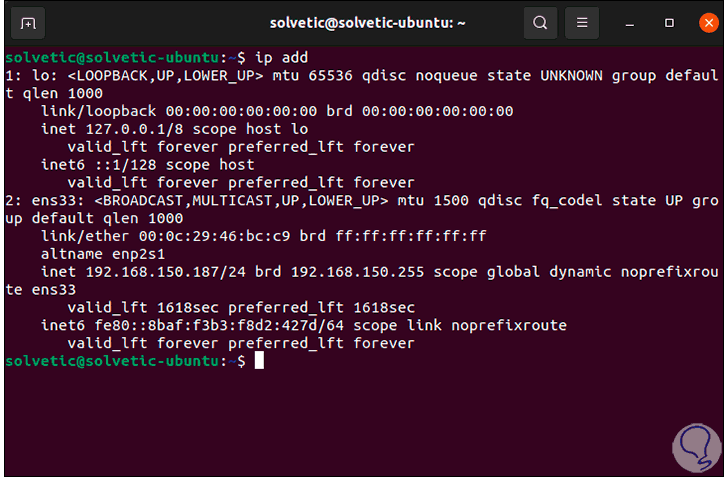
Now we are going to obtain the IP address with the command:
ip add
Step 17
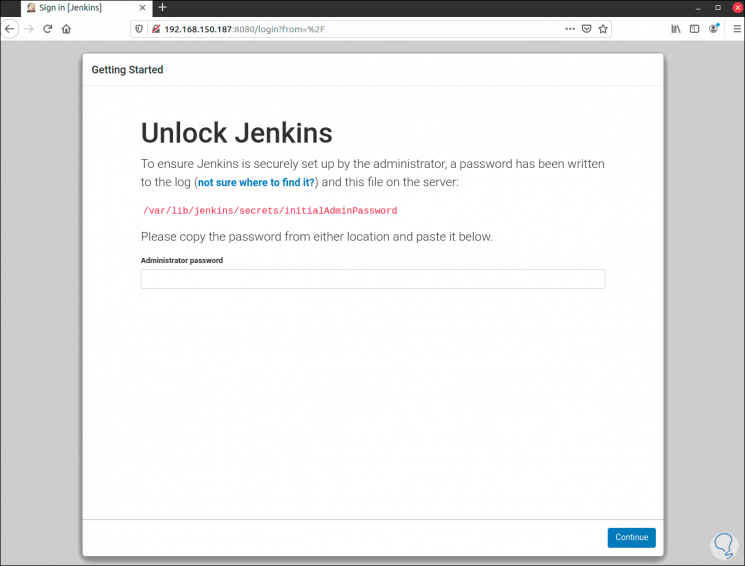
With the IP address, we open a browser and there we are going to enter the following syntax:
http: // IP: 8080
Step 18
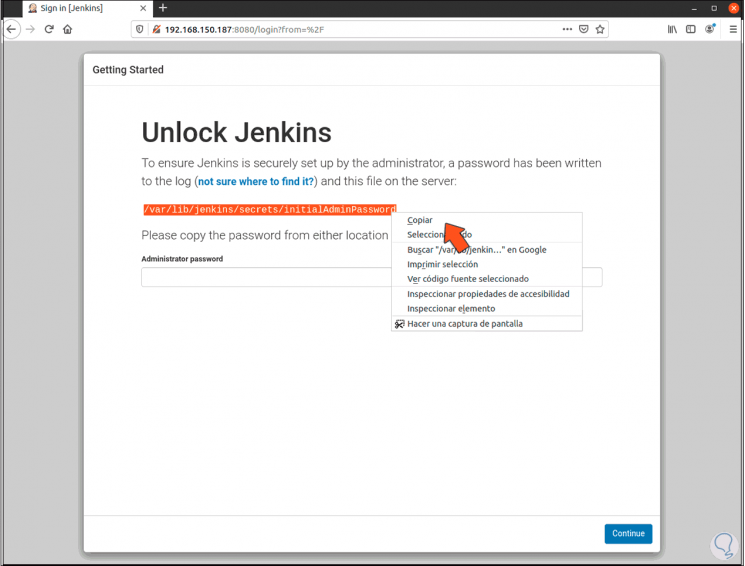
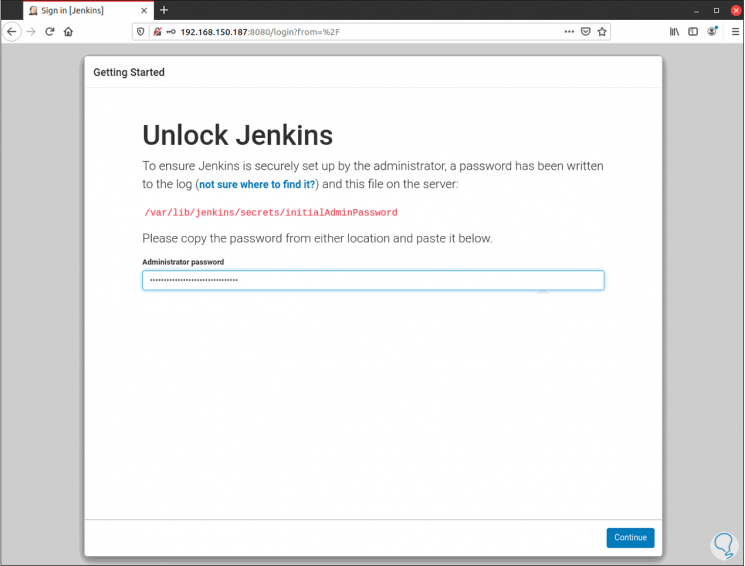
It is necessary to unblock access to Jenkins, for this we copy the path:
Step 19
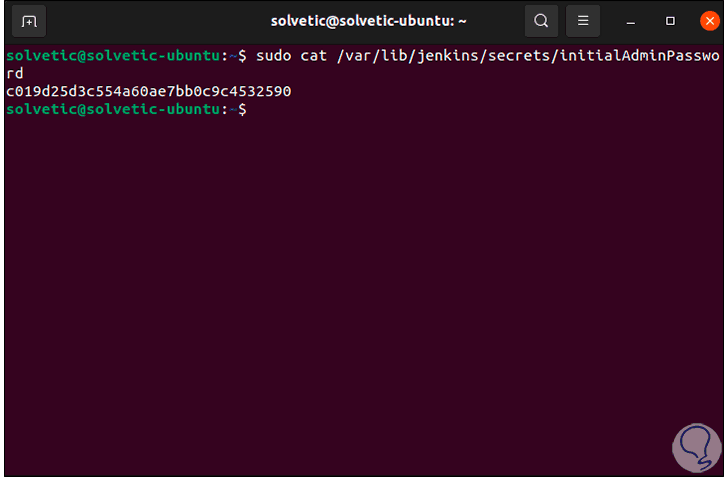
In the terminal we enter the following:
sudo cat / var / lib / jenkins / secrets / initialAdminPassword
Step 20
This results in the access password, we copy the password and paste it in the respective field in the browser:
Step 21
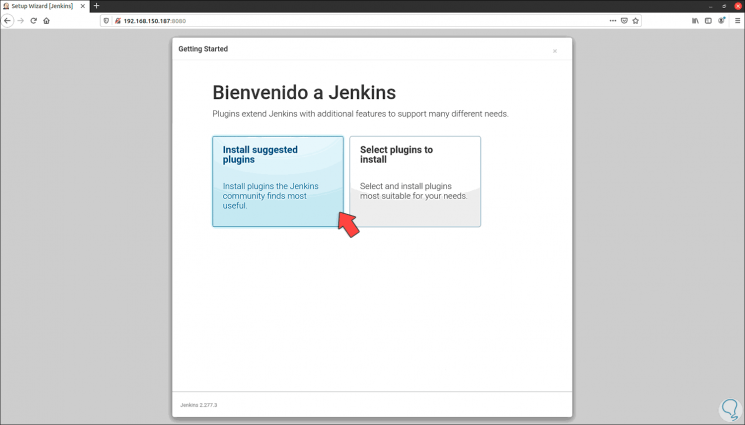
Click Continue and we will see the following window:
Step 22
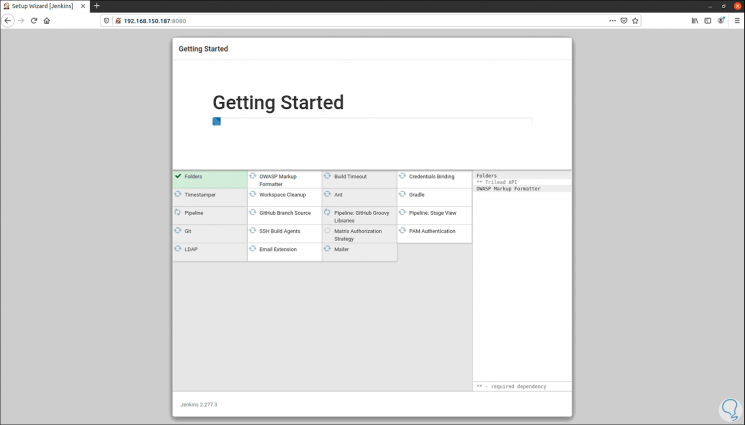
We click on "Install suggested plugins" and wait for the process to finish:
Step 23
Once this process is finished we will see the following:
Step 24
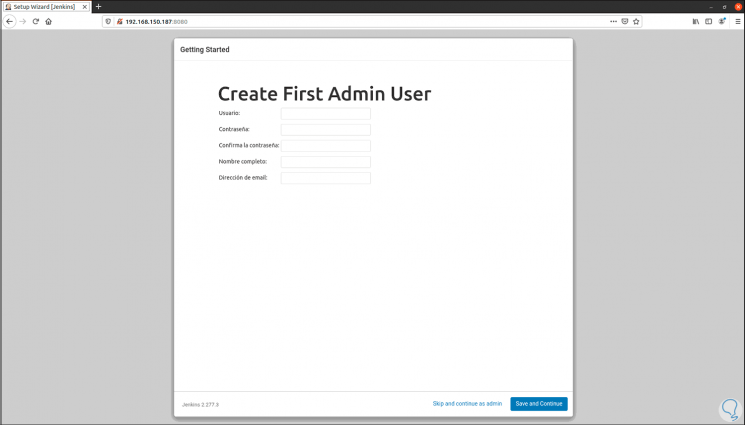
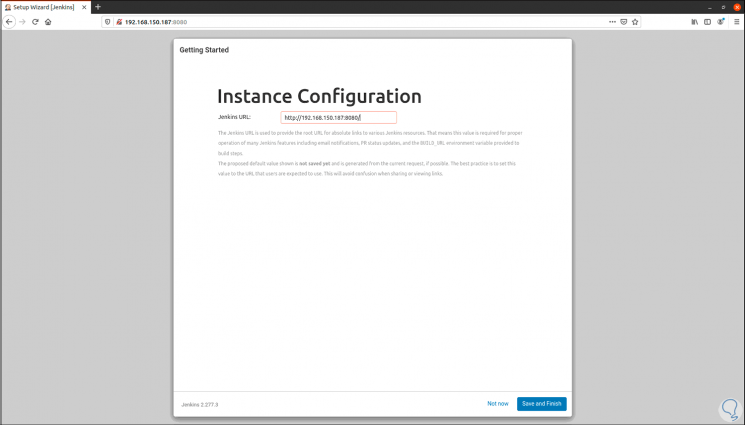
There Jenkins gives us the opportunity to create the administrator user, it is optional, we click on "Skip and continue as admin" and we will see the path to Jenkins in Ubuntu 21.04:
Step 25
We click on Save and Finish to complete the process:
Step 26
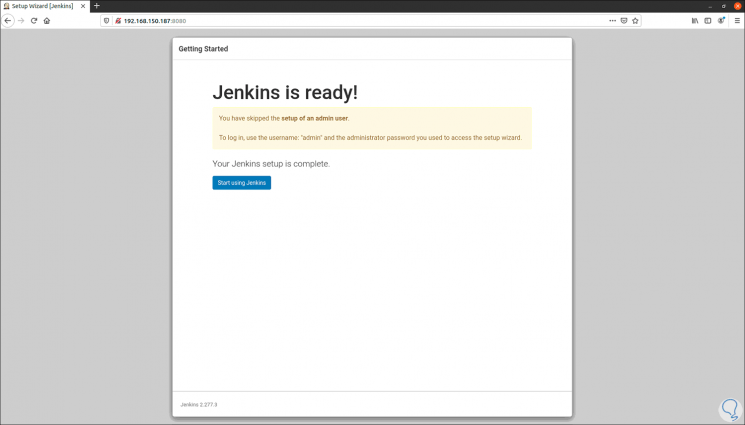
We click on "Start using Jenkins" to access the platform:
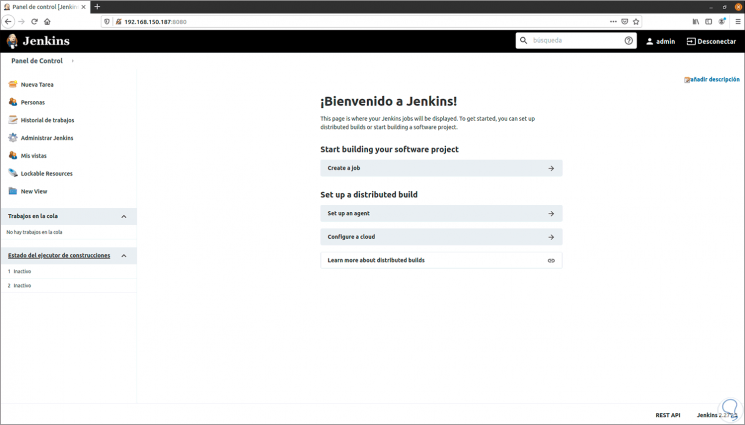
There we will be ready to take all the benefit to Jenkins in Ubuntu 21.04..