El Firewall en Windows 10 tiene un papel esencial en la sección de seguridad ya que este es el primer filtro para evitar que aplicaciones o personas puedan acceder de forma externa al equipo o bien es posible evitar que servicios o procesos locales salgan hacia la red. Con el Firewall Windows 10 podremos tener de una forma más controlada el traspaso de información con la red y bloquear según qué accesos usando diferentes filtros. Windows Defender además nos protegerá de posibles intentos de agresión maliciosos al equipo y nos protegerá de ataques a nuestra información..
But in addition to that, in the Windows 10 Firewall we find options to create entry and exit rules and thus optimize security to the maximum, there are two options to access the Firewall in Windows 10, normal access and advanced access, getFastAnswer will explain how to create direct access to both options.
To stay up to date, remember to subscribe to our YouTube channel! SUBSCRIBE
1. Create Windows Defender shortcut
Step 1
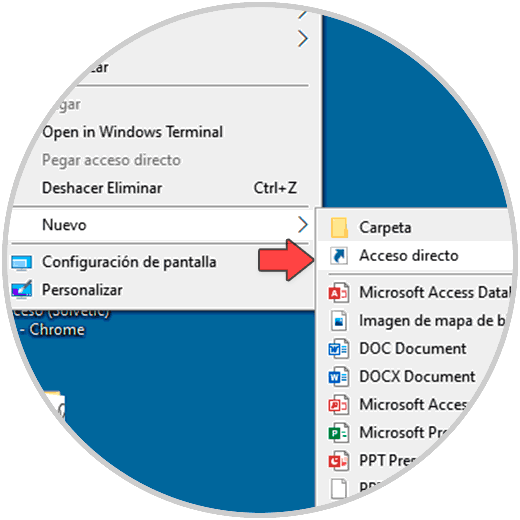
For this, we will right click on the desktop and there we select "New - Shortcut":
Step 2
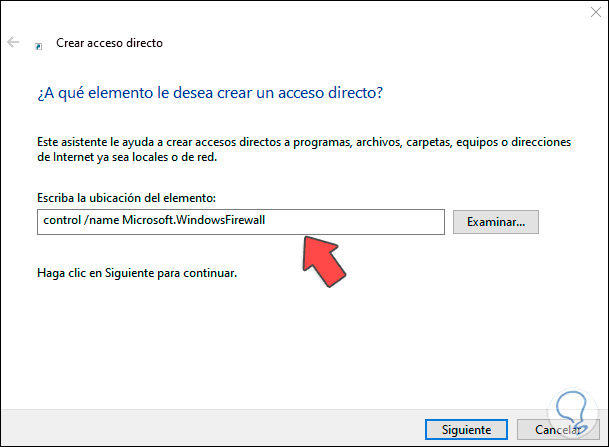
In the pop-up window we enter the following command:
control / name Microsoft.WindowsFirewall
Step 3
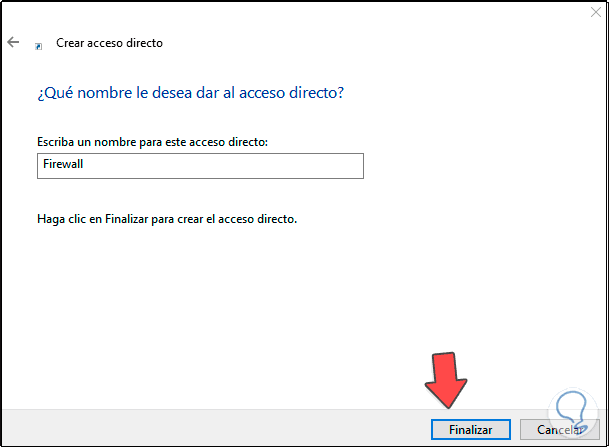
Click Next to assign a name and apply the changes:
Step 4
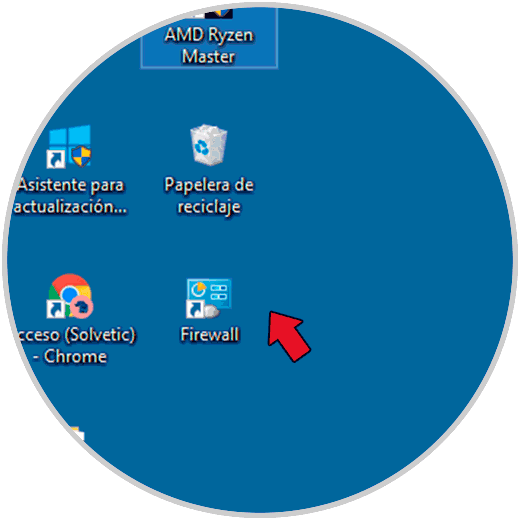
We will see the shortcut to the Firewall created on the desktop:
Step 5
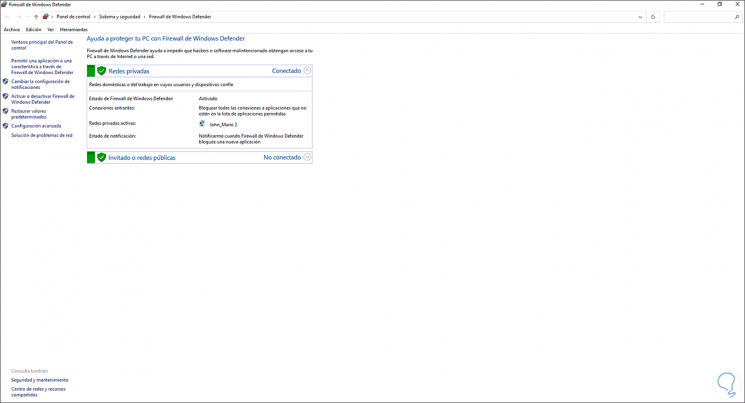
Open the Firewall by double clicking on the shortcut:
2. Create Advanced Firewall shortcut
Step 1
To create this access, we right click on the desktop and there we will select "New - Direct Access":

Step 2
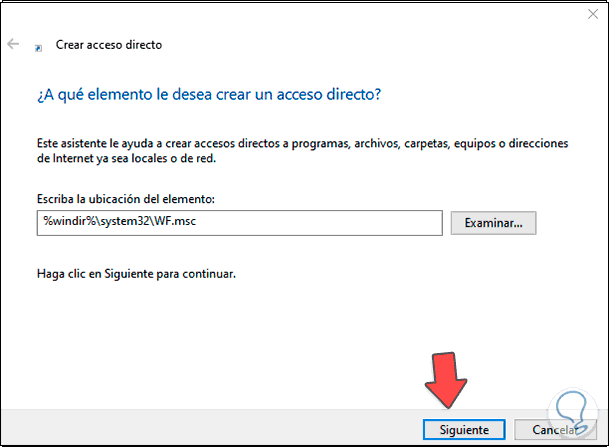
We enter the following command in the pop-up window:
% windir% \ system32 \ WF.msc
Step 3
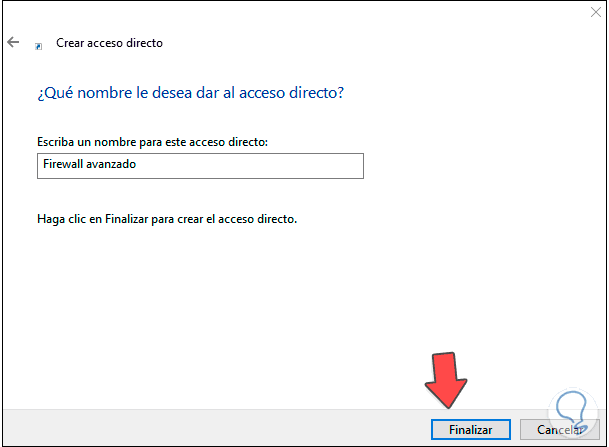
Then we assign a name and apply the changes:
Step 4
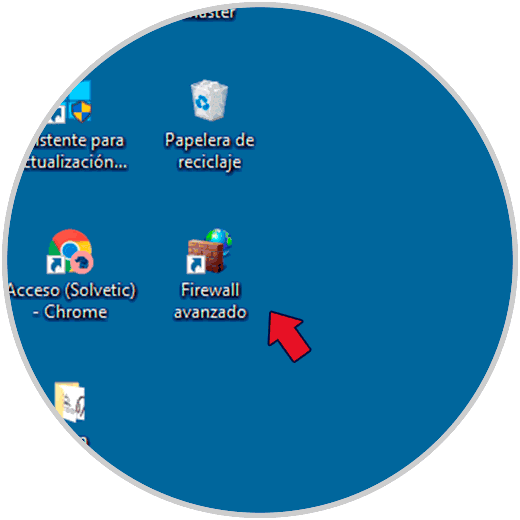
The shortcut will be created:
Step 5
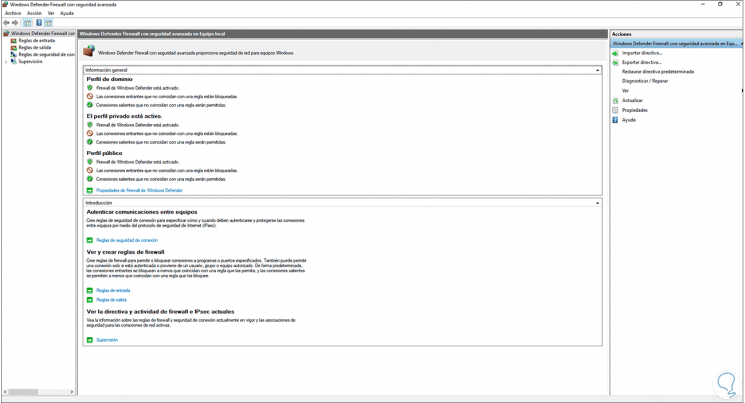
We open the advanced Firewall from the access:
These are the options to create these shortcuts in Windows 10..