Windows 10 integrates a function called Task Scheduler with which it is possible to create various tasks to be executed at the time we determine according to the configuration. These tasks cover everything that is possible to do in Windows 10, open programs, shut down or restart the system, run services and much more, we do this from the Task Scheduler but there is the possibility of creating and managing these tasks in the console. PowerShell which has been integrated into Windows 10 as a complete management option..
Thanks to the Task Scheduler we will be able to automate different actions and perform them when we are not in front of the team, speeding up and improving the team's action planning. If creating a scheduled task in PowerShell catches your attention, keep reading the step by step for it.
To stay up to date, remember to subscribe to our YouTube channel! SUBSCRIBE
Create and manage scheduled tasks with PowerShell
PowerShell integrates the cmdlet called New-ScheduledTask with which the entire process of scheduled tasks is carried out, this cmdlet basically creates an object in which the parameters of the scheduled task are housed, but New-ScheduledTask does not do Automatic registration in the Windows 10 Task Scheduler service.3..
This cmdlet allows you to create scheduled tasks associated with:
Step 1
We access the PowerShell console as administrators:
Step 2
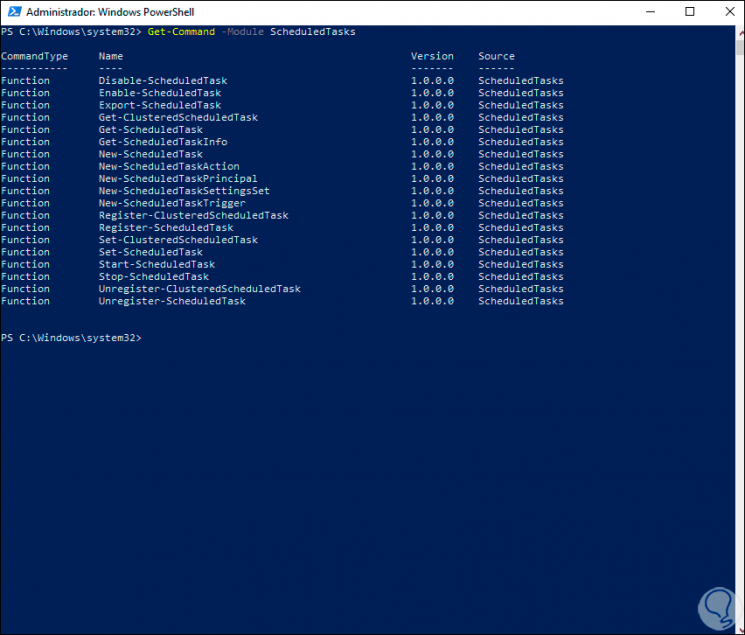
First, we are going to list the task scheduler options with the command:
Get-Command -Module ScheduledTasks
Step 3
Each of these cmdlets allows us to perform a specific task associated with the task.
We are going to create a basic task, for this we must use the following syntax:
$ action = New-ScheduledTaskAction -Execute 'Scheduled'
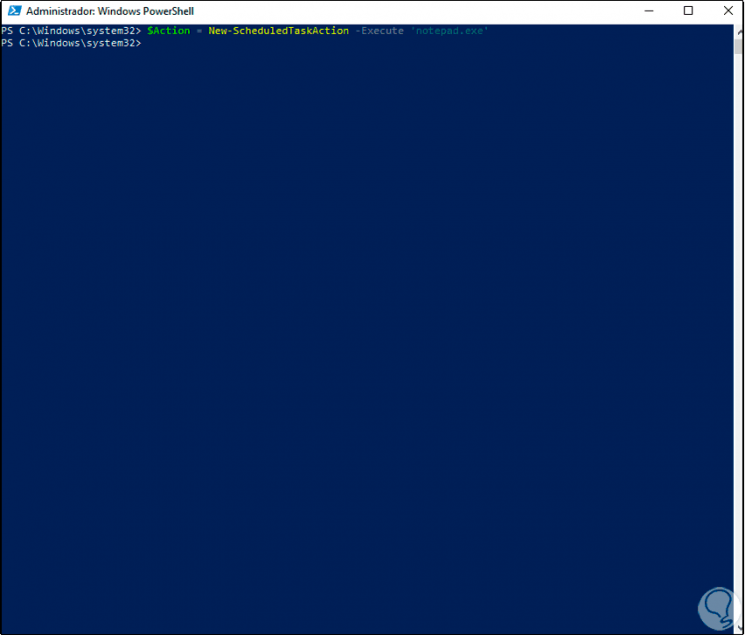
Example, we will create a task to open the notepad, we enter the following:
$ Action = New-ScheduledTaskAction -Execute 'notepad.exe'
Step 4
If we want to open a third-party application, we must register the path there, for example, if we want to open TeamViewer we would execute:
$ Action = New-ScheduledTaskAction -Execute "C: \ Program Files (x86) \ TeamViewer \ TeamViewer.exe"
Step 5
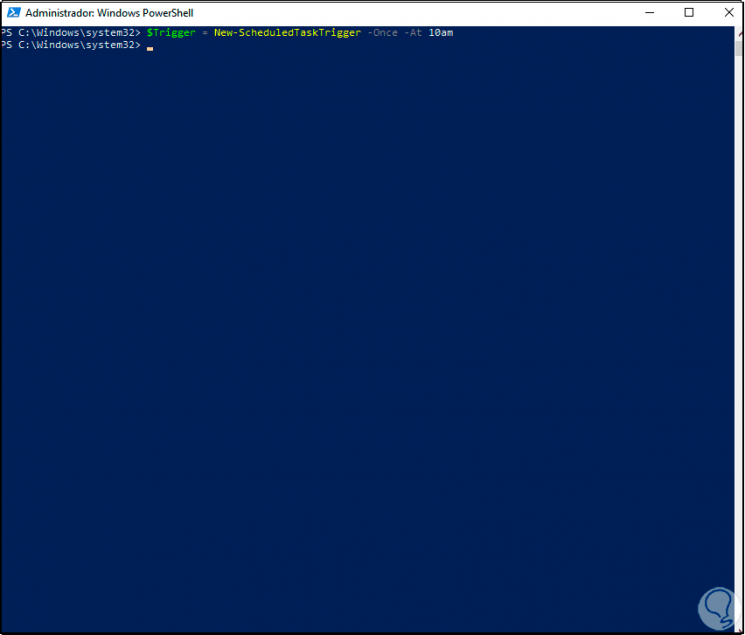
The next step will be to create the variable where the information of the program for the task to be created is integrated, this refers to the frequency to execute it, there we will use the Trigger parameter as follows.
$ Trigger = New-ScheduledTaskTrigger -Once -At 10am
Step 6
In this example the task only runs once at 10 am, the available trigger options are:
Trigger options
- On a Schedule: based on a schedule, in this case we must select the days, date and time in which the task will be launched
- At log on: it is a task that is executed when the user logs on to the computer
- At startup: this allows the task to run when the computer starts
- On idle: it is a task that is executed when the computer is in an idle state
- On an event: allows the task to be executed when an event occurs in the system
Step 7
The -Once field can be replaced by:
Step 8
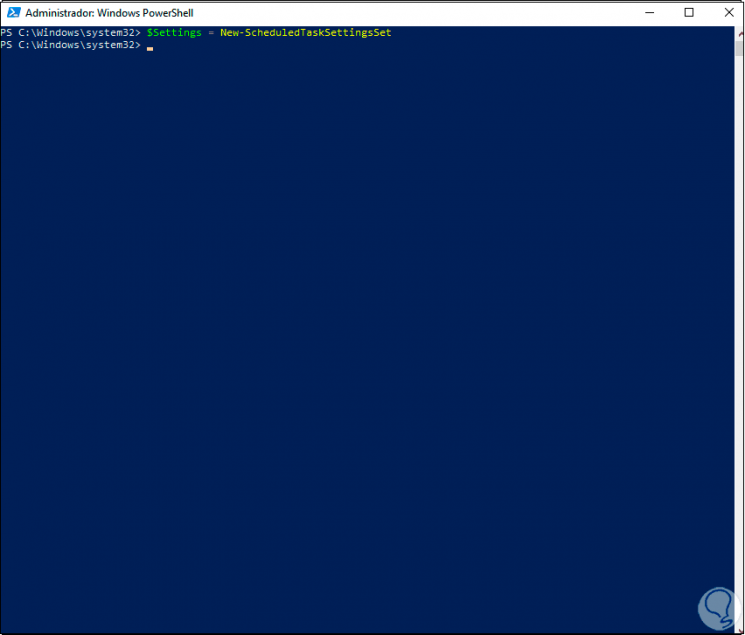
After this, we are going to create the scheduled task using the New-ScheduledTask command, this allows to apply the configuration:
$ Settings = New-ScheduledTaskSettingsSet
Step 9
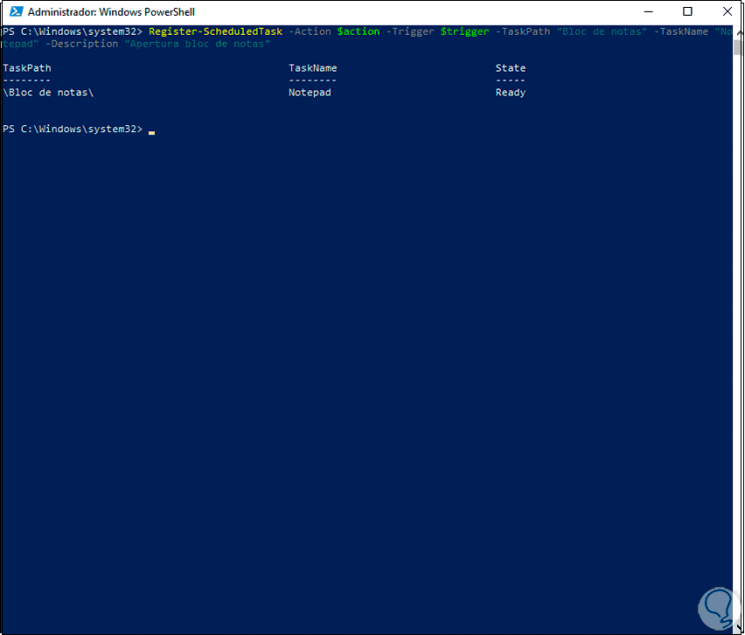
Now we must register the task so that it is available in the Task Scheduler, this is possible with the Register-ScheduledTask cmdlet:
Register-ScheduledTask -Action $ action -Trigger $ trigger -TaskPath "Notepad" -TaskName "Notepad" -Description "Opening Notepad"
Step 10
At this point we have assigned the name of the task, visible in the Task Scheduler, and a description has been added. We see as a result that the task has been successful.
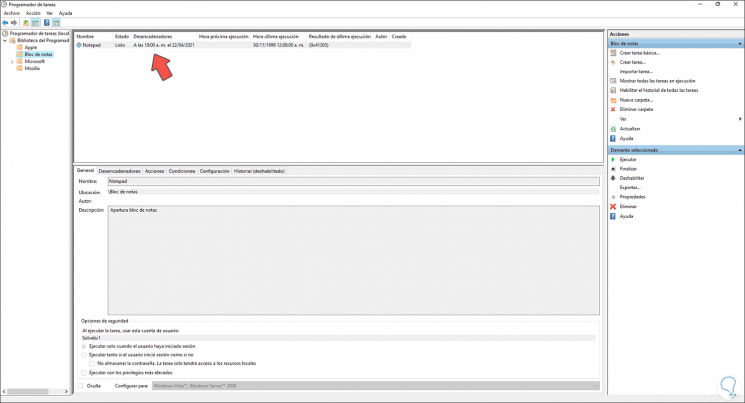
Step 11
We verify in the task scheduler interface that the described task has been created. There it is possible to view the active task according to the criteria described.
Step 12
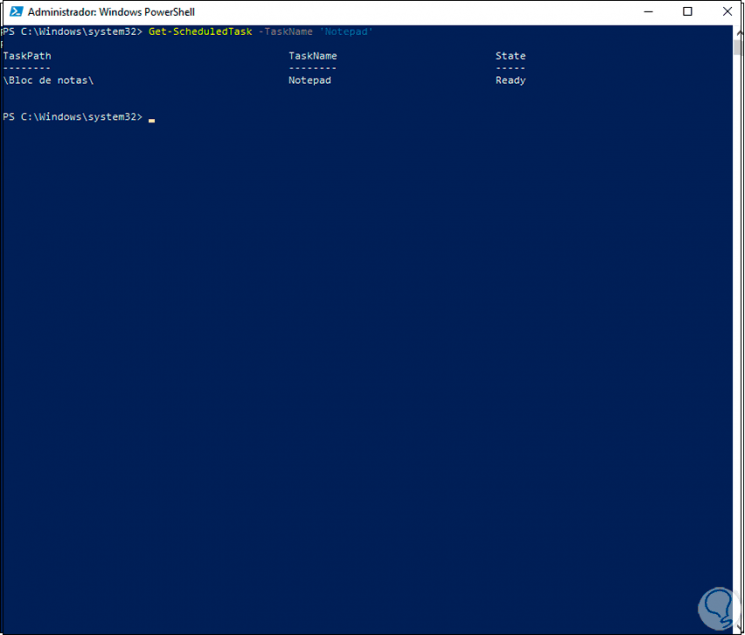
To delete the task when it is no longer needed, we are going to list the task to be deleted with the following command:
Get-ScheduledTask -TaskName 'Notepad'
Step 13
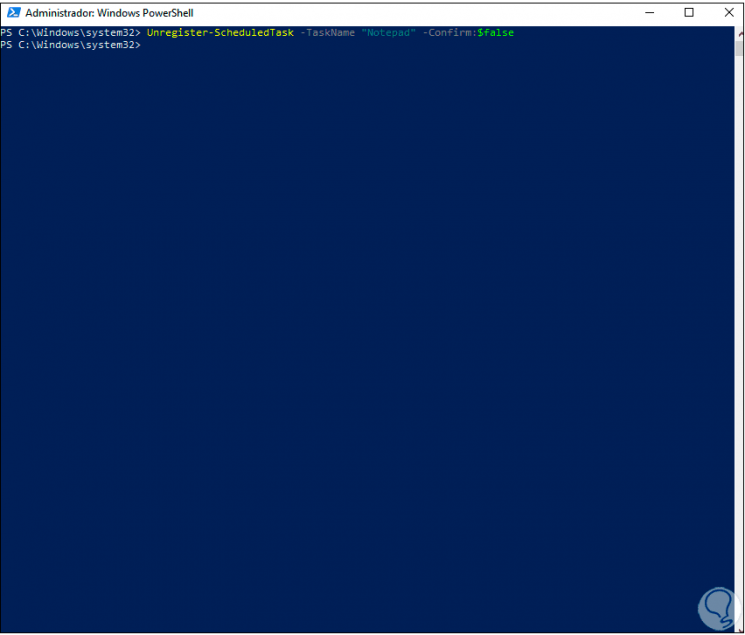
There we see the properties of this, now we eliminate the task with the following command:
Unregister-ScheduledTask -TaskName "Notepad" -Confirm: $ false
Step 14
We check that the task has been deleted in the Task Scheduler:
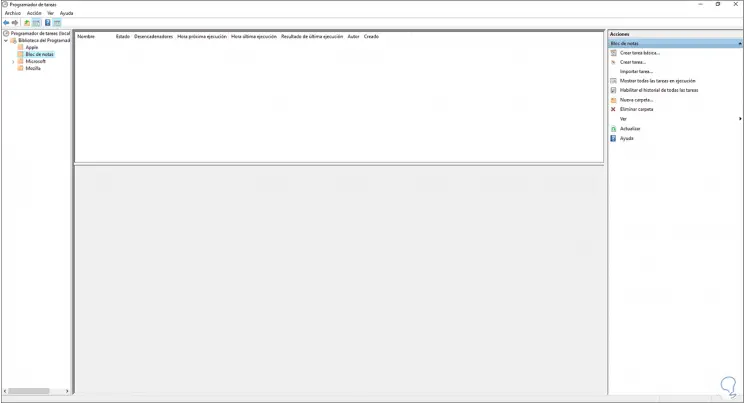
This has been the process to create and manage scheduled tasks in Windows 10 through PowerShell.