Outlook is the bet that Office integrates to manage everything related to emails, contacts, calendars, etc. The calendars section offers us a special option to add special dates such as birthdays, meetings, appointments, etc., to launch the necessary alerts and not forget them, that is why if we have more than one account from Outlook 2013. In this case We are talking about Outlook 2016 and 2019, it is possible to modify the calendar of the account to be displayed, as well as change the order in which the calendars will be displayed in Outlook through the Calendar view..
In addition to this, Outlook allows us to move events between the calendars if it is the case, getFastAnswer will explain the steps to manage the calendars in Outlook 2016/2019.
To stay up to date, remember to subscribe to our YouTube channel! SUBSCRIBE
Change default calendar in Outlook 2016, 2019
Step 1
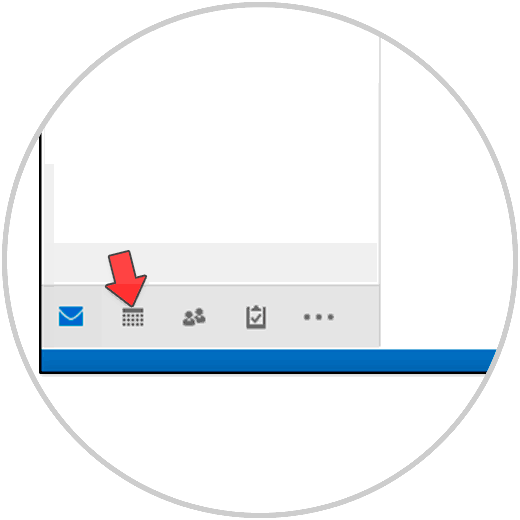
We open Outlook and switch to Calendar view at the bottom:
Step 2
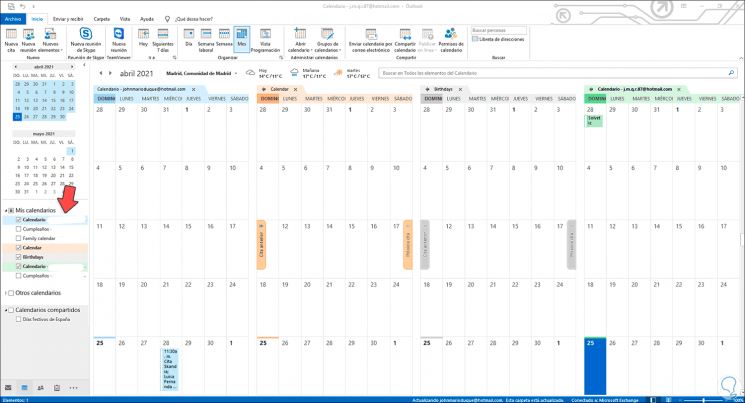
When accessing this view, in the upper right corner it is possible to activate the boxes of the calendars to be displayed through the option My calendars, just click to select the check boxes of the calendars to be displayed in Outlook:
Step 3
The active boxes will be the visible calendars:

Step 4
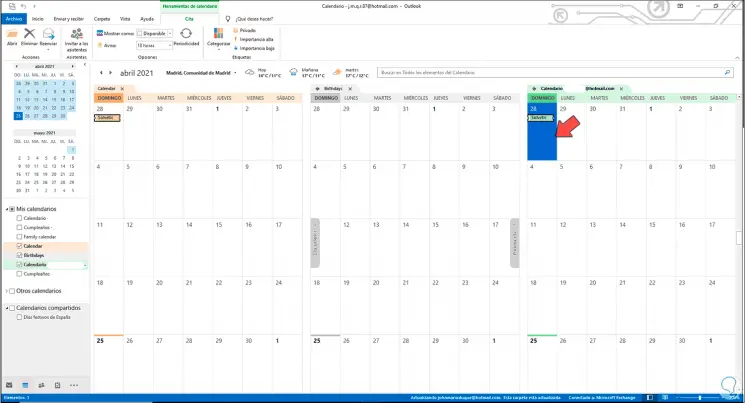
Now, as we mentioned, it is possible to move an event between one calendar and another, for this we select the desired event in one of the calendars and then drag that event to a calendar of another account available in Outlook 2016/2019:
Step 5
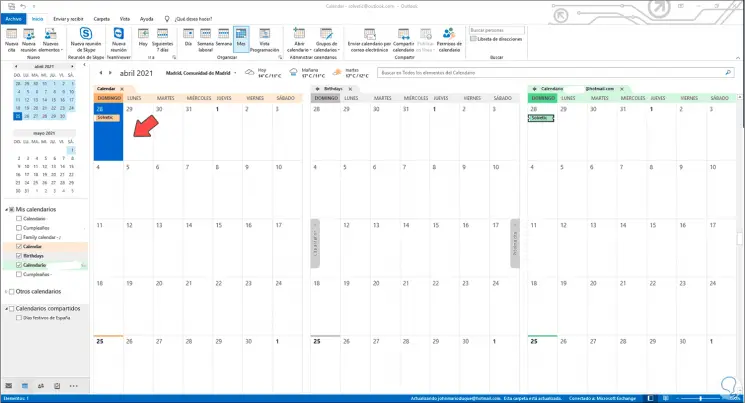
When moving it we will see the event in the selected calendar:
Step 6
By default, Outlook will display the calendar of the account that is established as default, this is possible to change and establish a new account and therefore its associated calendar, for this we go to "File - Account Settings - Account Settings":

Step 7
In the displayed window we go to the "Data file" tab and there we select the email to leave by default:
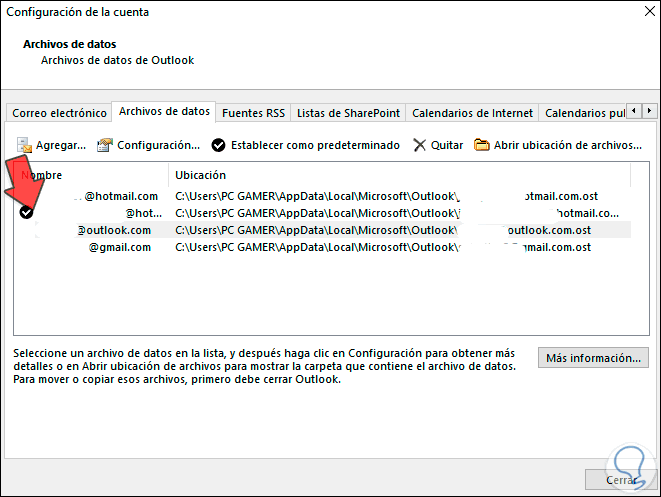
Step 8
When selecting it, we click on "Set as default" and the following message will be visible:
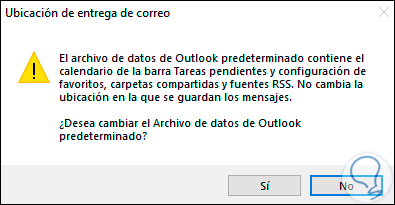
He passed
Apply the changes by clicking Yes and this will now be the default account (next to your calendar):
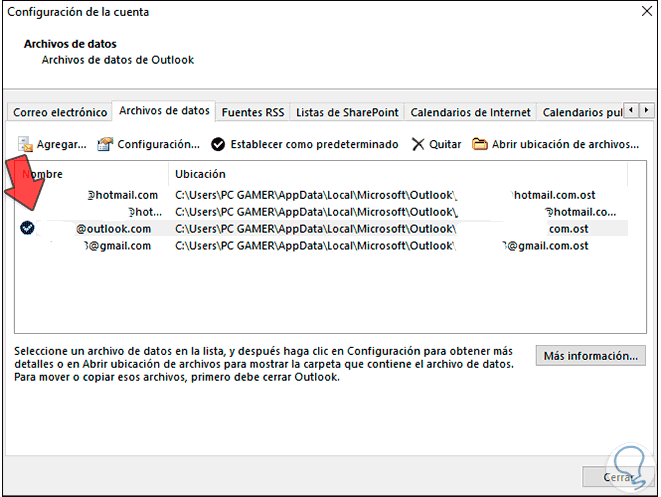
This has been the whole process to manage calendars in Outlook 2016/2019..