Today we store a lot of information on our technological devices, whether they are computers, mobile phones or external disk drives. That is why it is important to know how to manage and delete the information in each of these elements..
Formatting a USB device is part of the security tasks that as users we must perform to keep data safe, eliminate viruses or recover the useful life of the USB medium.
Available file systems
There are different file systems available to set on USB media based on the operating system such as:
- Microsoft Windows: NTFS, exFAT, FAT32
- Linux: Ext2, EXT3 or EXT4
Each of these file systems has its respective properties and getFastAnswer will explain the step by step to format a USB in macOS from the terminal and not with the classic Disk Utility..
How to format a USB in macOS from the terminal
Step 1
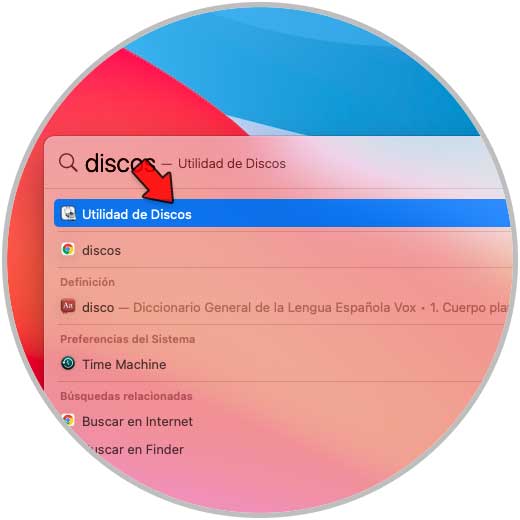
We access the disk utility to see the USB connected there:
Step 2
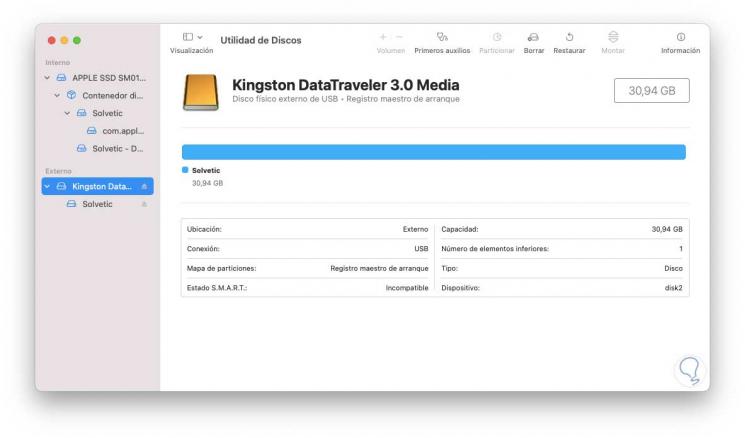
In the utility we select the USB to see its properties:
Step 3
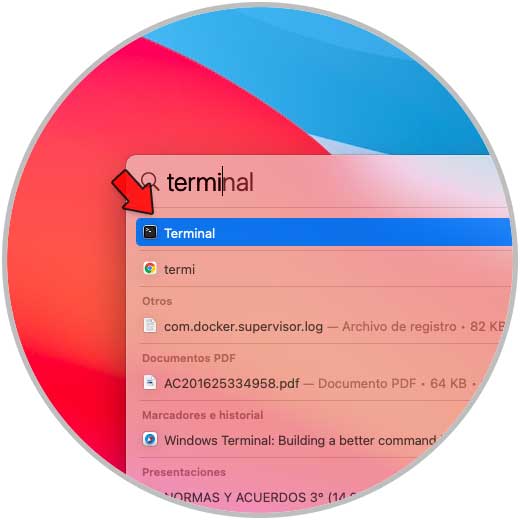
Now we access the macOS terminal:
Step 4
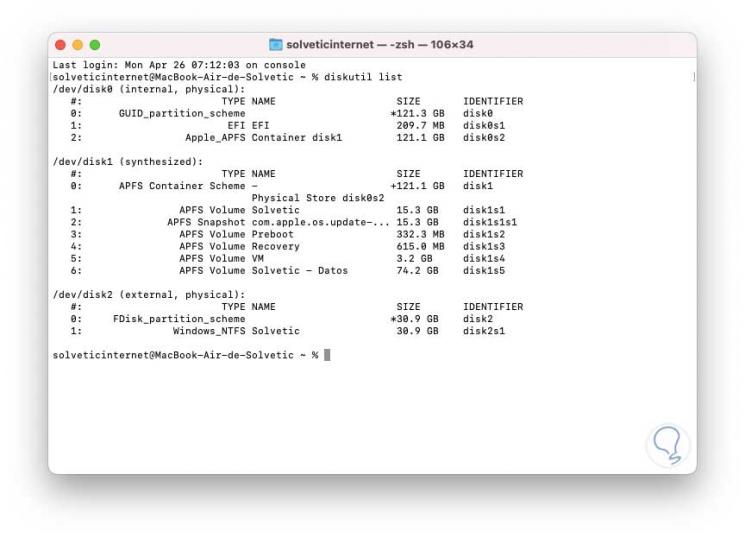
In the terminal we are going to list the disks using the command:
diskutil list
Step 5
We see the properties of each of the disks, in this case the USB drive is marked as / dev / disk2.
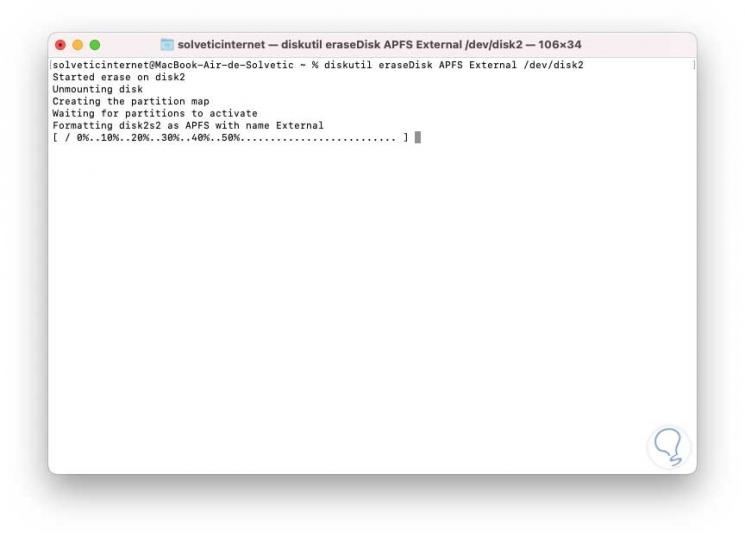
Now, with this path in mind we are going to format the USB with the desired file system (FAT, FAT32, ExFAT, APFS), in this example the latest macOS APFS file system:
diskutil eraseDisk APFS "name" / dev / # disk
Note
In "name" we assign the desired name to the USB.
Step 6
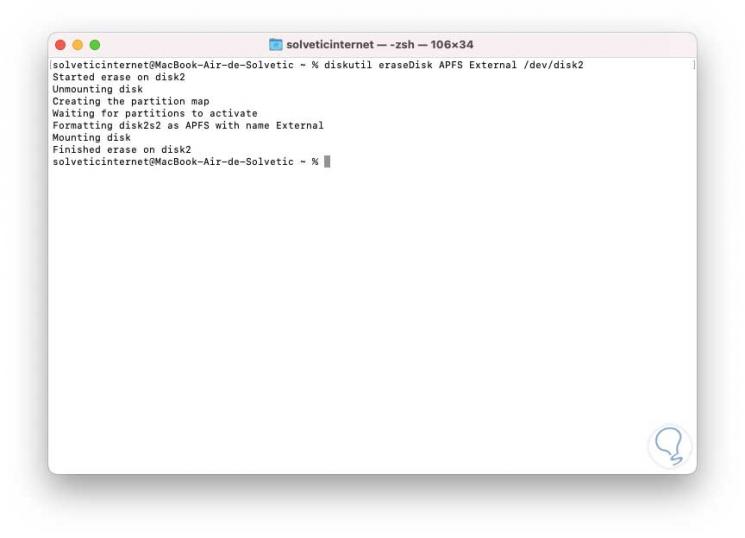
We see that the USB formatting process begins, at the end we will see the following:
Step 7
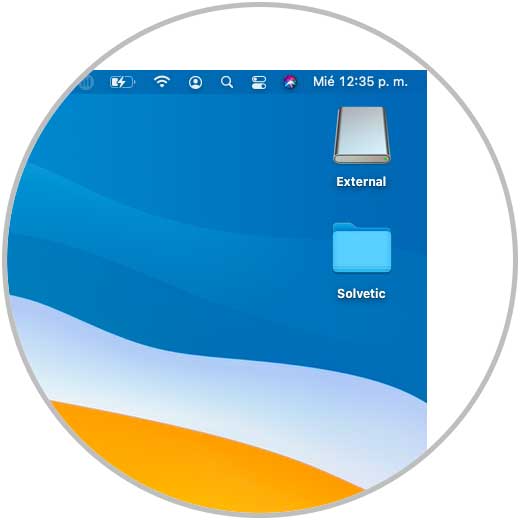
The USB will be available for use on macOS with the chosen file system:
That is how simple the process is to format a USB in macOS from the end.